This post may contain affiliate links. Please see our disclosure policy.
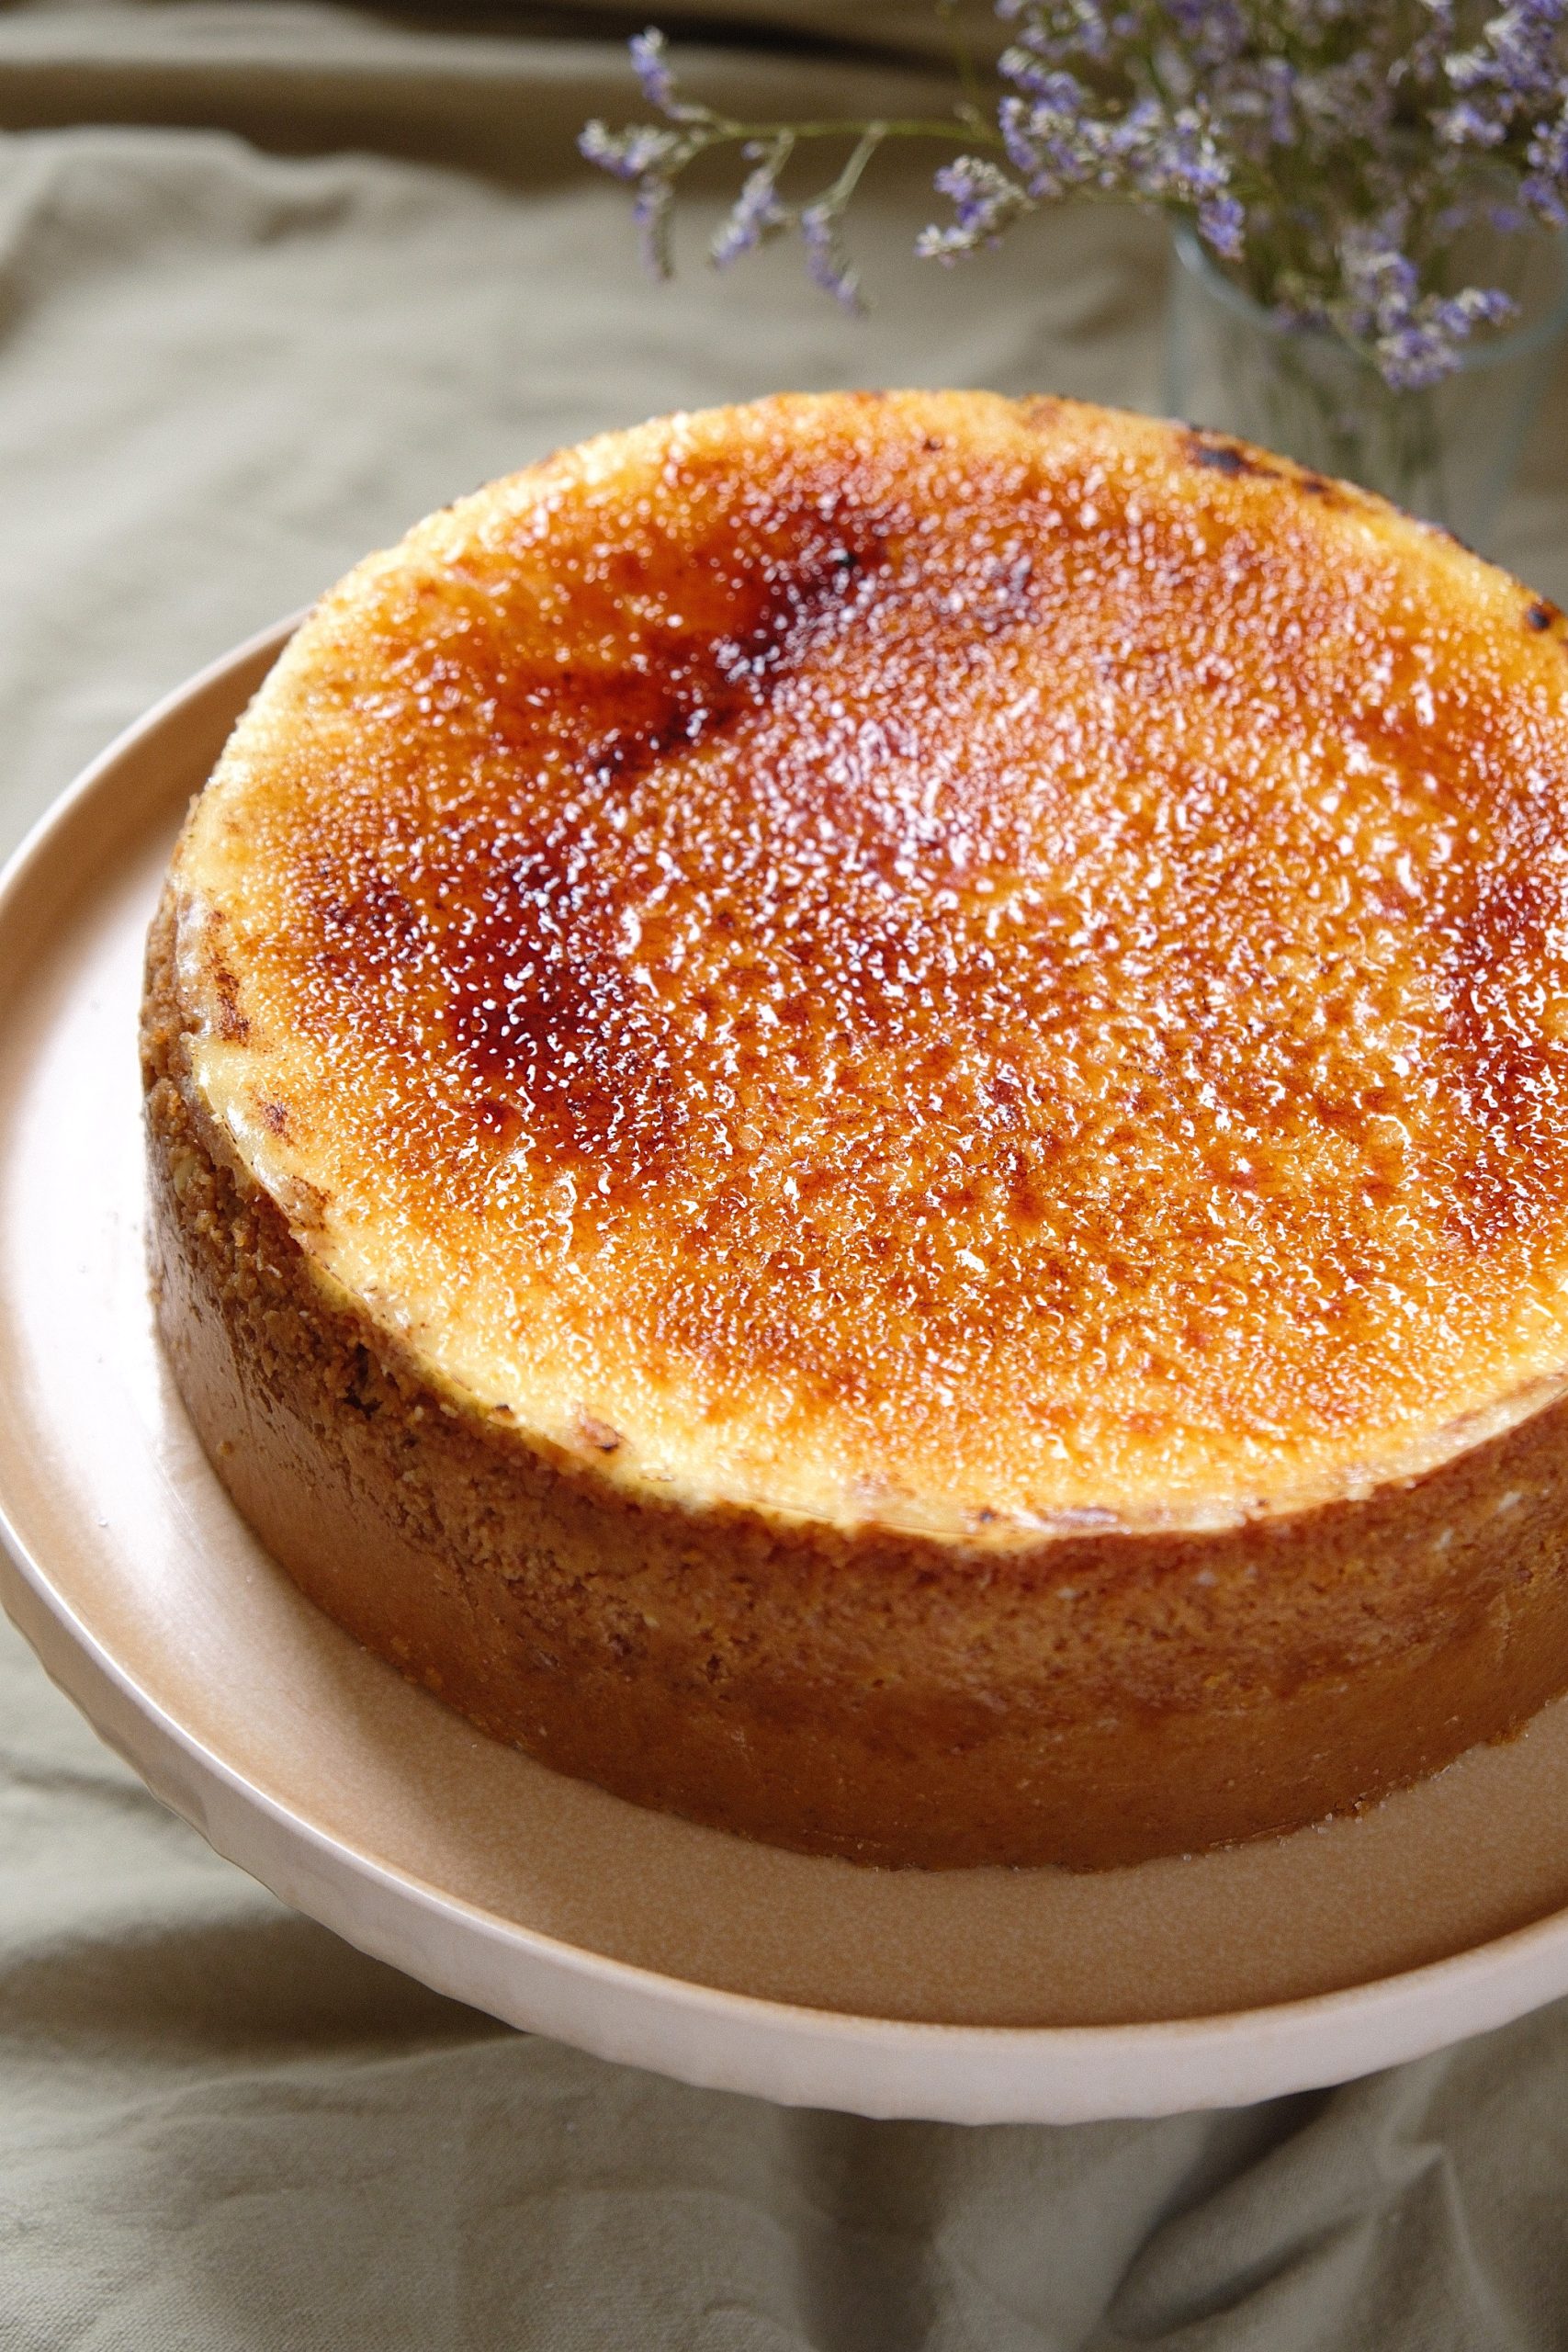
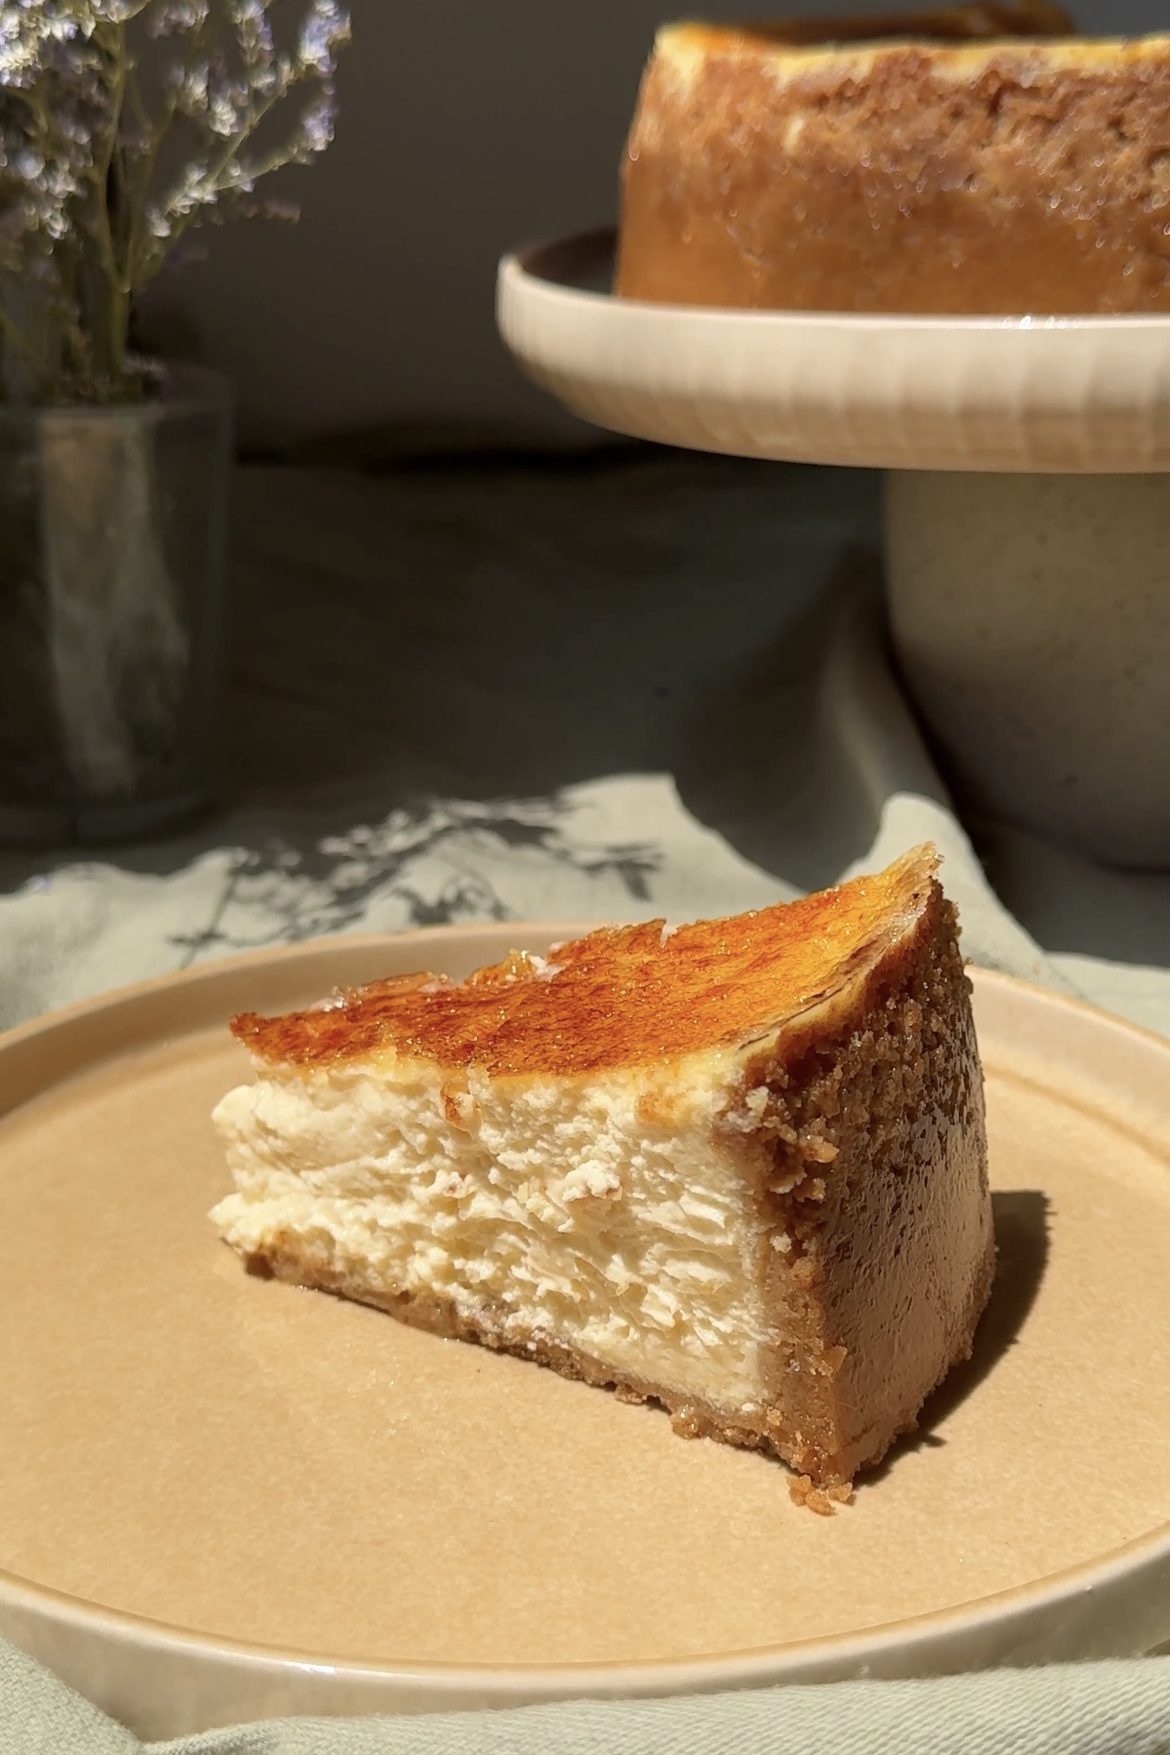
Imagine if a creamy, fluffy baked cheesecake married a crème brûlée. Doesn’t that sound good? This recipe for Crème Brûlée Cheesecake is exactly what you need. It’s got the perfect combination of the rich cheesecake filling and the caramelised crispy brûlée topping. The crumb is digestive biscuits and butter so very simple and complements the caramelised top so well.
You will need a blow torch for this recipe to get the crème brûlée top, but I have written some tips on using the grill if that’s all you have. It doesn’t work quite as well but it’s a good option if you don’t have a blowtorch. For a no bake cheesecake alternative, try my Mini Egg Cheesecake. You can add different types of chocolate to the mix if it’s not Easter!
Table of Contents
Why you’ll love this recipe:
- It looks so impressive, a real centrepiece to the table, but really isn’t that hard at all.
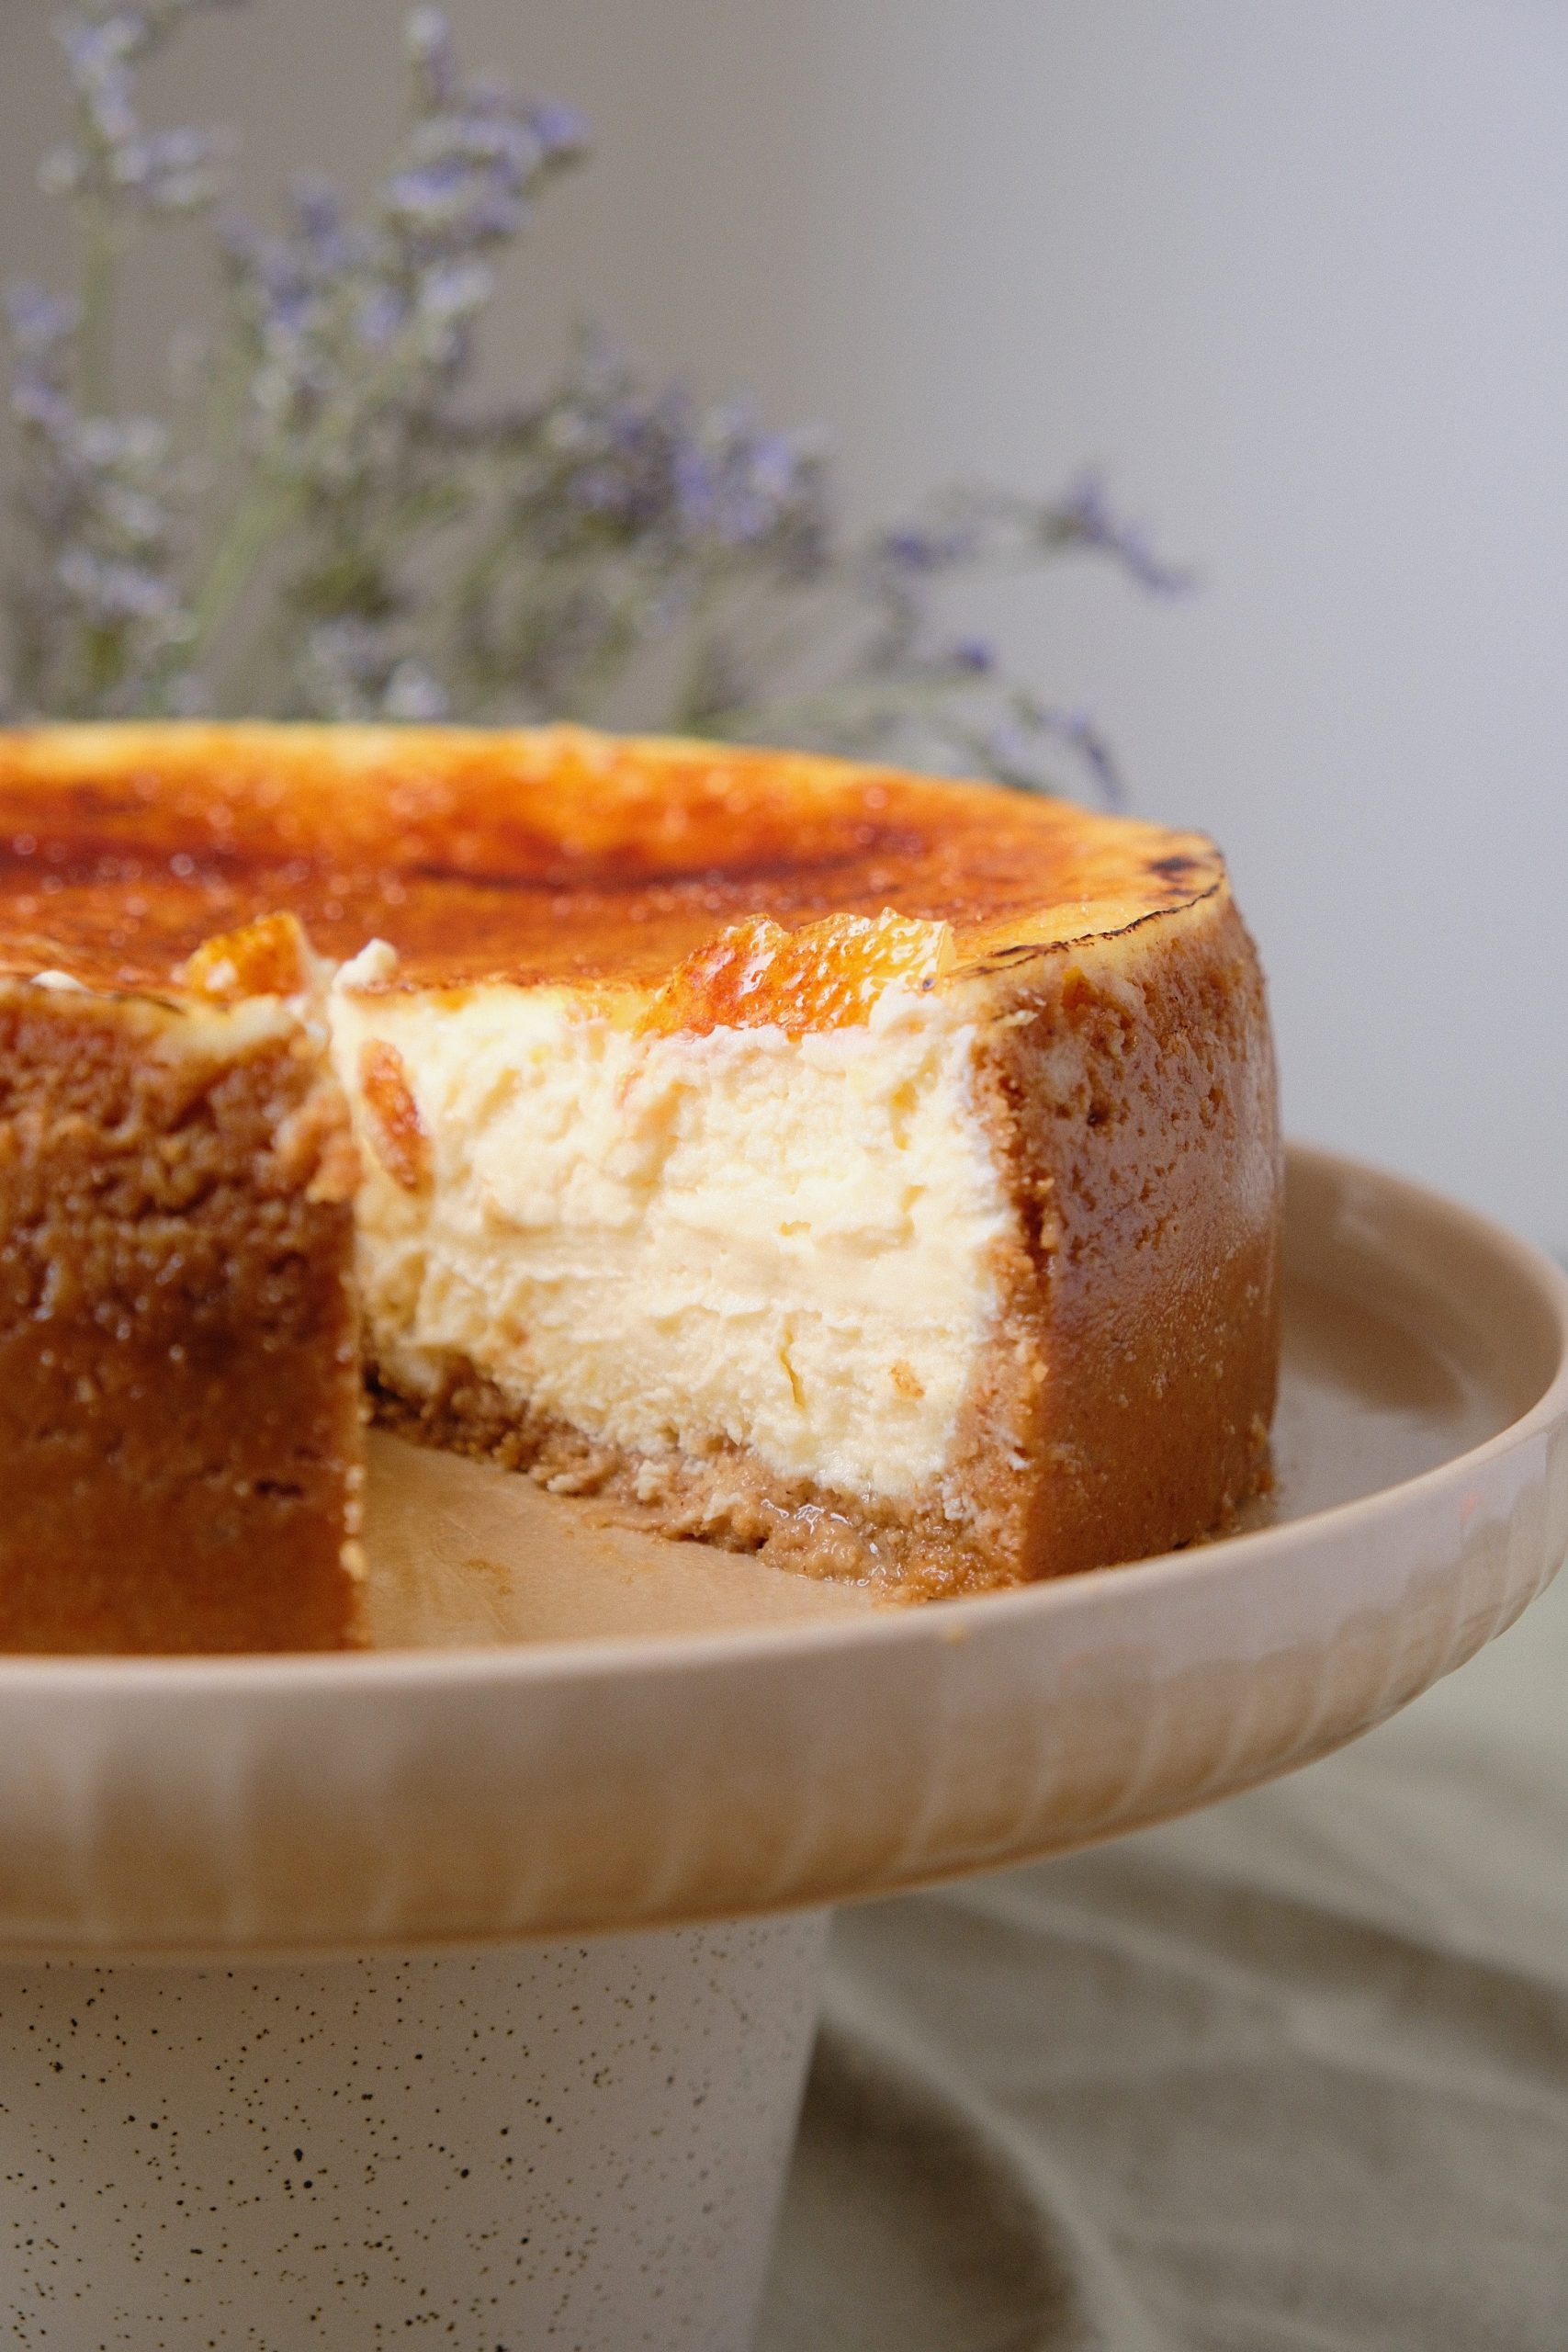
- You get the best of both worlds – buttery biscuit base alongside the creamy filling and hard caramelised sugar on top.
- As long as you use gluten-free biscuits, the whole pudding is gluten-free but is something that the whole table will still love.
Ingredients:
See recipe card at the bottom of the page for a full list of ingredients and measurements.
Digestive biscuits: these form the biscuit crust. I like digestives but you can sub for a gluten-free biscuit if needed.
Butter: Melted to mix with the biscuit crumb. I typically use unsalted but salted also works.
Cream cheese: Philidelphia full-fat is the best option here. I know it’s slightly more expensive but it just gives the best results, so if you can, use it.
Caster sugar: caster sugar gives the best texture but you can also use granulated sugar if that is what you have in your larder.
Sour cream: the tang from this is great against the rich cream cheese, so it balances it out well. Use full fat here too.
Vanilla extract: always choose vanilla extract, vanilla bean paste or vanilla pods (avoid vanilla essence which will give you an artificial flavour).
Pinch of salt: I recommend Maldon Salt Flakes.
Eggs: use free-range eggs if you can. I always choose large ones stamped with the British Lion.
Granulated sugar: this is for the caramelised sugar on top. Granulated has bigger sugar crystals than caster so they take longer to caramelise and you get a more golden top.
Substitutions and Variations
Digestive biscuits: I think digestives are best here but you could also use ginger nut biscuits for a twist. Or gluten free digestives. If you are in America, use Graham crackers.
How to make Crème Brûlée Cheesecake
Here’s a step by step guide for what you need to do, but you can find the full recipe at the bottom of the page for detailed instructions.
Step 1: Make The Crust:
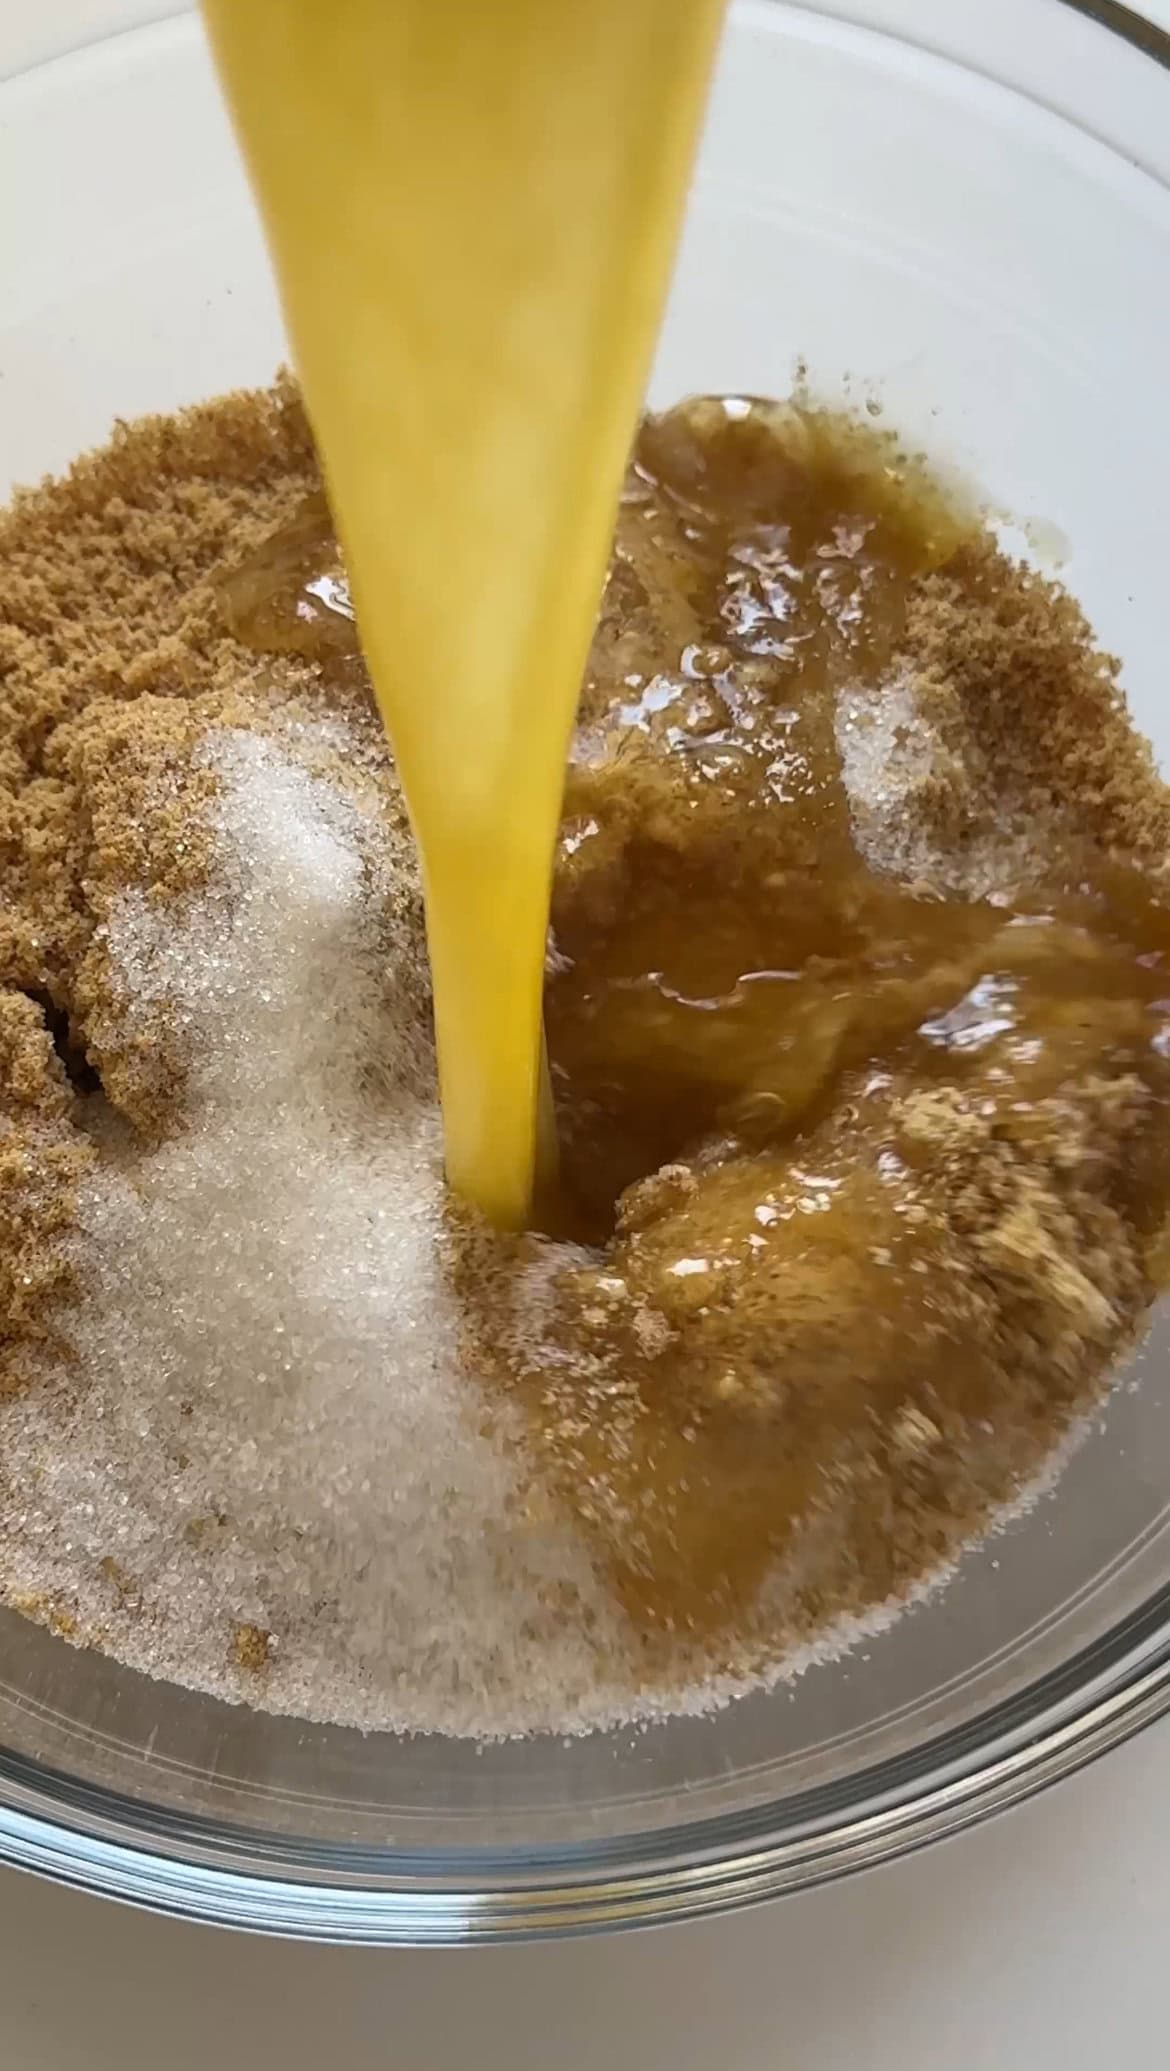
ONE: Blend the crumbs in a food processor or pop them in a ziploc bag and bash well with a rolling pin. Tip into a bowl and add the melted butter. Mix well.
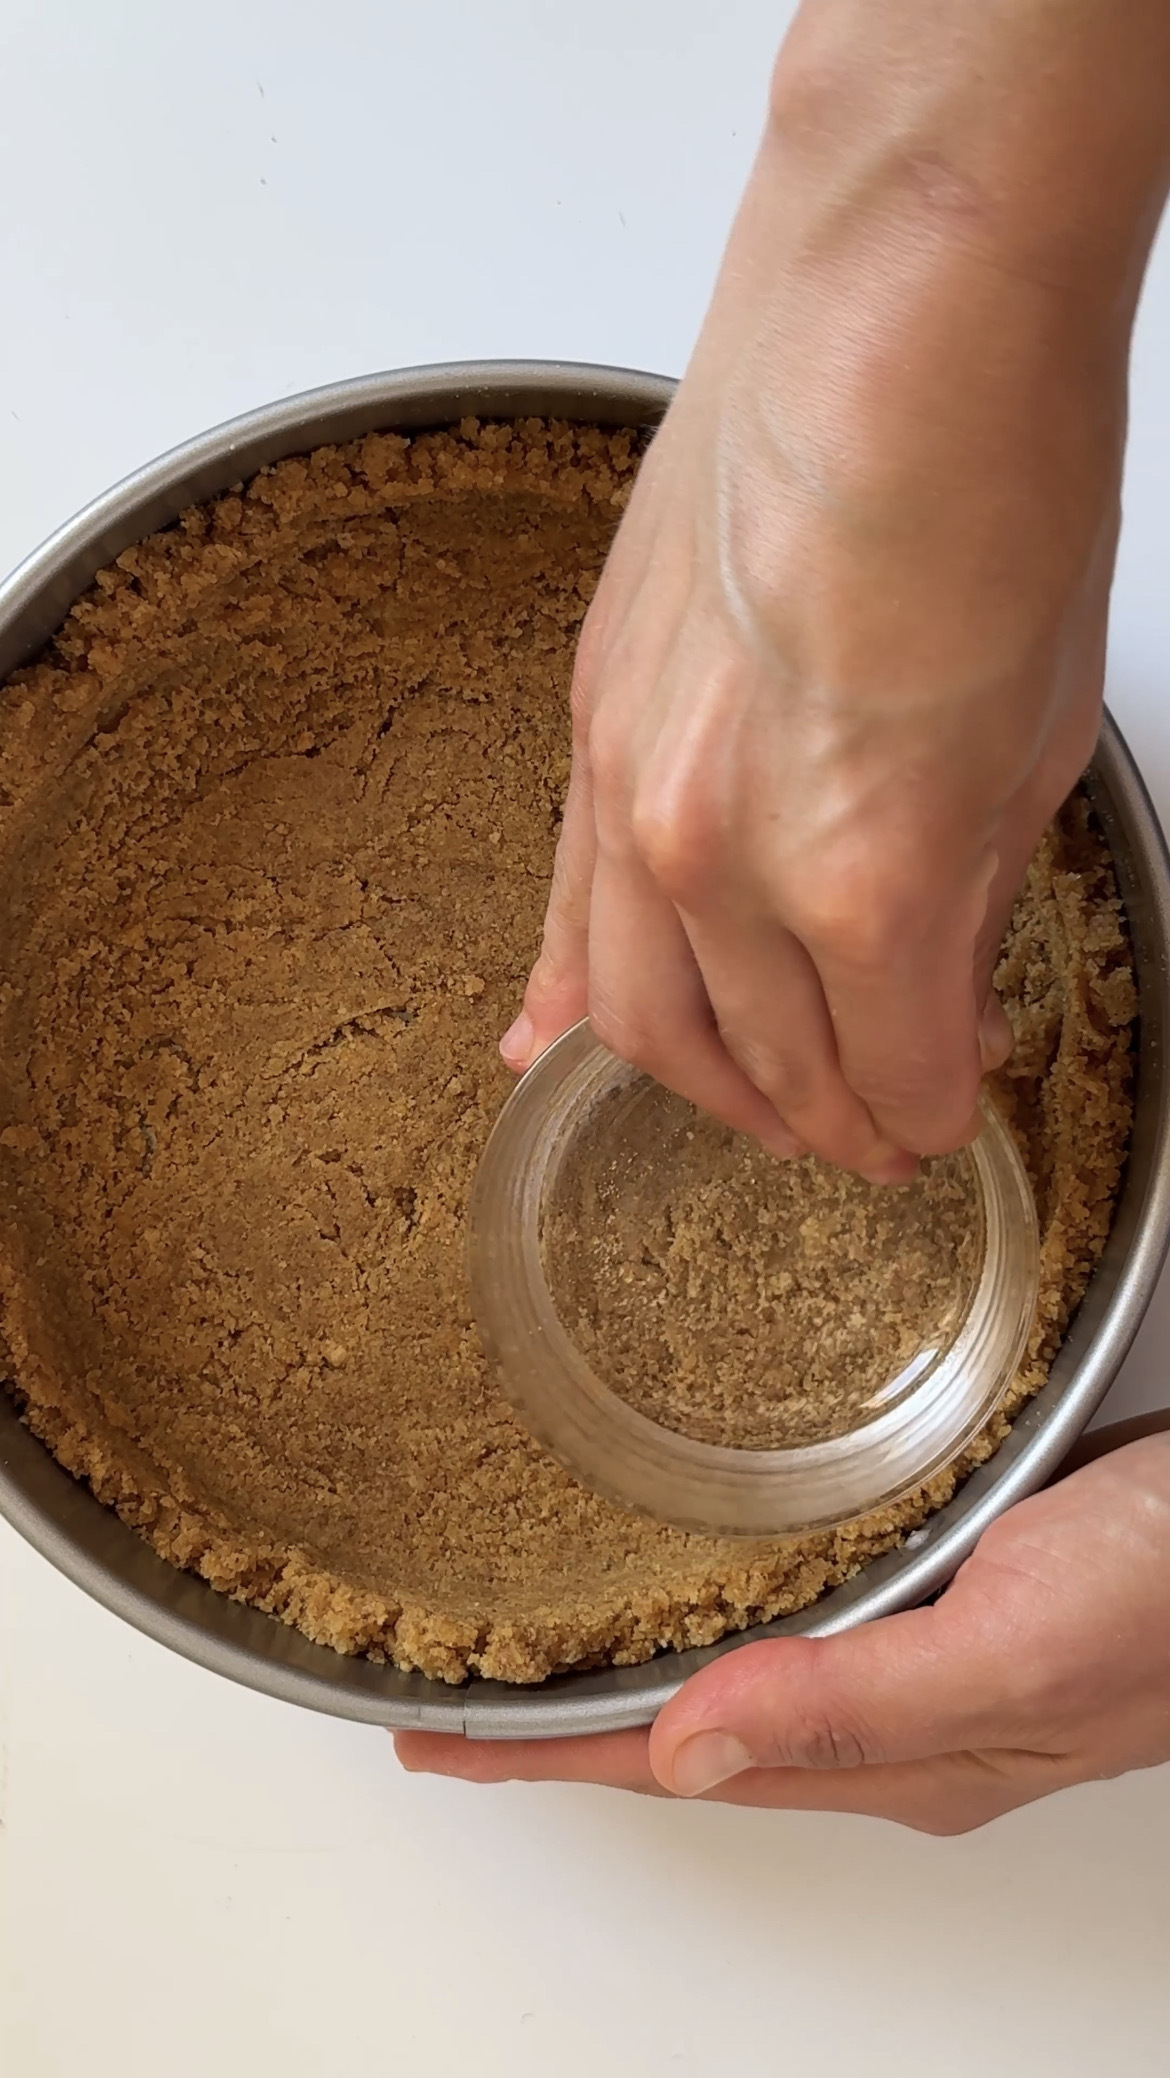
TWO: Pour the biscuit base into a 9” Springform pan and press firmly into the bottom and up the sides of your pan. Then set aside while you get on with the filling
Step 2: Make The Cheesecake:
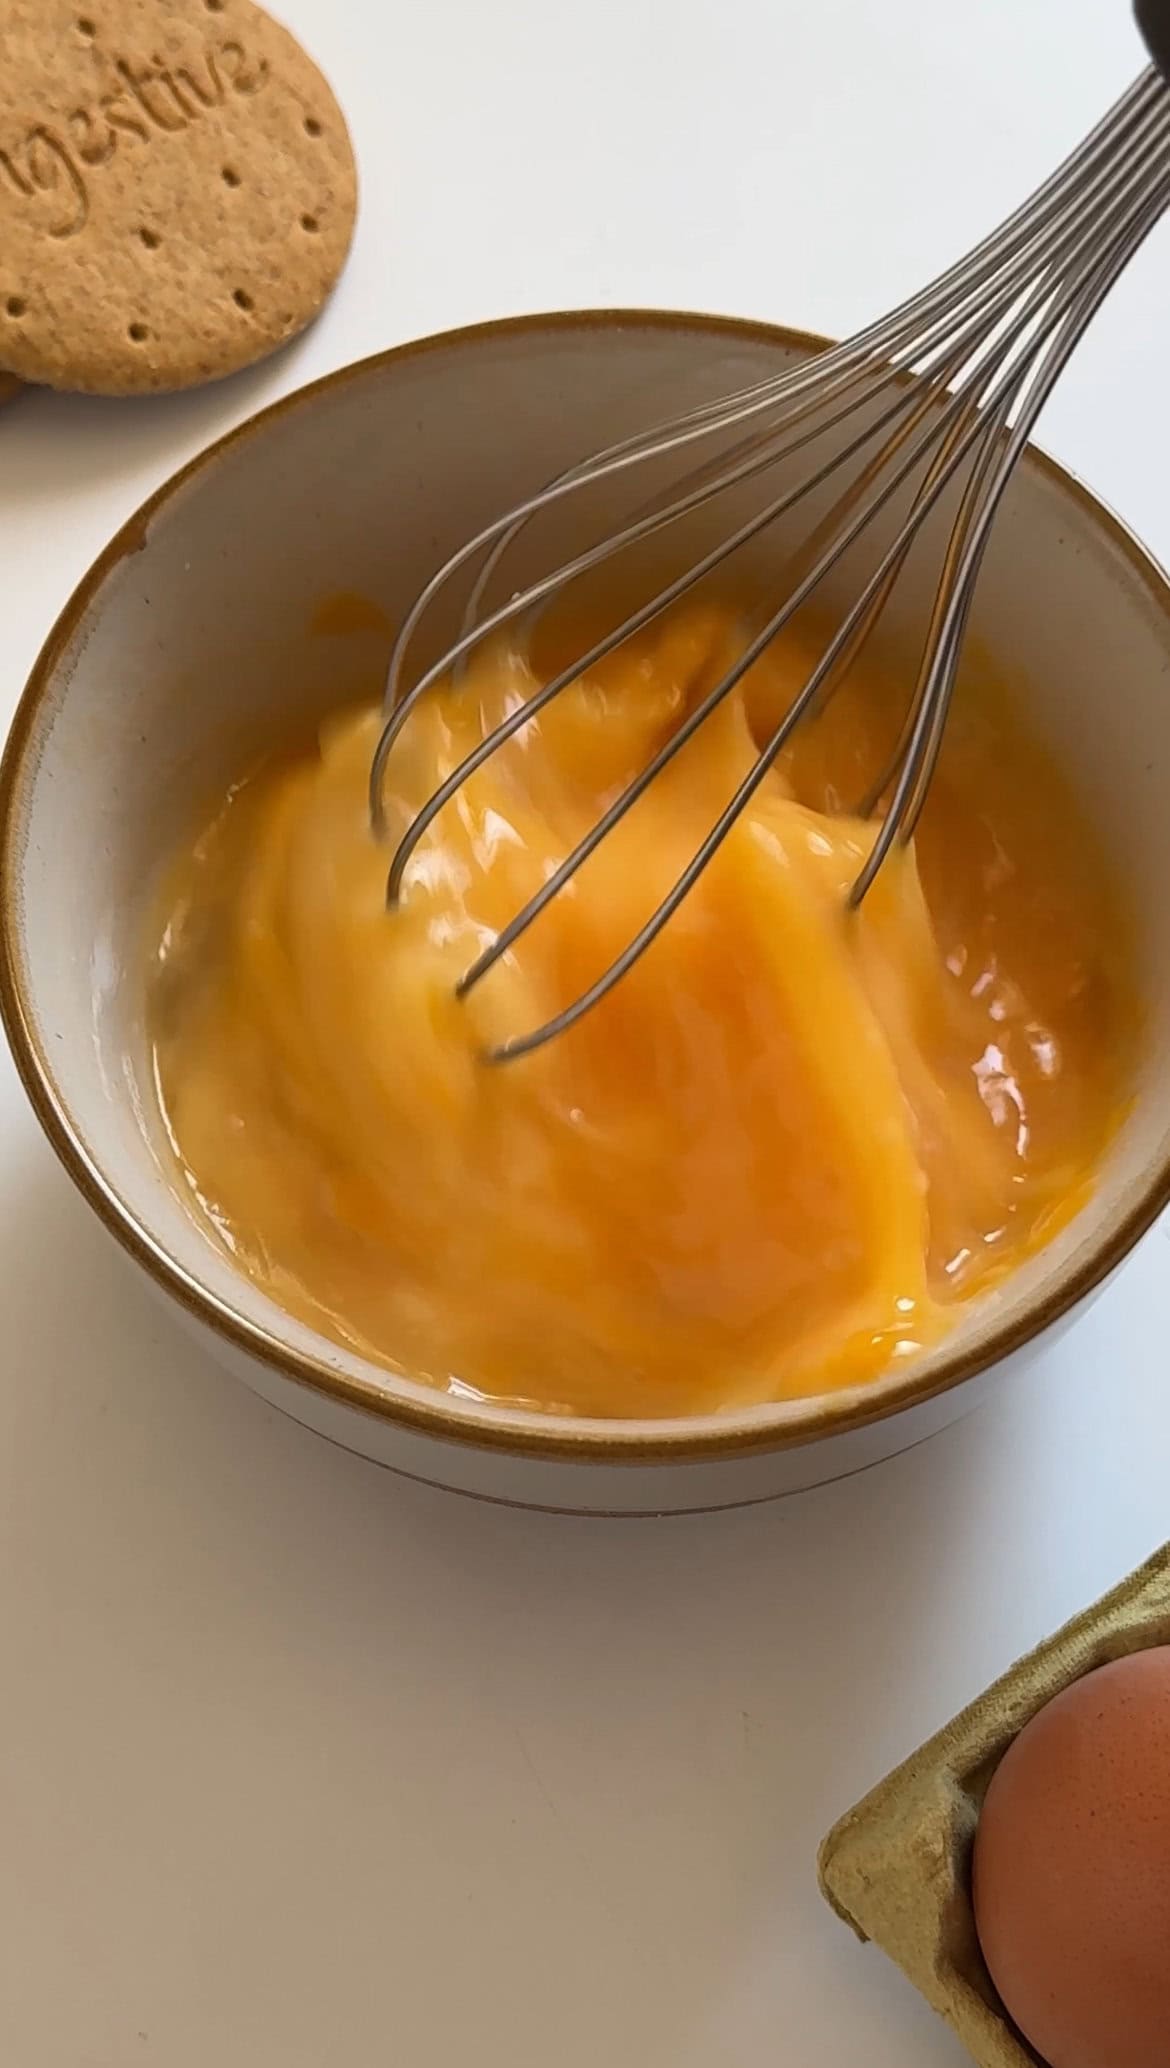
THREE: Beat the eggs and set aside.
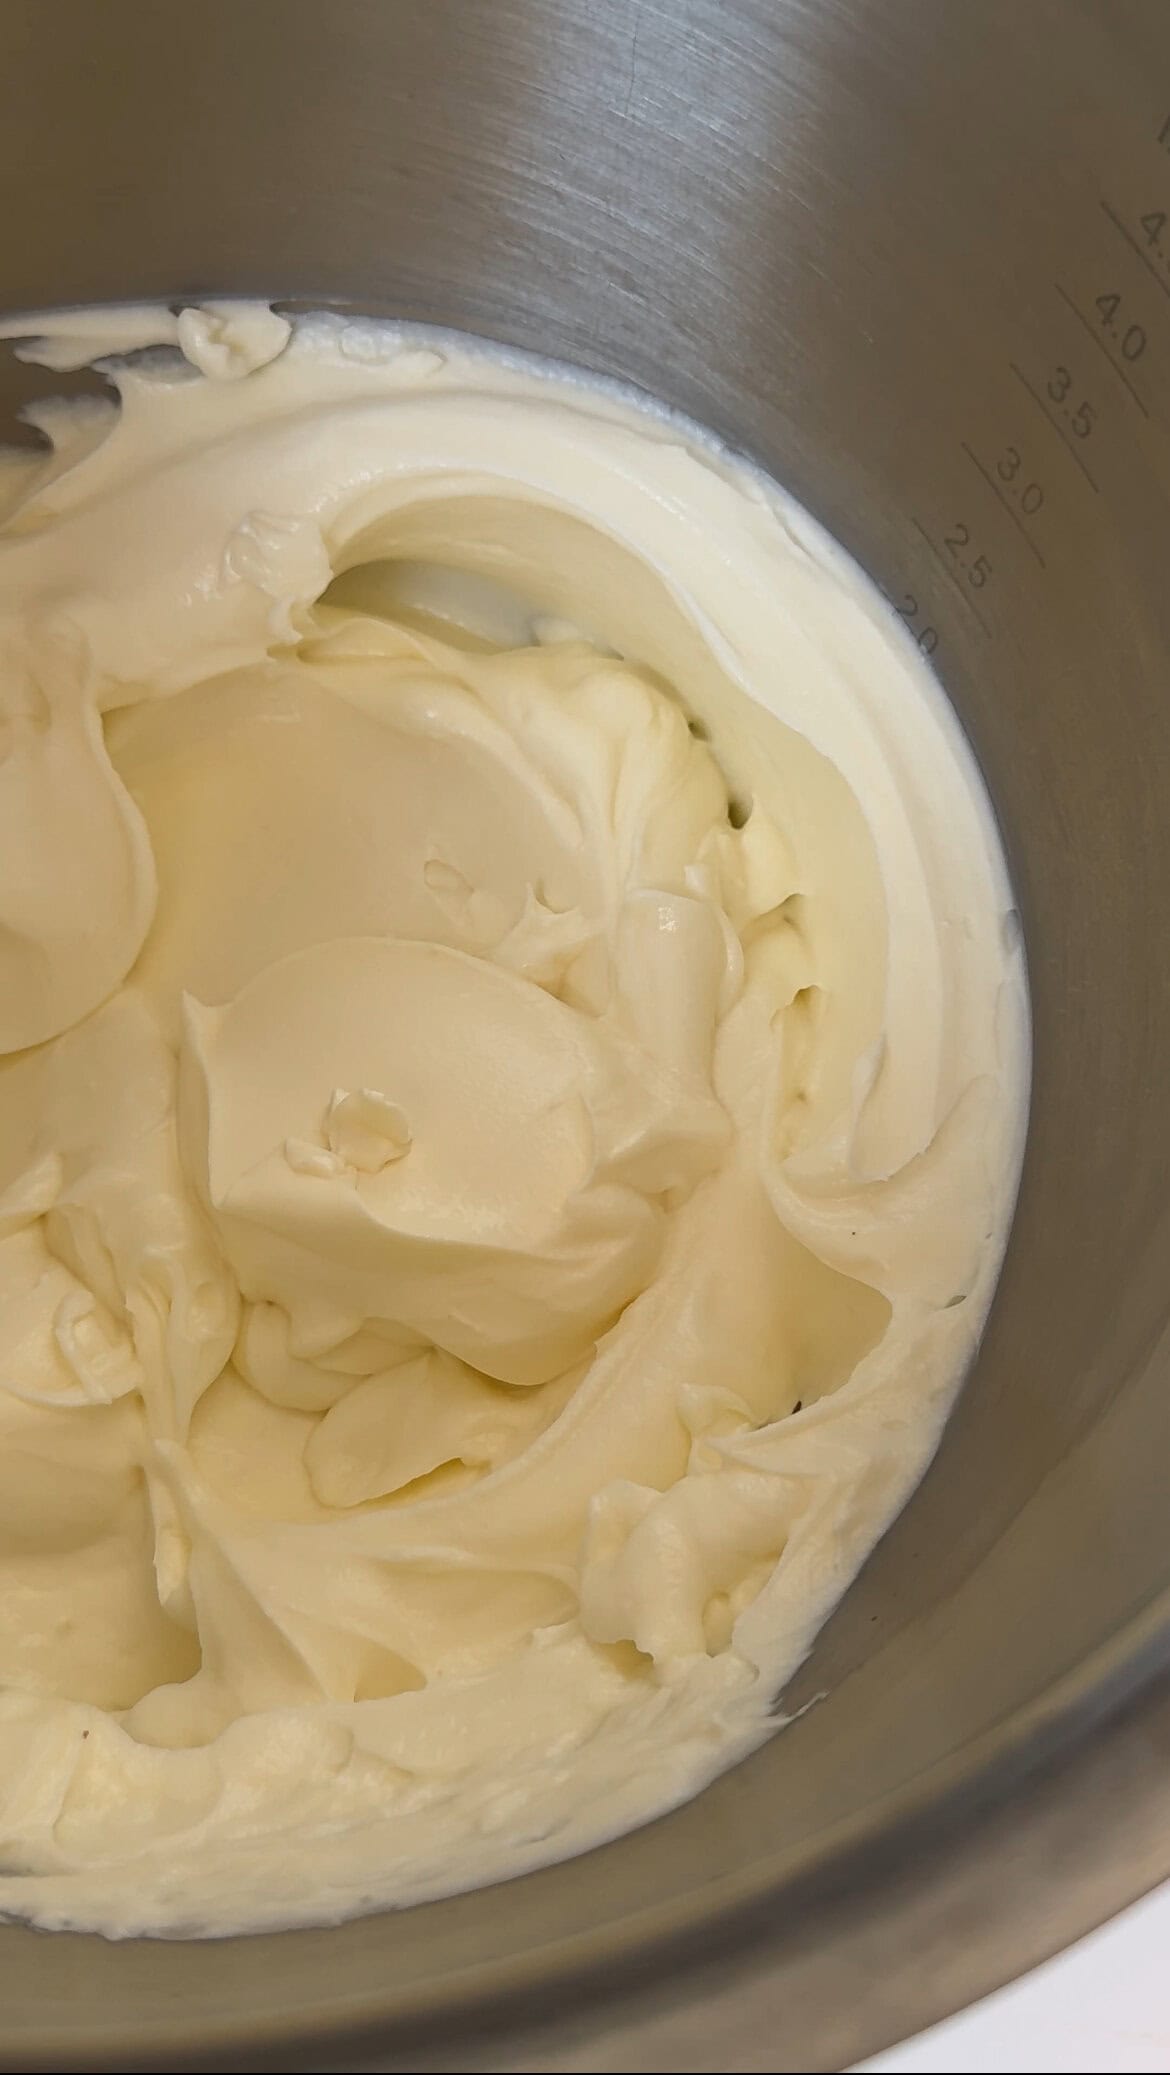
FOUR: Lightly whisk the cream cheese until creamy and smooth. Don’t over beat it – this is important. Then add the sugar and mix again
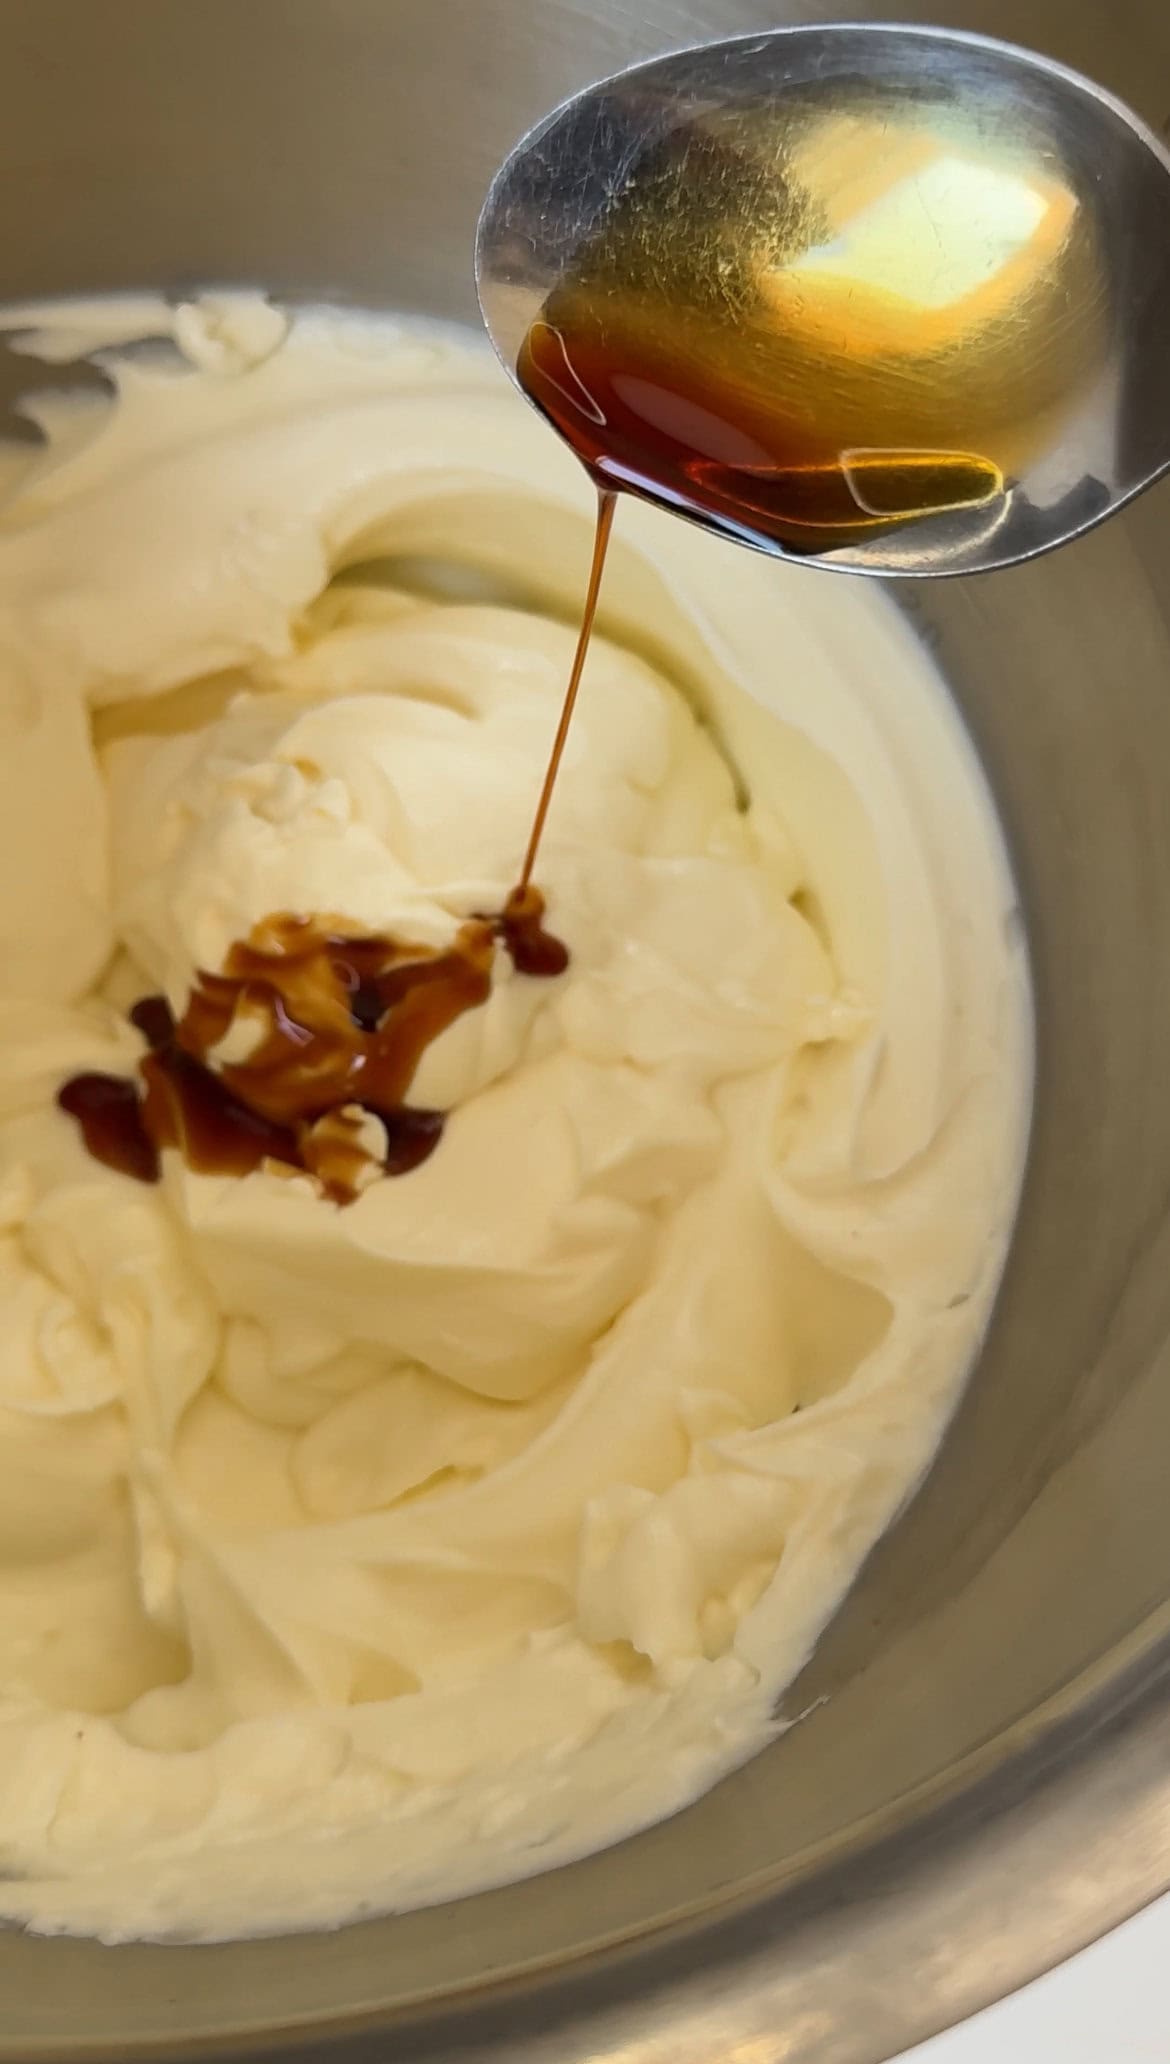
FIVE: Then add the sour cream, vanilla extract, and salt, and stir until well-combined. Keep scraping down the sides of the bowl.

SIX: Put the mixer on low and then slowly add the egg mixture, a little at a time, stirring just until it’s combined.

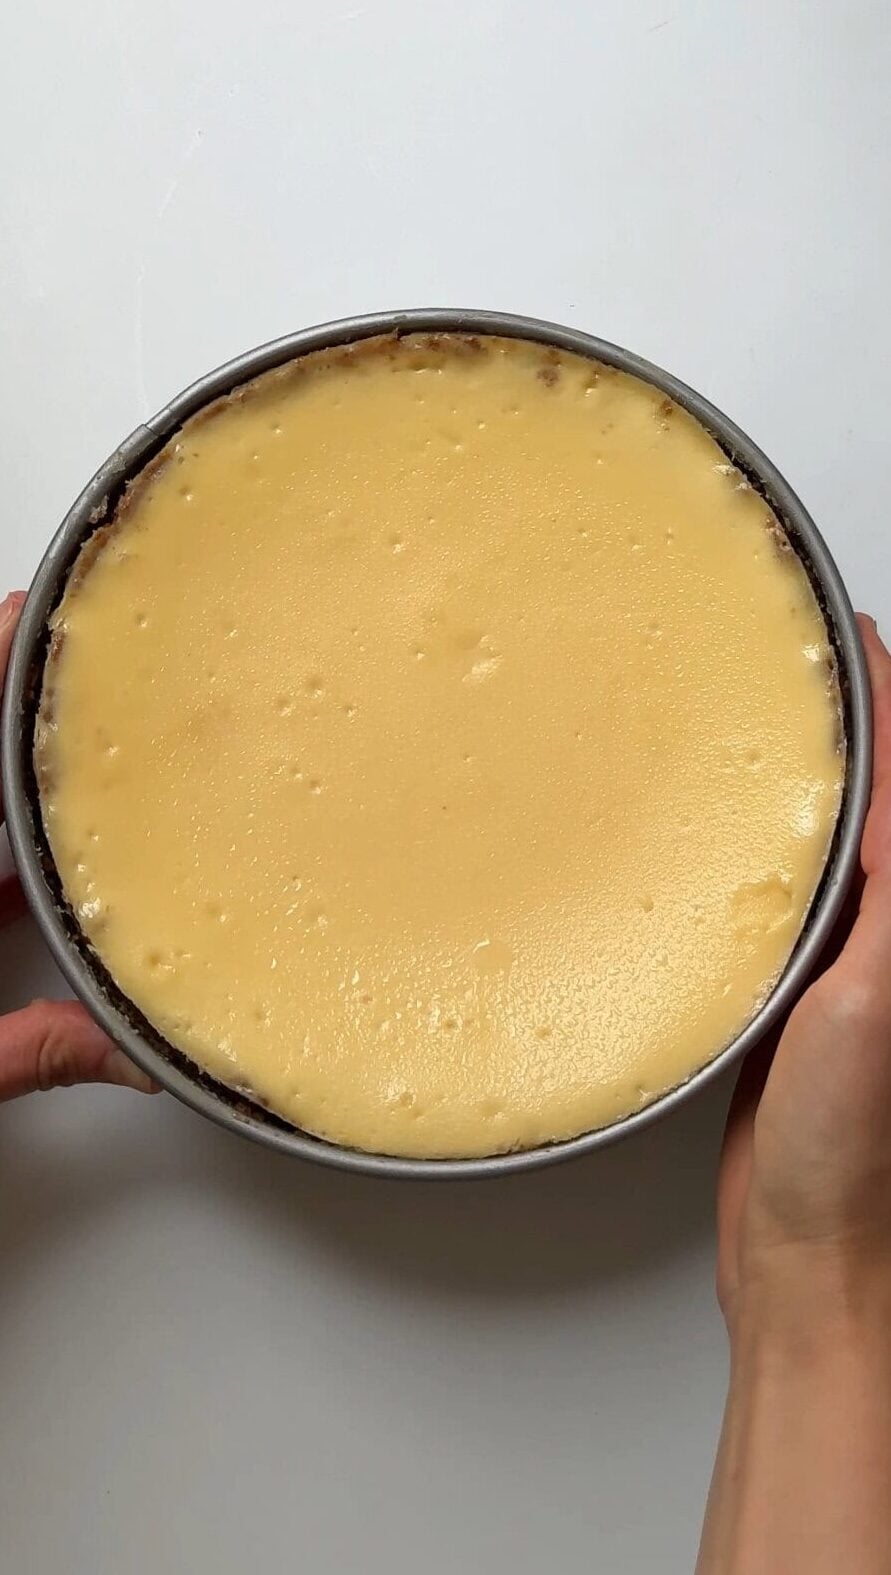
SEVEN: Pour the mixture into the prepared springform pan. Place on a baking sheet lined with tin foil. Bake at 160C or 325f for 50-60 minutes (or longer as needed). The edges will slightly puff up and will begin to turn a very light golden brown and the center should spring back to the touch but will still be jiggly. It’s very important not to overbake – it should still have movement at this stage.
EIGHT: Remove from oven and allow to cool on top of the oven for 10 minutes. Then you can use a knife to gently loosen the crust from the inside of the springform pan to prevent cracking. Keep it in the pan as it cools completely. Allow cheesecake to cool before popping in the fridge to chill. Leave it overnight or at least 4 hours.
Step 3: Make The Brûlée Topping:
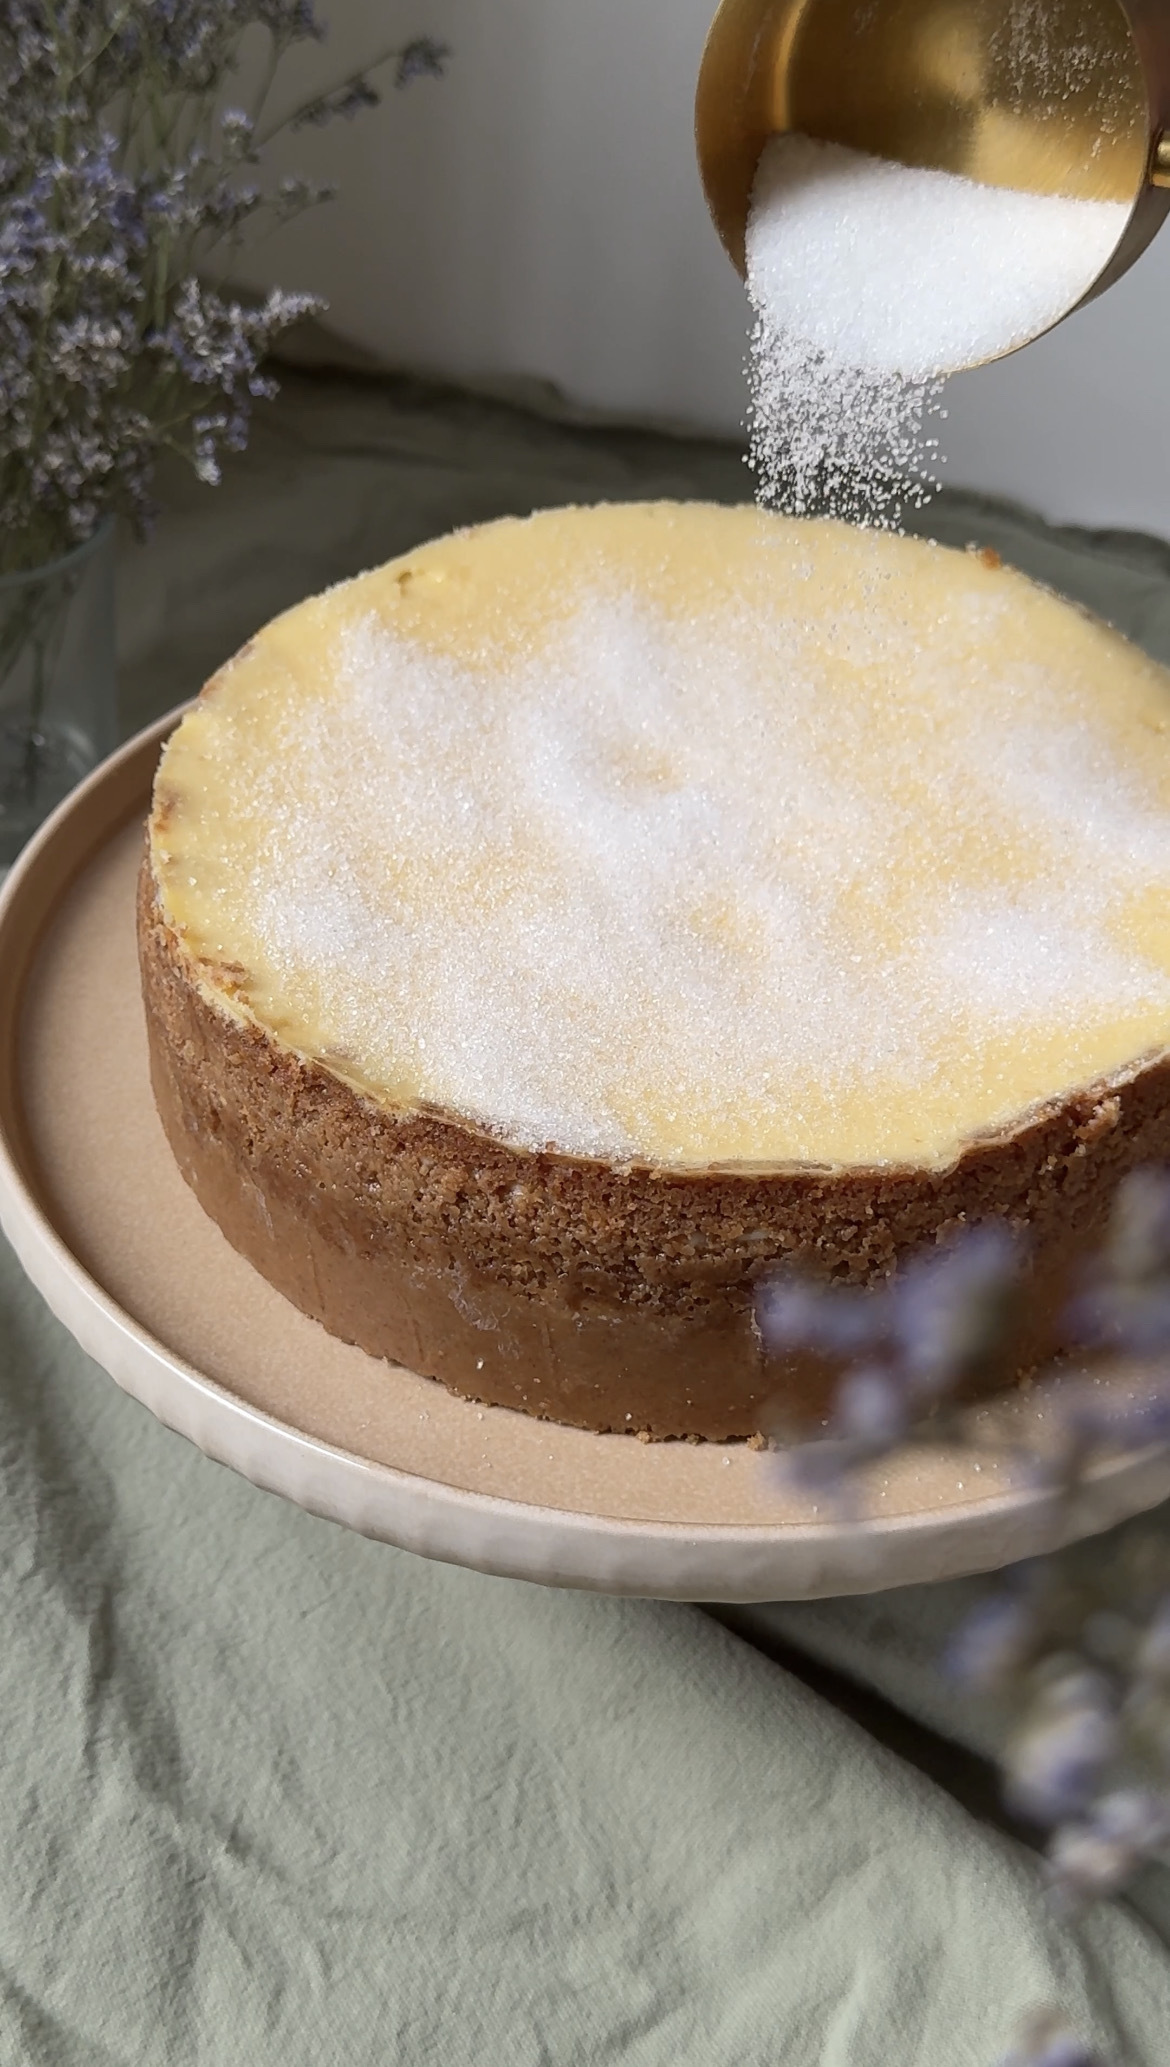
NINE: Scatter caster sugar evenly over the top. Don’t use brown sugar as it will go far too dark and almost burnt and it also can produce spotty sugar rather than a speckled light brown top.
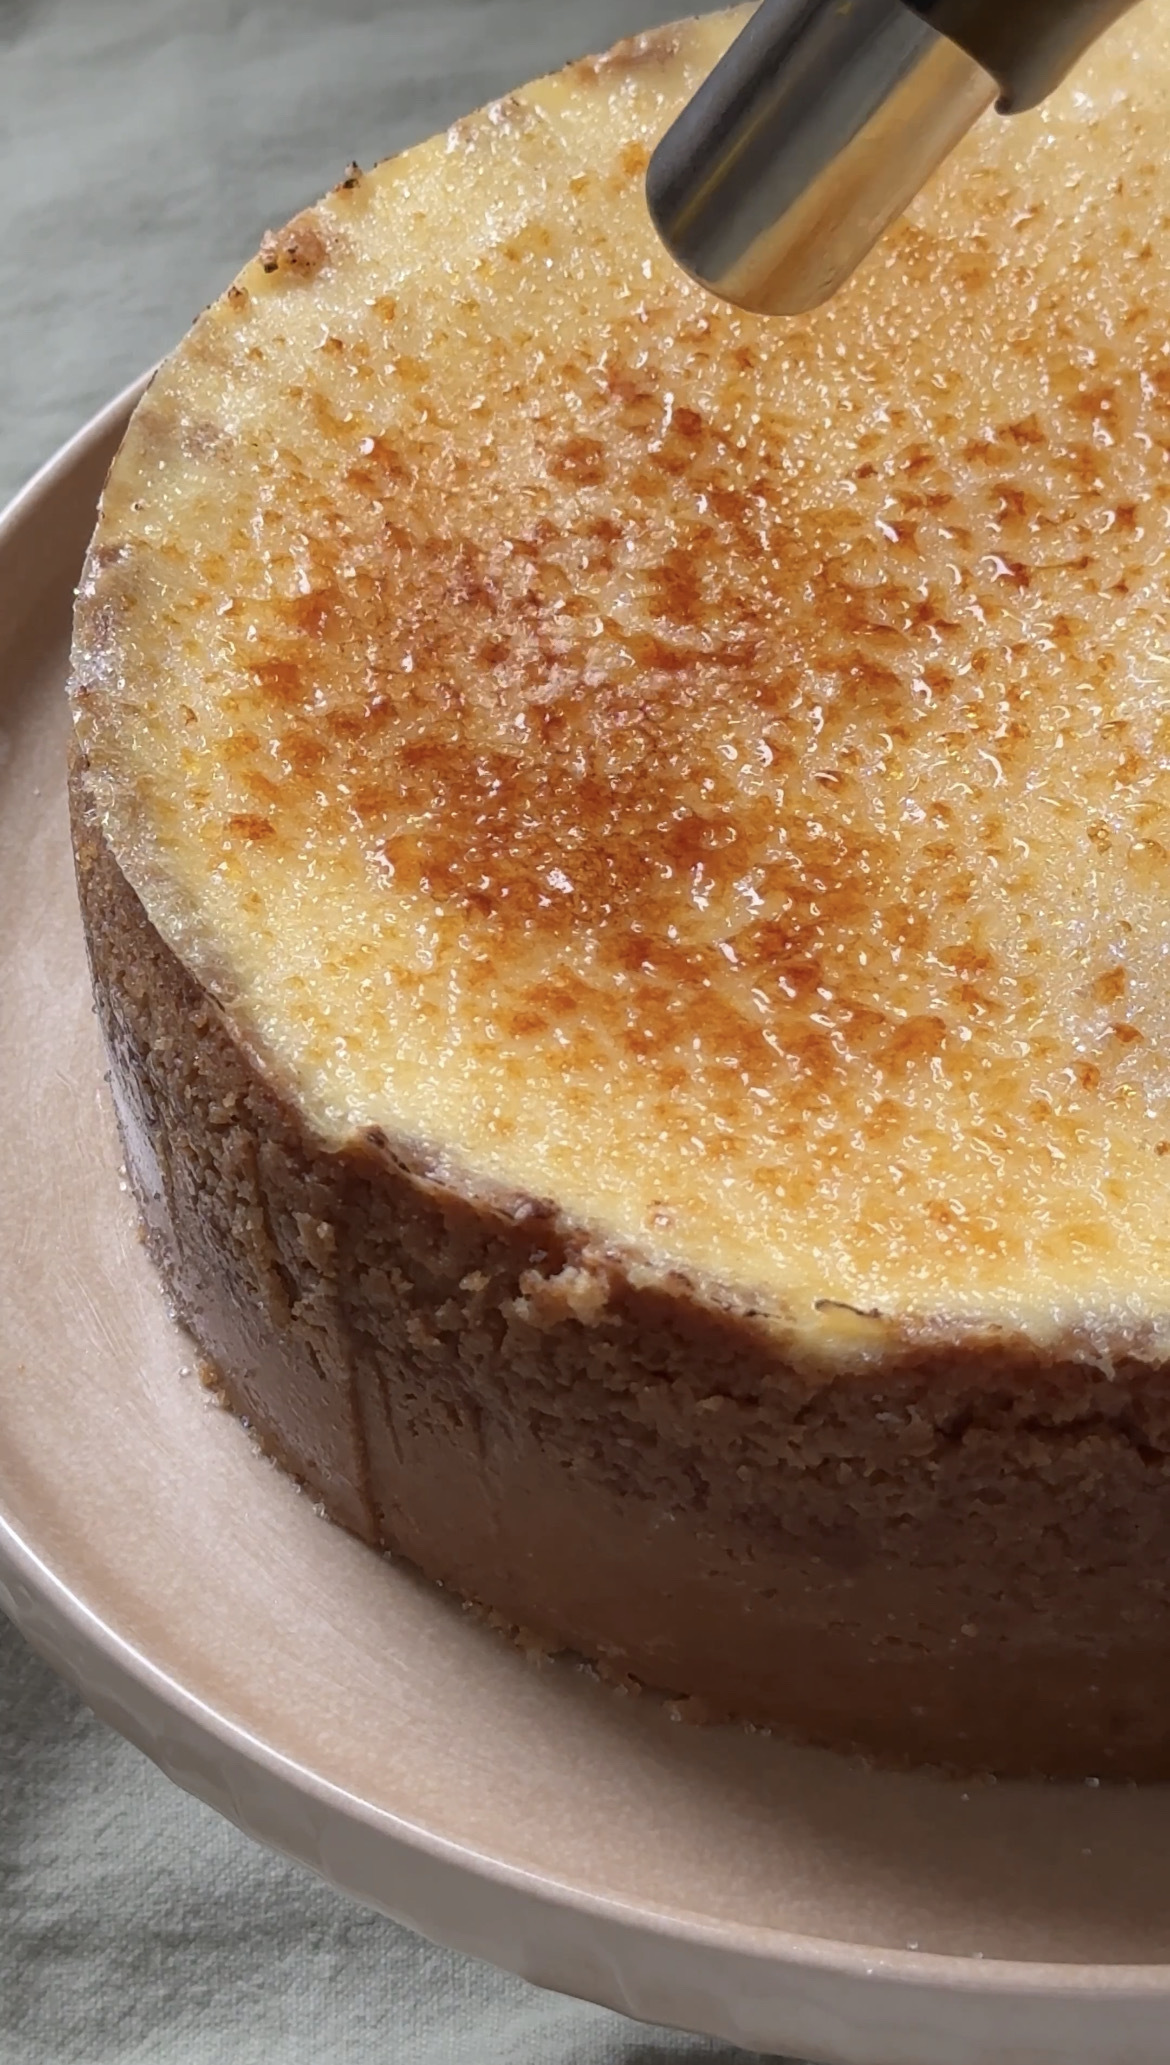
TEN: Use a blow torch to evenly toast the top. You should see little bubbles form as the sugar melts and then it will harden once it cools. Once the top is totally golden brown, leave for a few minutes to firm up so that it has the crunchy top when sliced.
Cooking Tips
Use full-fat cream cheese and sour cream: This is crucial for the right texture as the fat content is what sets it rather than having it runny. There are plenty of desserts that can be lower in fat if this is a concern for you but this isn’t one!
Baking the cheesecake: Once the baking time has passed, the edges will slightly puff up and will begin to turn a very light golden brown and the center should spring back to the touch but will still be jiggly. It’s very important not to overbake – it should still have movement at this stage. Give it a gentle shake to check this.
Blowtorching the sugar: I like to sprinkle the sugar in sections. Start with a quarter, blowtorch that area then move to the next. This avoids the risk of the sugar seeping into the cheesecake itself which means it’s hard to blowtorch without burning the top.
Crust: Make sure the crust is really well packed into the tin. I like using a glass to push it up the sides. This means you can get clean slices without crumbling and it means it remains a crisp base.
Chilling properly: The cheesecake (pre topping) needs to be chilled for at least 4 hours, ideally overnight. This means it will set fully and make the whole cheesecake better. Don’t try to rush this!
Frequently Asked Questions
This can occur if there is a sudden change in temperature. This includes opening the oven door or putting in the fridge too soon. Make sure it’s fully room temp before popping in the fridge and try to avoid opening oven door.
Yes, you can make everything except for the caramelised sugar topping in advance. I would do the cheesecake 1-2 days in advance, cover and place in the fridge. Then add the caramelised sugar topping when ready to serve.
The edges will slightly puff up and will begin to turn a very light golden brown and the center should spring back to the touch but will still be jiggly (like my San Sebastián (Burnt Basque) Cheesecake. It’s very important not to overbake – it should still have movement at this stage.
Store in an airtight container in the fridge for 5 days. The brulee topping will soften over time so just be aware of that. You could always brulee individual slices when ready to eat if you aren’t going to eat it at once.
If you don’t have a blowtorch, you can use the grill/broiler. Make sure the cheesecake is totally chilled (fridge cold!). Preheat the grill to high, sprinkle an even layer of sugar on the cheesecake and place under the grill. It should take no more than a few minutes so keep an eye on it. I leave the grill door open to see it as it goes. Then remove from grill and allow it to cool. This hardens the sugar.
You could also use ginger nut biscuits for a twist. Or gluten free digestives. If you are in America, use Graham crackers.
Other recipes you might like
If you would rather a cheesecake that doesn’t need baking, these No-bake mini Biscoff cheesecakes set in the fridge and are SO good. Super simple too. In terms of baking, for something simple and more classic, try my Moist dark chocolate muffins – they are delicious. These Banana Chocolate Muffins are also a great muffin recipe to use up old bananas. If you want something even sweeter, I love this Giant cookie in a pan, the name is as it says, or these Nigella-inspired Triple chocolate brownies. A classic for a reason!

Pancake Recipes
Kaiserschmarrn (Traditional Austrian Pancakes)
High Protein Recipes
High Protein Dinner Recipes
Easy Baking Recipes
Cornflake Dream Cake with Mini Eggs

Pancake Recipes
15 Easy & Delicious Pancake Recipes
Made this recipe and loved it?
I would love love LOVE if you could leave a review in the comments… I love hearing what you thought, any changes you made, the stories behind what made you try my recipes. Also, if you share a photo on Instagram, please tag me @desertislanddishes, it makes my day to see you making my creations!

Crème Brûlée Cheesecake
Ingredients
For the crust:
- 170 g digestive biscuits
- 100 g butter melted
For the cheesecake:
- 900 g cream cheese softened to room temperature
- 200 g caster sugar
- 160 g sour cream
- 1 ½ teaspoons vanilla extract
- Pinch of salt
- 4 large eggs room temperature, lightly beaten
For the topping:
- 50 g granulated sugar
Instructions
To make the crust:
- Preheat oven to 160c or 325F.
- Blend the biscuits in a food processor or pop them in a ziploc bag and bash well with a rolling pin. Tip into a bowl and add the melted butter
- Pour the biscuit base into a 9” Springform pan and press firmly into the bottom and up the sides of your pan. Then set aside while you get on with the filling
To make the cheesecake:
- I tend to use a stand mixer for this but you can also use a large bowl and an electric whisk (or use old fashioned elbow grease!) Lightly whisk the cream cheese until creamy and smooth. Don’t over beat it – this is important. Then add the sugar and mix again
- Then add the sour cream, vanilla extract, and salt, and stir until well-combined. Keep scraping down the sides of the bowl.
- Put the mixer on low and then slowly add the egg mixture, a little at a time, stirring just until it’s combined.
- Pour the mixture into the prepared springform pan. Place on a baking sheet lined with tin foil.
- Bake at 160C or 325f for 50-60 minutes (or longer as needed)
- The edges will slightly puff up and will begin to turn a very light golden brown and the center should spring back to the touch but will still be jiggly. It’s very important not to overbake – it should still have movement at this stage.
- Remove from oven and allow to cool on top of the oven for 10 minutes. Then you can use a knife to gently loosen the crust from the inside of the springform pan to prevent cracking. Keep it in the pan as it cools completely.
- Allow cheesecake to cool before popping in the fridge to chill. Leave it overnight or at least 4 hours.
- After the cheesecake is done chilling, remove from the fridge. Remove the ring from around the pan.
Make the crème brûlée topping:
- Sprinkle the sugar on an even layer on top of the cheesecake. Use a torch to caramelize the sugar on top.
- Allow for the caramelized sugar to harden up on top, which should take a few minutes. Slice and serve.


This is so simple to make and tastes divine. Thanks for the recipe. . I make 1.5 times the amount for the base as found there wasn’t enough mix to do the sides the first time.