This post may contain affiliate links. Please see our disclosure policy.
This Christmas Pavlova is a showstopper dessert. Imagine a crisp meringue base topped with softly whipped cream, red wine poached pears and a decadent chocolate sauce drizzle. However, you will be surprised at how easy it is to make. Since the components can all be made ahead of time, it’s a great one for entertaining as you can just assemble at the last minute with minimal fuss.
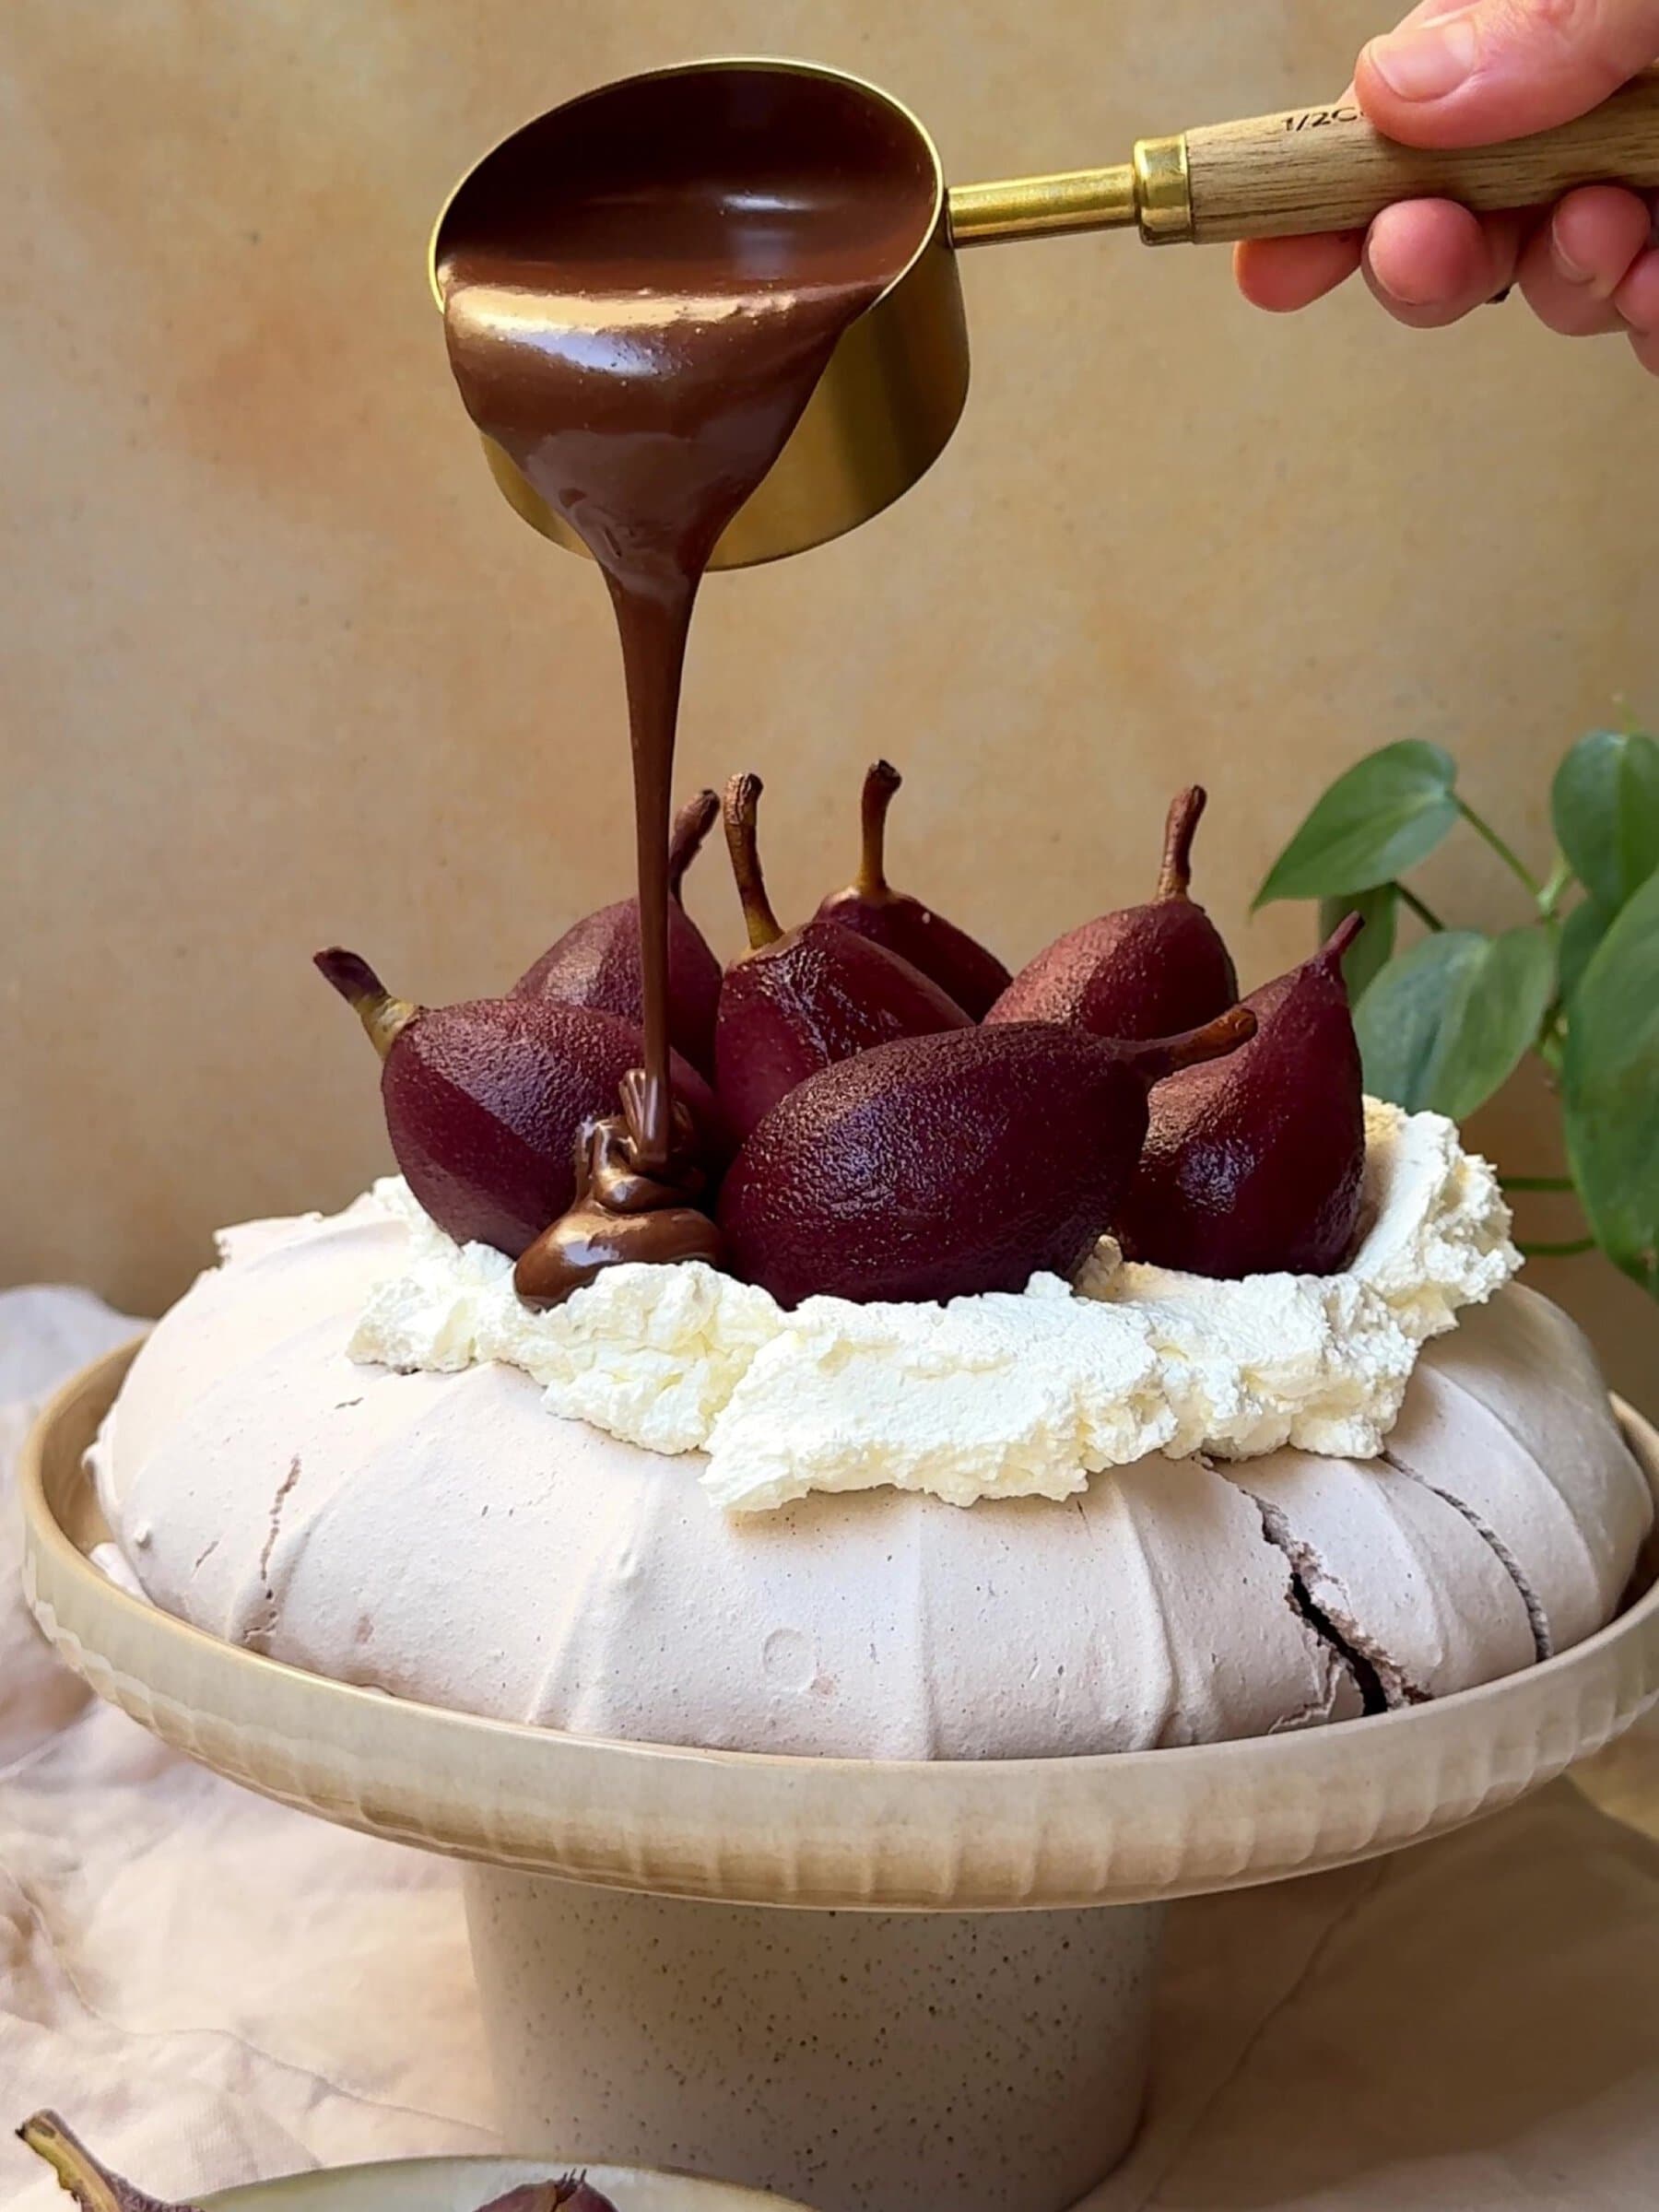
This recipe makes one large round pavlova, but you can play around with the shape, sometimes I like to make it in a ring shape to look like a wreath (like my Christmas wreath pavlova) . But I love the way you can pile this Pavlova high with whipped cream and it makes a real centre piece. I love the combination of pears and chocolate (my chocolate and pear cake is so good too). I think the way the pears turn gorgeously blushed from the red wine poaching make this recipe feel and look festive. These pears alone served with some vanilla ice cream also makes a great pudding.
Many people worry about pavlovas as they have a tendency to crack. Firstly, I want to say that if your pavlova cracks, that is more than fine. You can see mine is cracked, that’s part of the nature of a pavlova and is perfectly fine, nothing to worry about. Usually, it’s just a small crack or two which is covered with cream anyway. It will still hold together. Sometimes these things happen and there’s nothing to be done. However, there are some tips below in the Cooking Tips section to help avoid a crack if you are a real perfectionist. Personally, I think a crack just adds to the charm of the dessert, so I wouldn’t worry.
Table of Contents
Why you will love this recipe:
- It looks really impressive which makes it a perfect celebration pudding for the festive season.
- The components are all prepped ahead of time which means you can just decorate when you want to serve it.
- The combination of pears and chocolate is one of the best ever. Poaching the pears in red wine takes it to the next level.
- This pavlova is naturally gluten free (do check your individual packaging though) which makes it a great crowd-pleaser.
Ingredients:
Full recipe can be found in the printable recipe card at the bottom of the post, just scroll down.
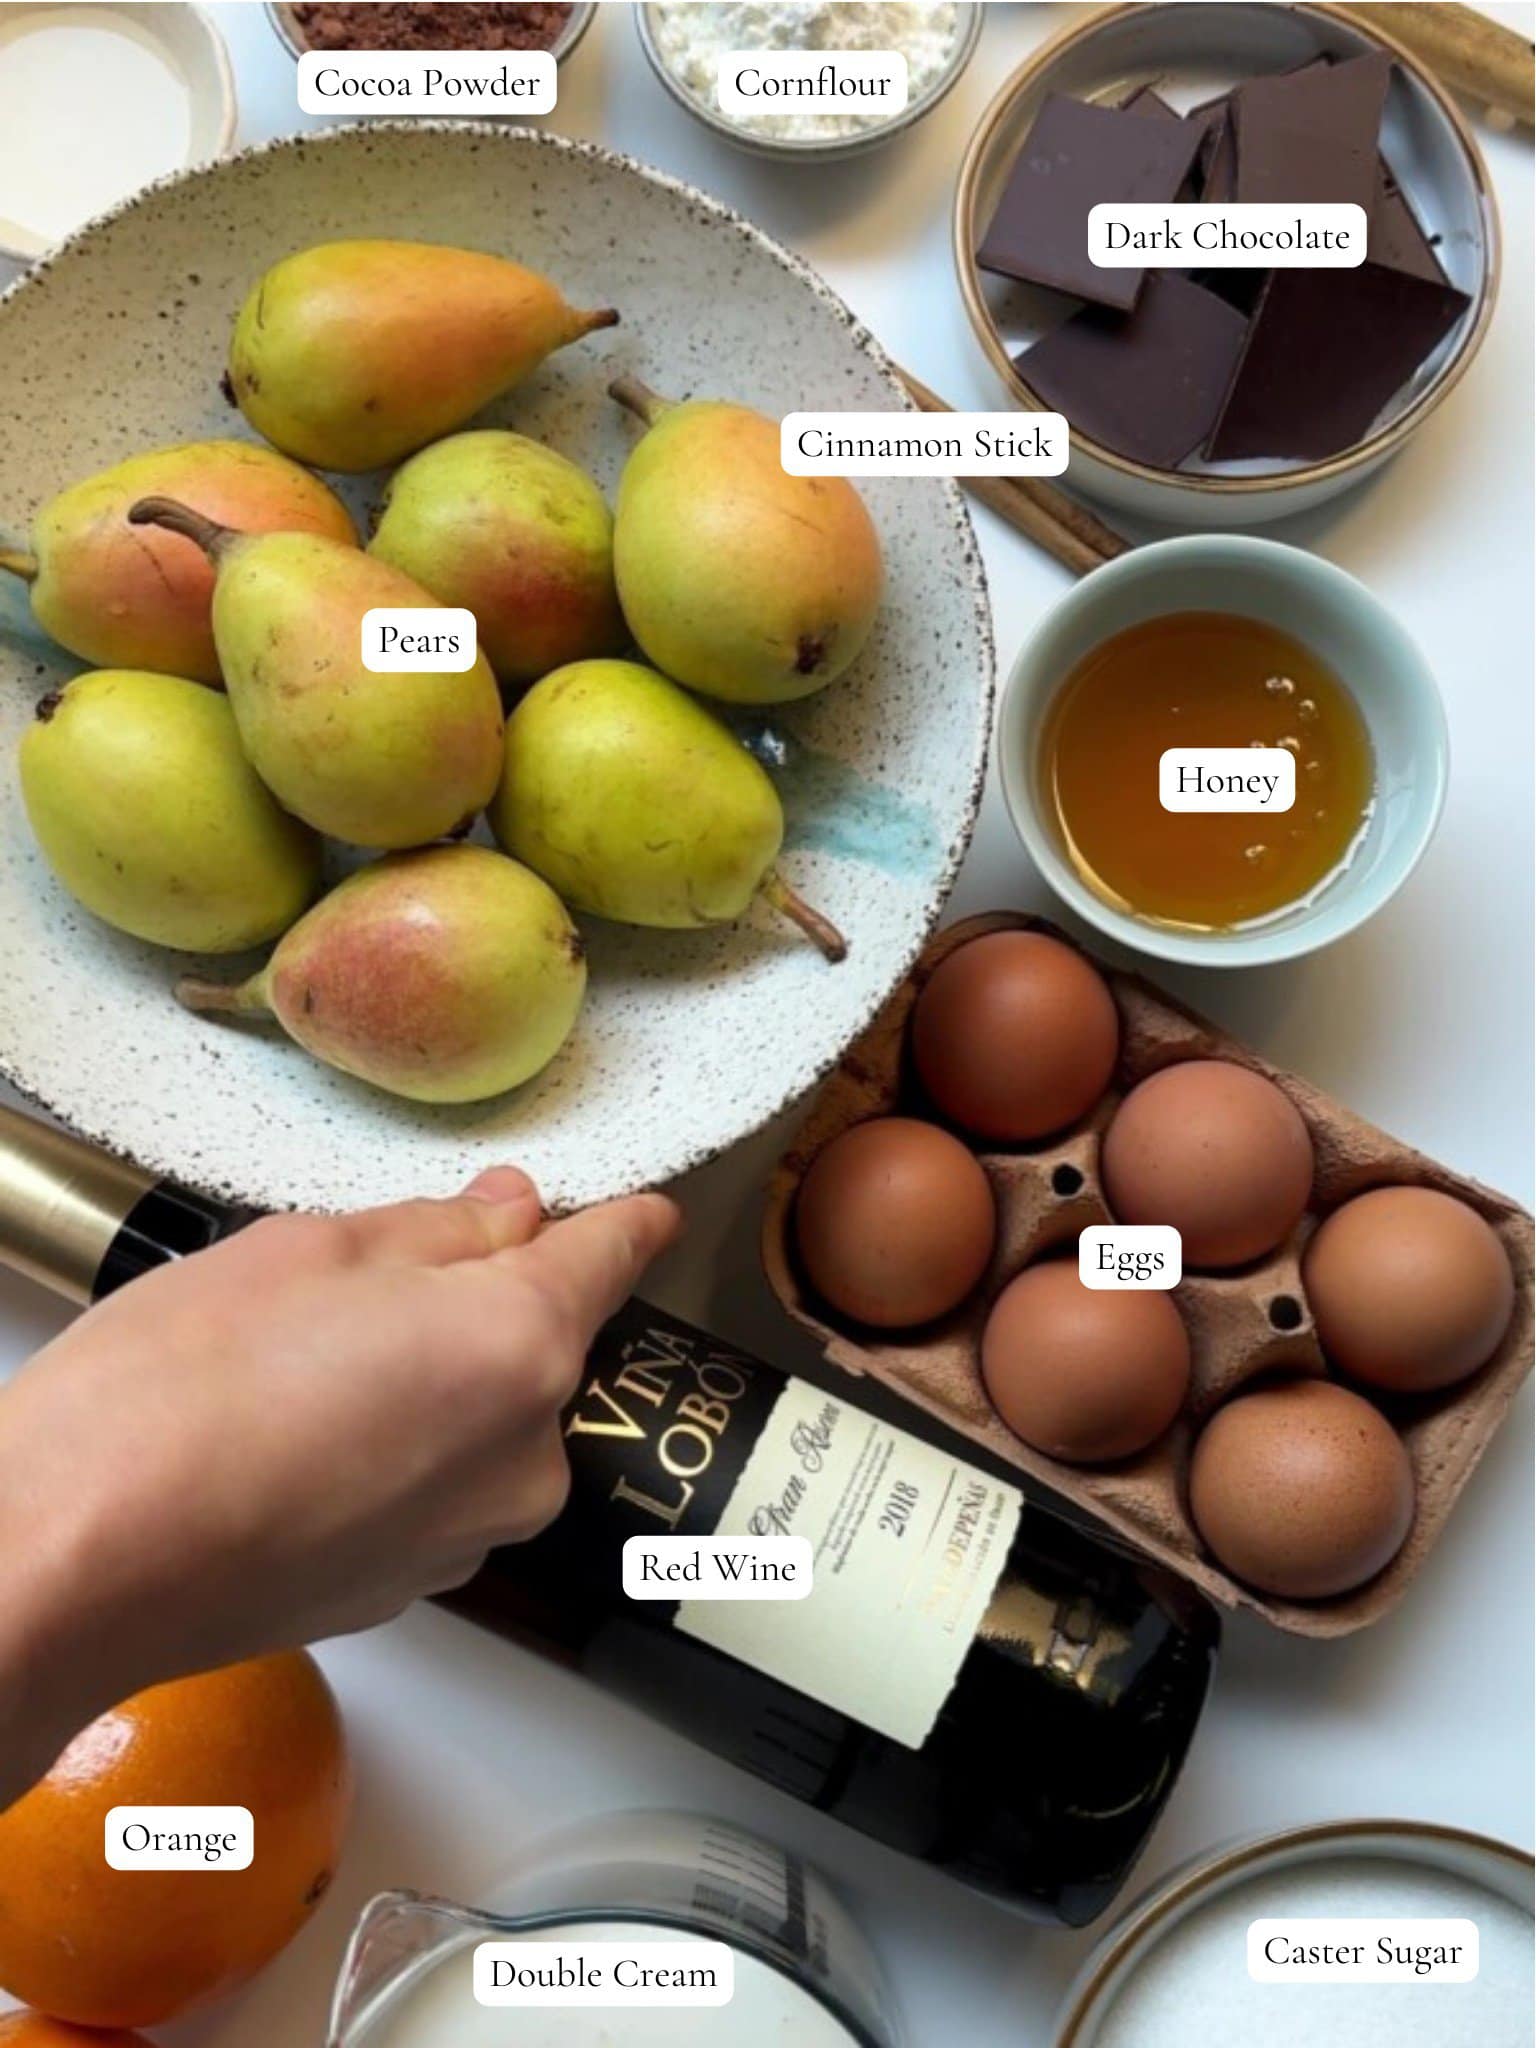
Pears – you want to use ripe but firm (make sure they are not totally soft). Small pears really are preferable for this. If you can only find large pears, use a vegetable peeler to shave them down a bit and cut their bottoms off. You can enjoy any offcuts as a snack or use them in a crumble (like my apple and blackberry crumble).
Red wine – I find Pinot Noir the best to use here.
Cocoa powder – this gives the meringue a subtle chocolate flavour as well as a golden brown hue.
White wine vinegar – this helps to stabilise the egg whites so that the meringue doesn’t collapse too much.
Cornflour – this helps to stabilise the egg whites so that the meringue doesn’t separate and no liquid from the egg whites seeps out.
Dark chocolate – I use dark chocolate here as the rest of the meringue is sweet so this balances it nicely. Opt for the best quality you can find, ideally 70%, for the most delicious results.
Substitutions and Variations:
- Honey – I love the subtle floral taste honey gives the poaching liquid. However, you can also use maple syrup.
- Sugar – you can use golden caster sugar for a subtle caramel-like flavour. Your Christmas pavlova will be slightly darker than if you just use caster sugar. However, since there’s cocoa powder in the meringue anyway, colour doesn’t really matter.
- Nuts: a sprinkling of nuts add a delicious texture to this Christmas pavlova. Hazelnuts and almonds are delicious. I also love pistachios as the green looks super festive. Remember to toast them first to bring out the flavourl Alternatively, crushed amaretti biscuits are divine!
- Chocolate – you can use milk chocolate for the chocolate sauce, if you prefer. However, if you prefer sweeter flavours, I would opt for a lower cocoa solids dark chocolate. It’s less bitter but not quite as sweet as milk chocolate. Try a 54% bar instead.
- Red wine altenatives – the pears can be poached without the red wine. I think the red wine makes it look more festive but if you would like to omit it, there are alternatives. Either use an alcohol free red wine or fruit juice. It would work well with orange juice or cranberry juice, even apple juice. If you want to, you can poach the pears in a sugar syrup. Substitute with 450ml water and add the honey and caster sugar as instructed. The final amount of sugar depends on the sweetness of the pears and your own tastes. So taste it as you go, and add more sugar as needed. Go slowly as you can always add but can’t take away.
- Red wine syrup – chocolate sauce isn’t the only way to serve this, you could reduce the red wine poaching liquid into a thick syrup. It’s so delicious and it complements the pears so well, of course. Remove the pears from the pear as instructed but don’t discard the poaching liquid. Then turn the heat to medium-high and bubble the poaching liquid until totally reduced, syrupy and glossy. This will take anywhere from 15 to 30 minutes, it will depend on the pan used and how much it bubbles, so be patient with it.
- Serve without meringue – of course, this is a pavlova recipe but the poached pears in red wine do really stand out on their own. You could serve with poached pears with the whipped cream and then either the chocolate sauce or the reduced red wine syrup, as detailed above. For the pavlova, I like to use small, delicate pears as they look daintier but if you were to serve without the meringue, you could use larger, more pointy pears. Slice the bottom off so they stand tall. You could also core the pears if you’d like. This is optional, it’s definitely a fancier way of doing it and can be a little fiddly but I would do it if serving for a dinner party. If I were just serving at home, I don’t mind keeping the stalks in.
Here’s how to make a poached pear Christmas pavlova:
Here’s a step by step guide for what you need to do, but you can find the full recipe below for detailed instructions.
Part 1: For the poached pears
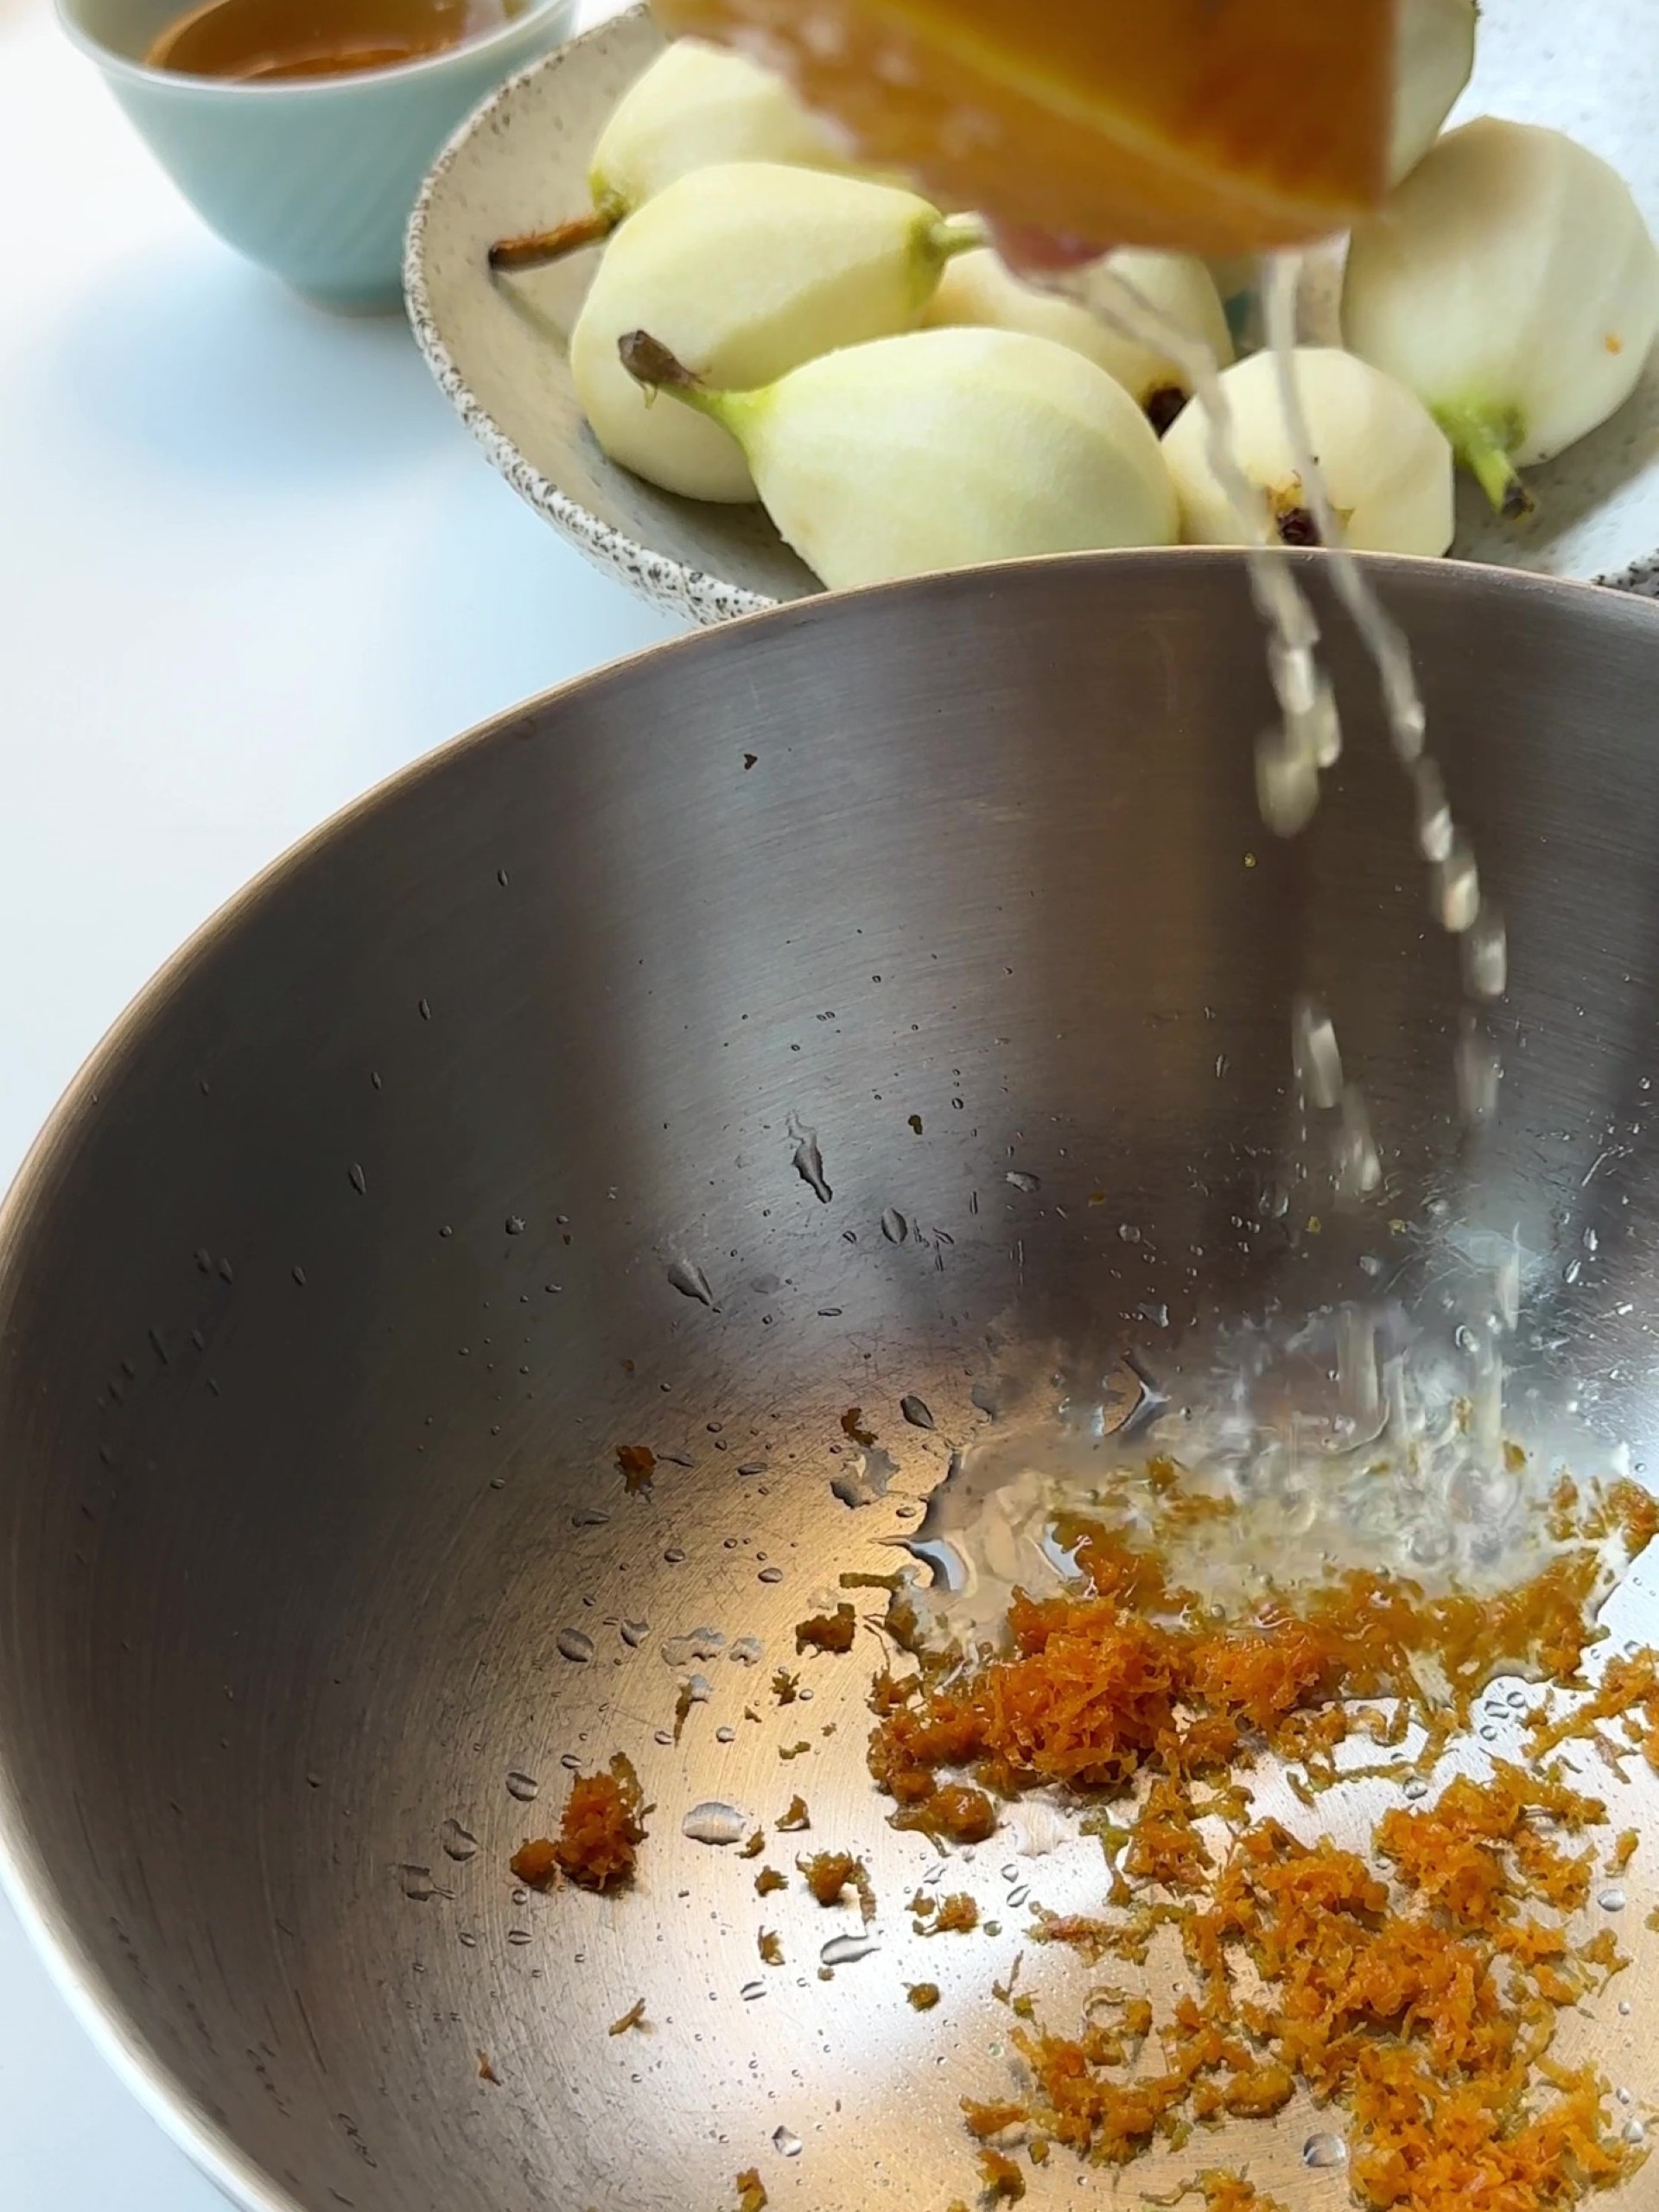
ONE: Zest and juice one of the oranges and pour the juice into a large mixing bowl. Slice the remaining orange into ¼-inch rounds.
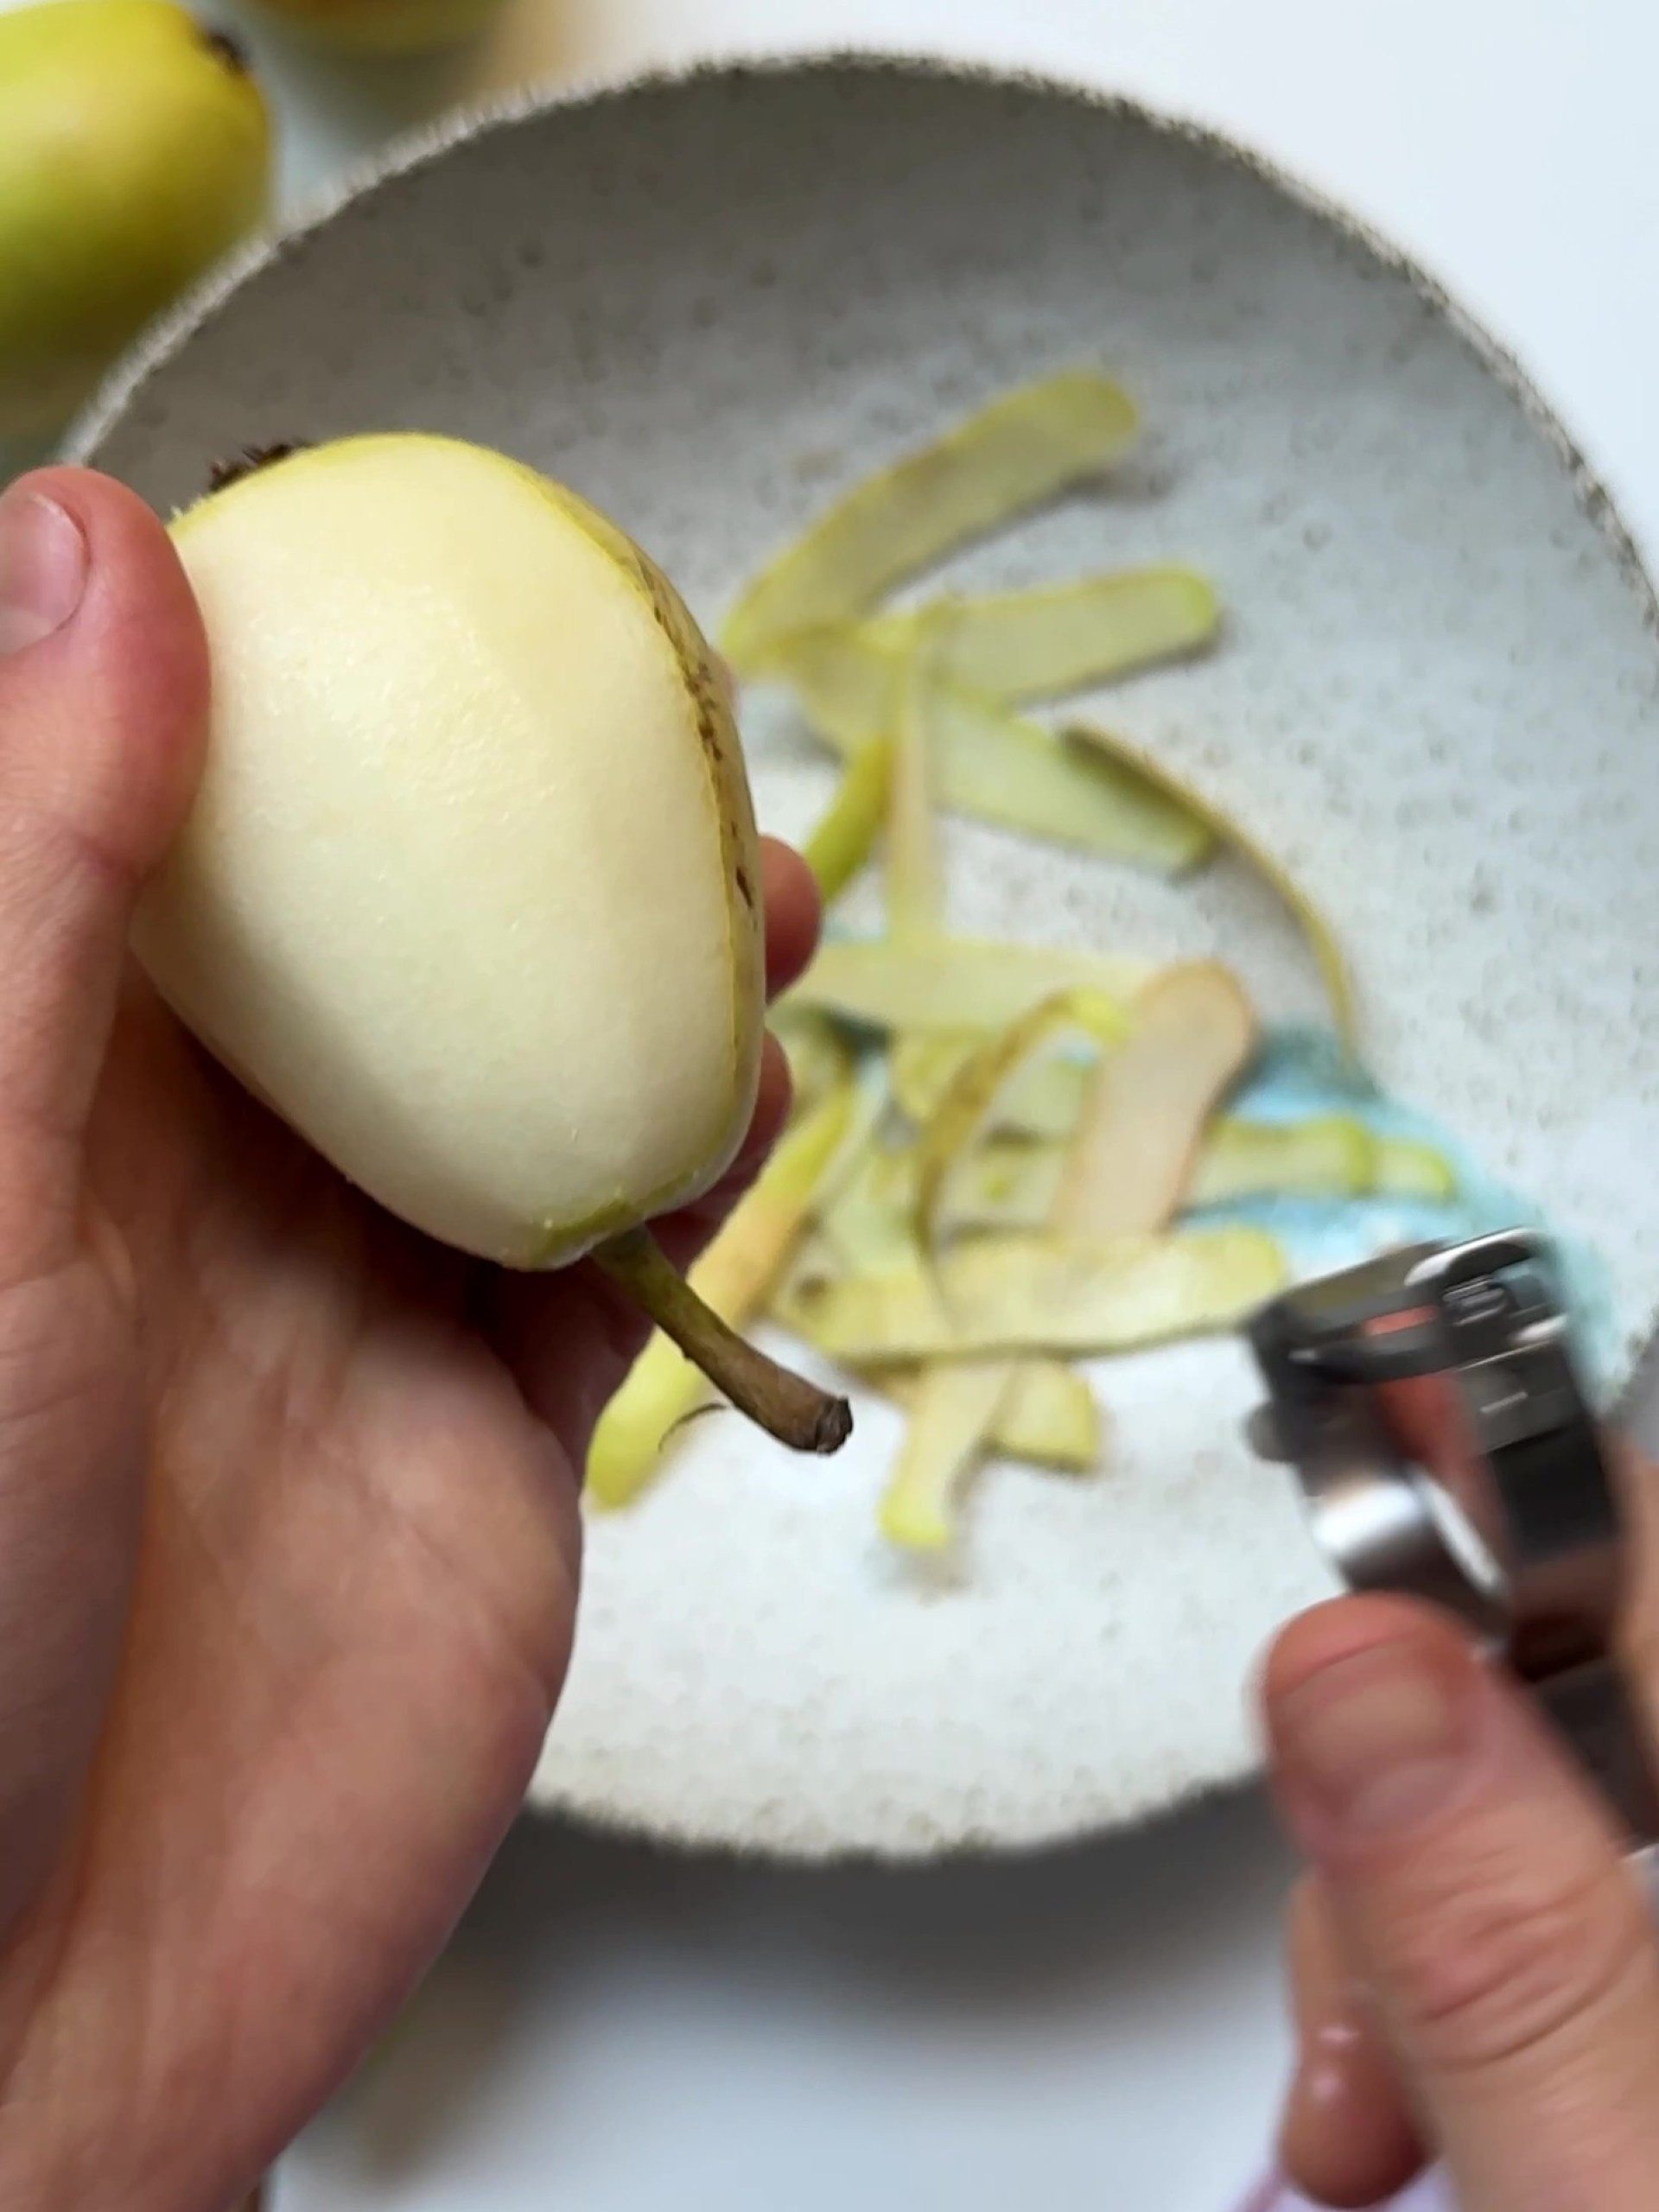
TWO: With a vegetable peeler, peel the pears, leaving them whole.
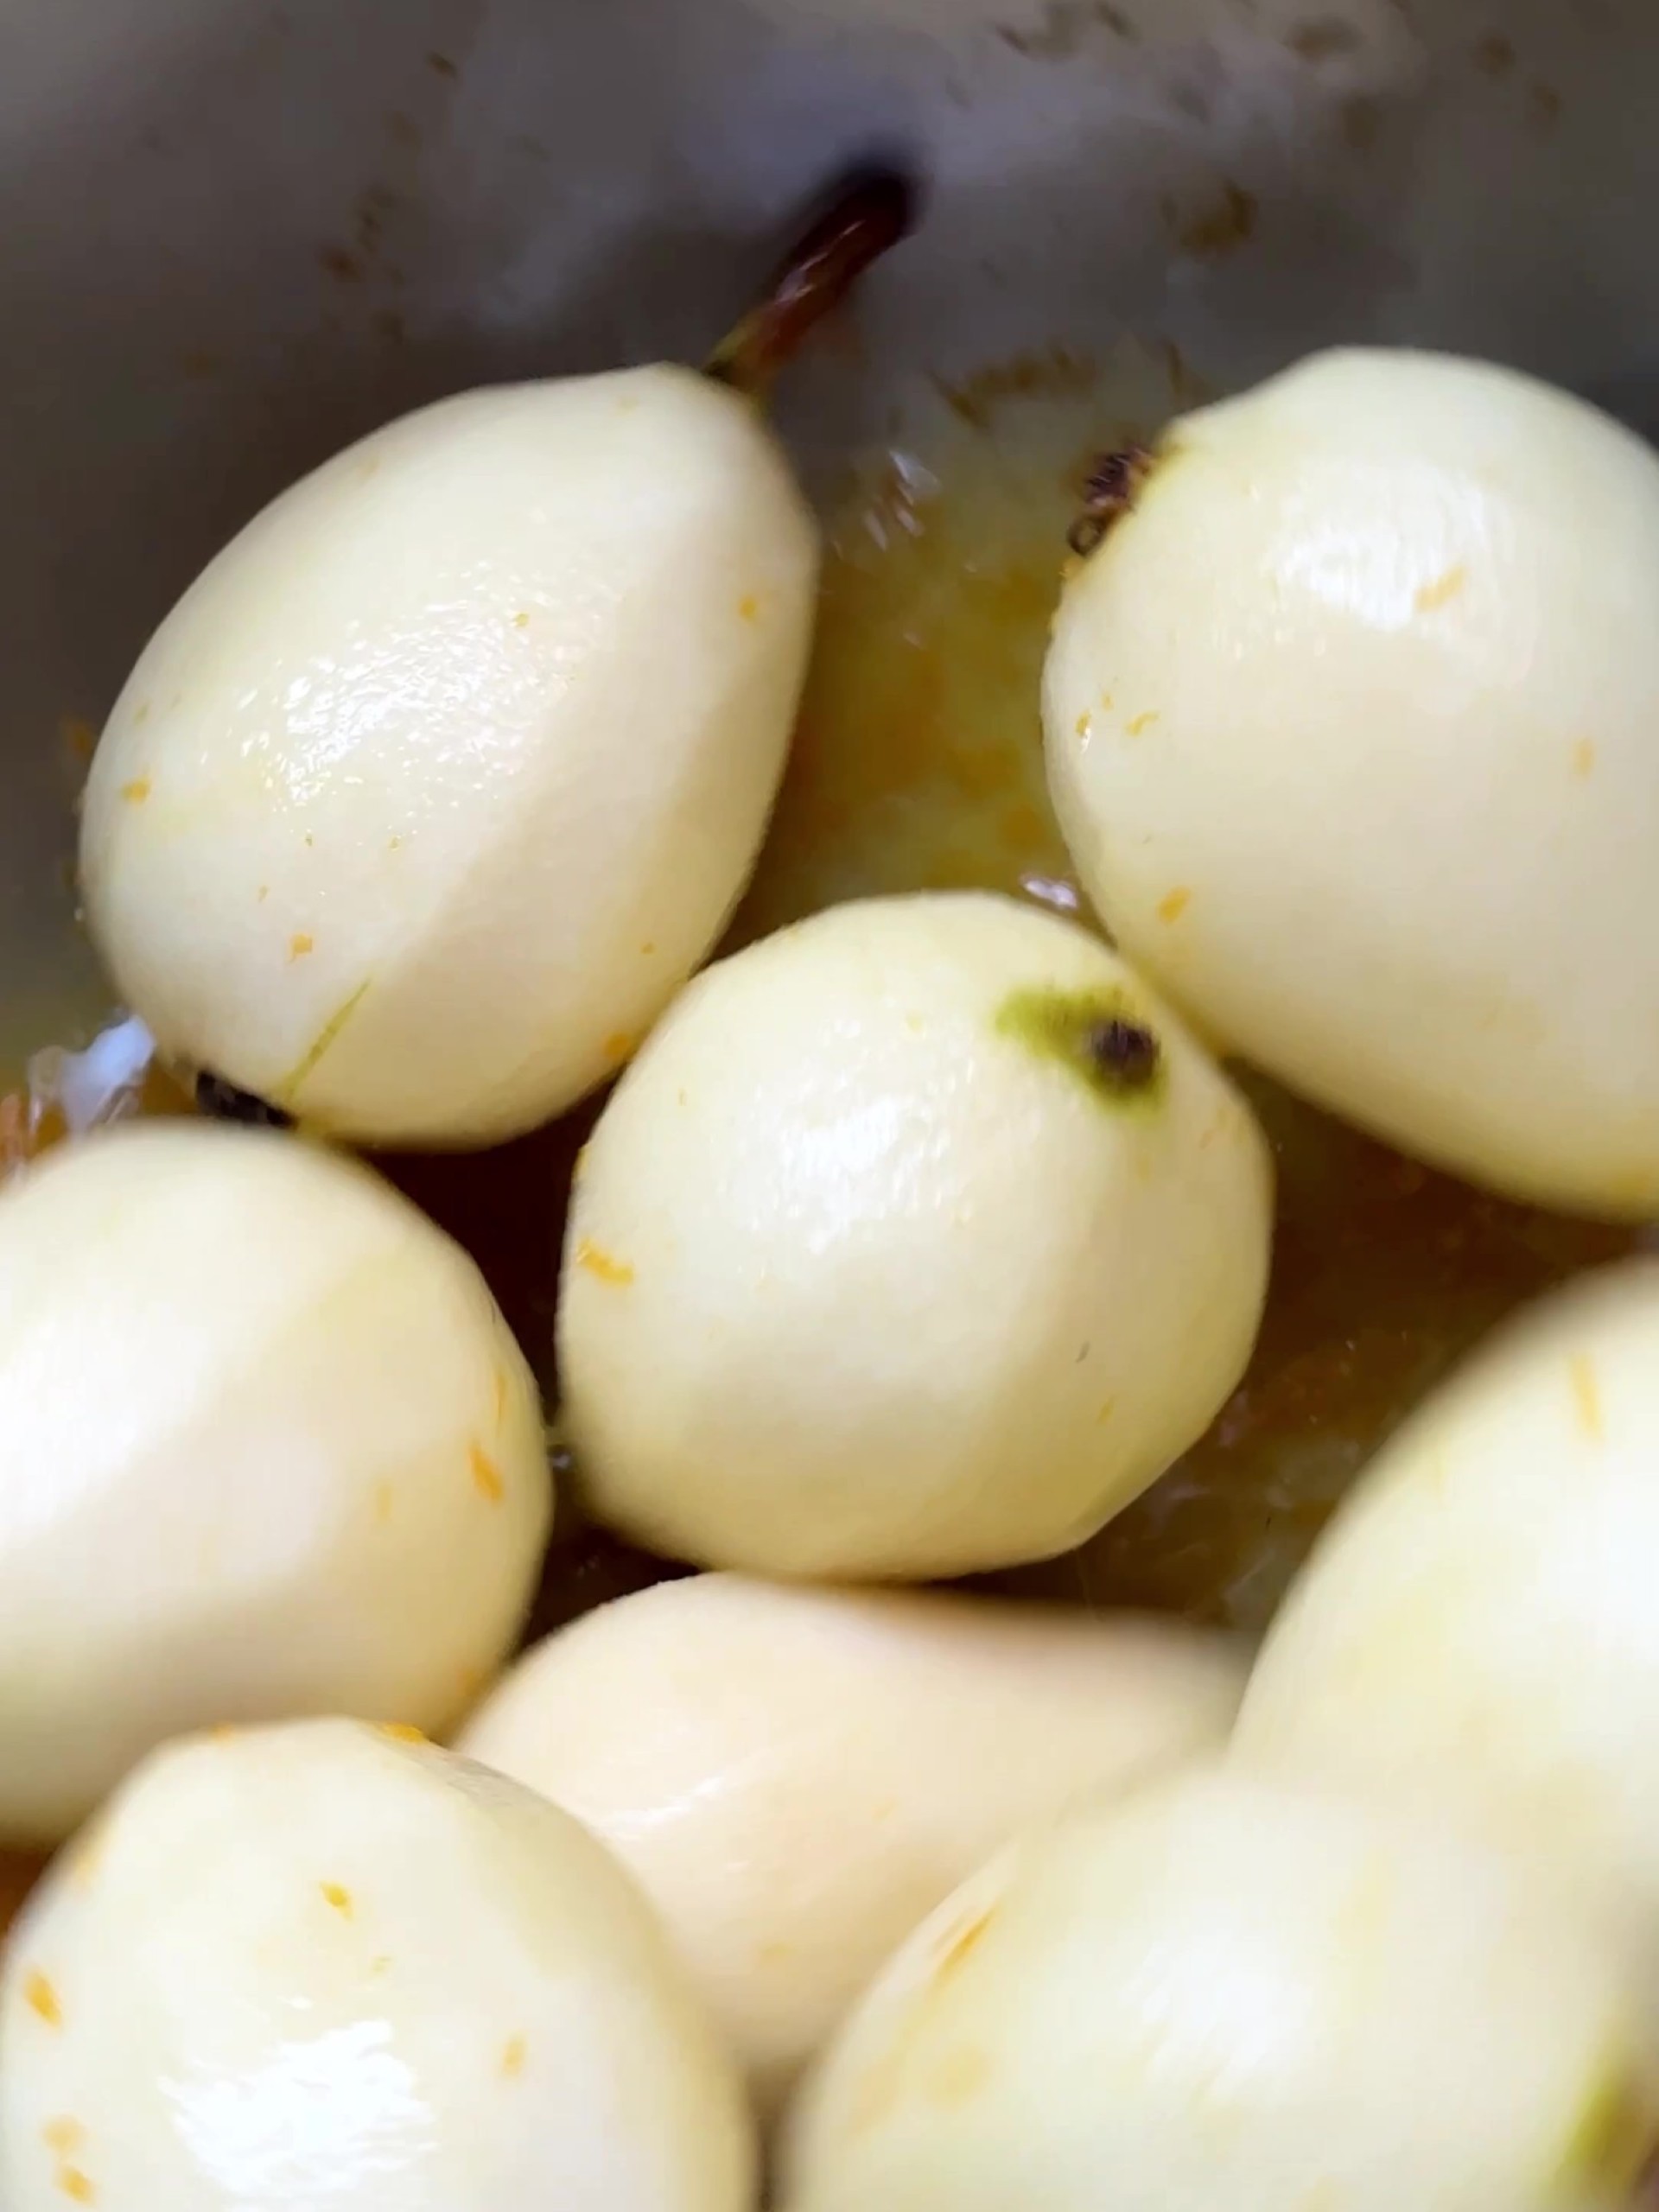
THREE: Add the pears to the bowl with the orange juice and toss to coat (this will help prevent them from turning brown too quickly).
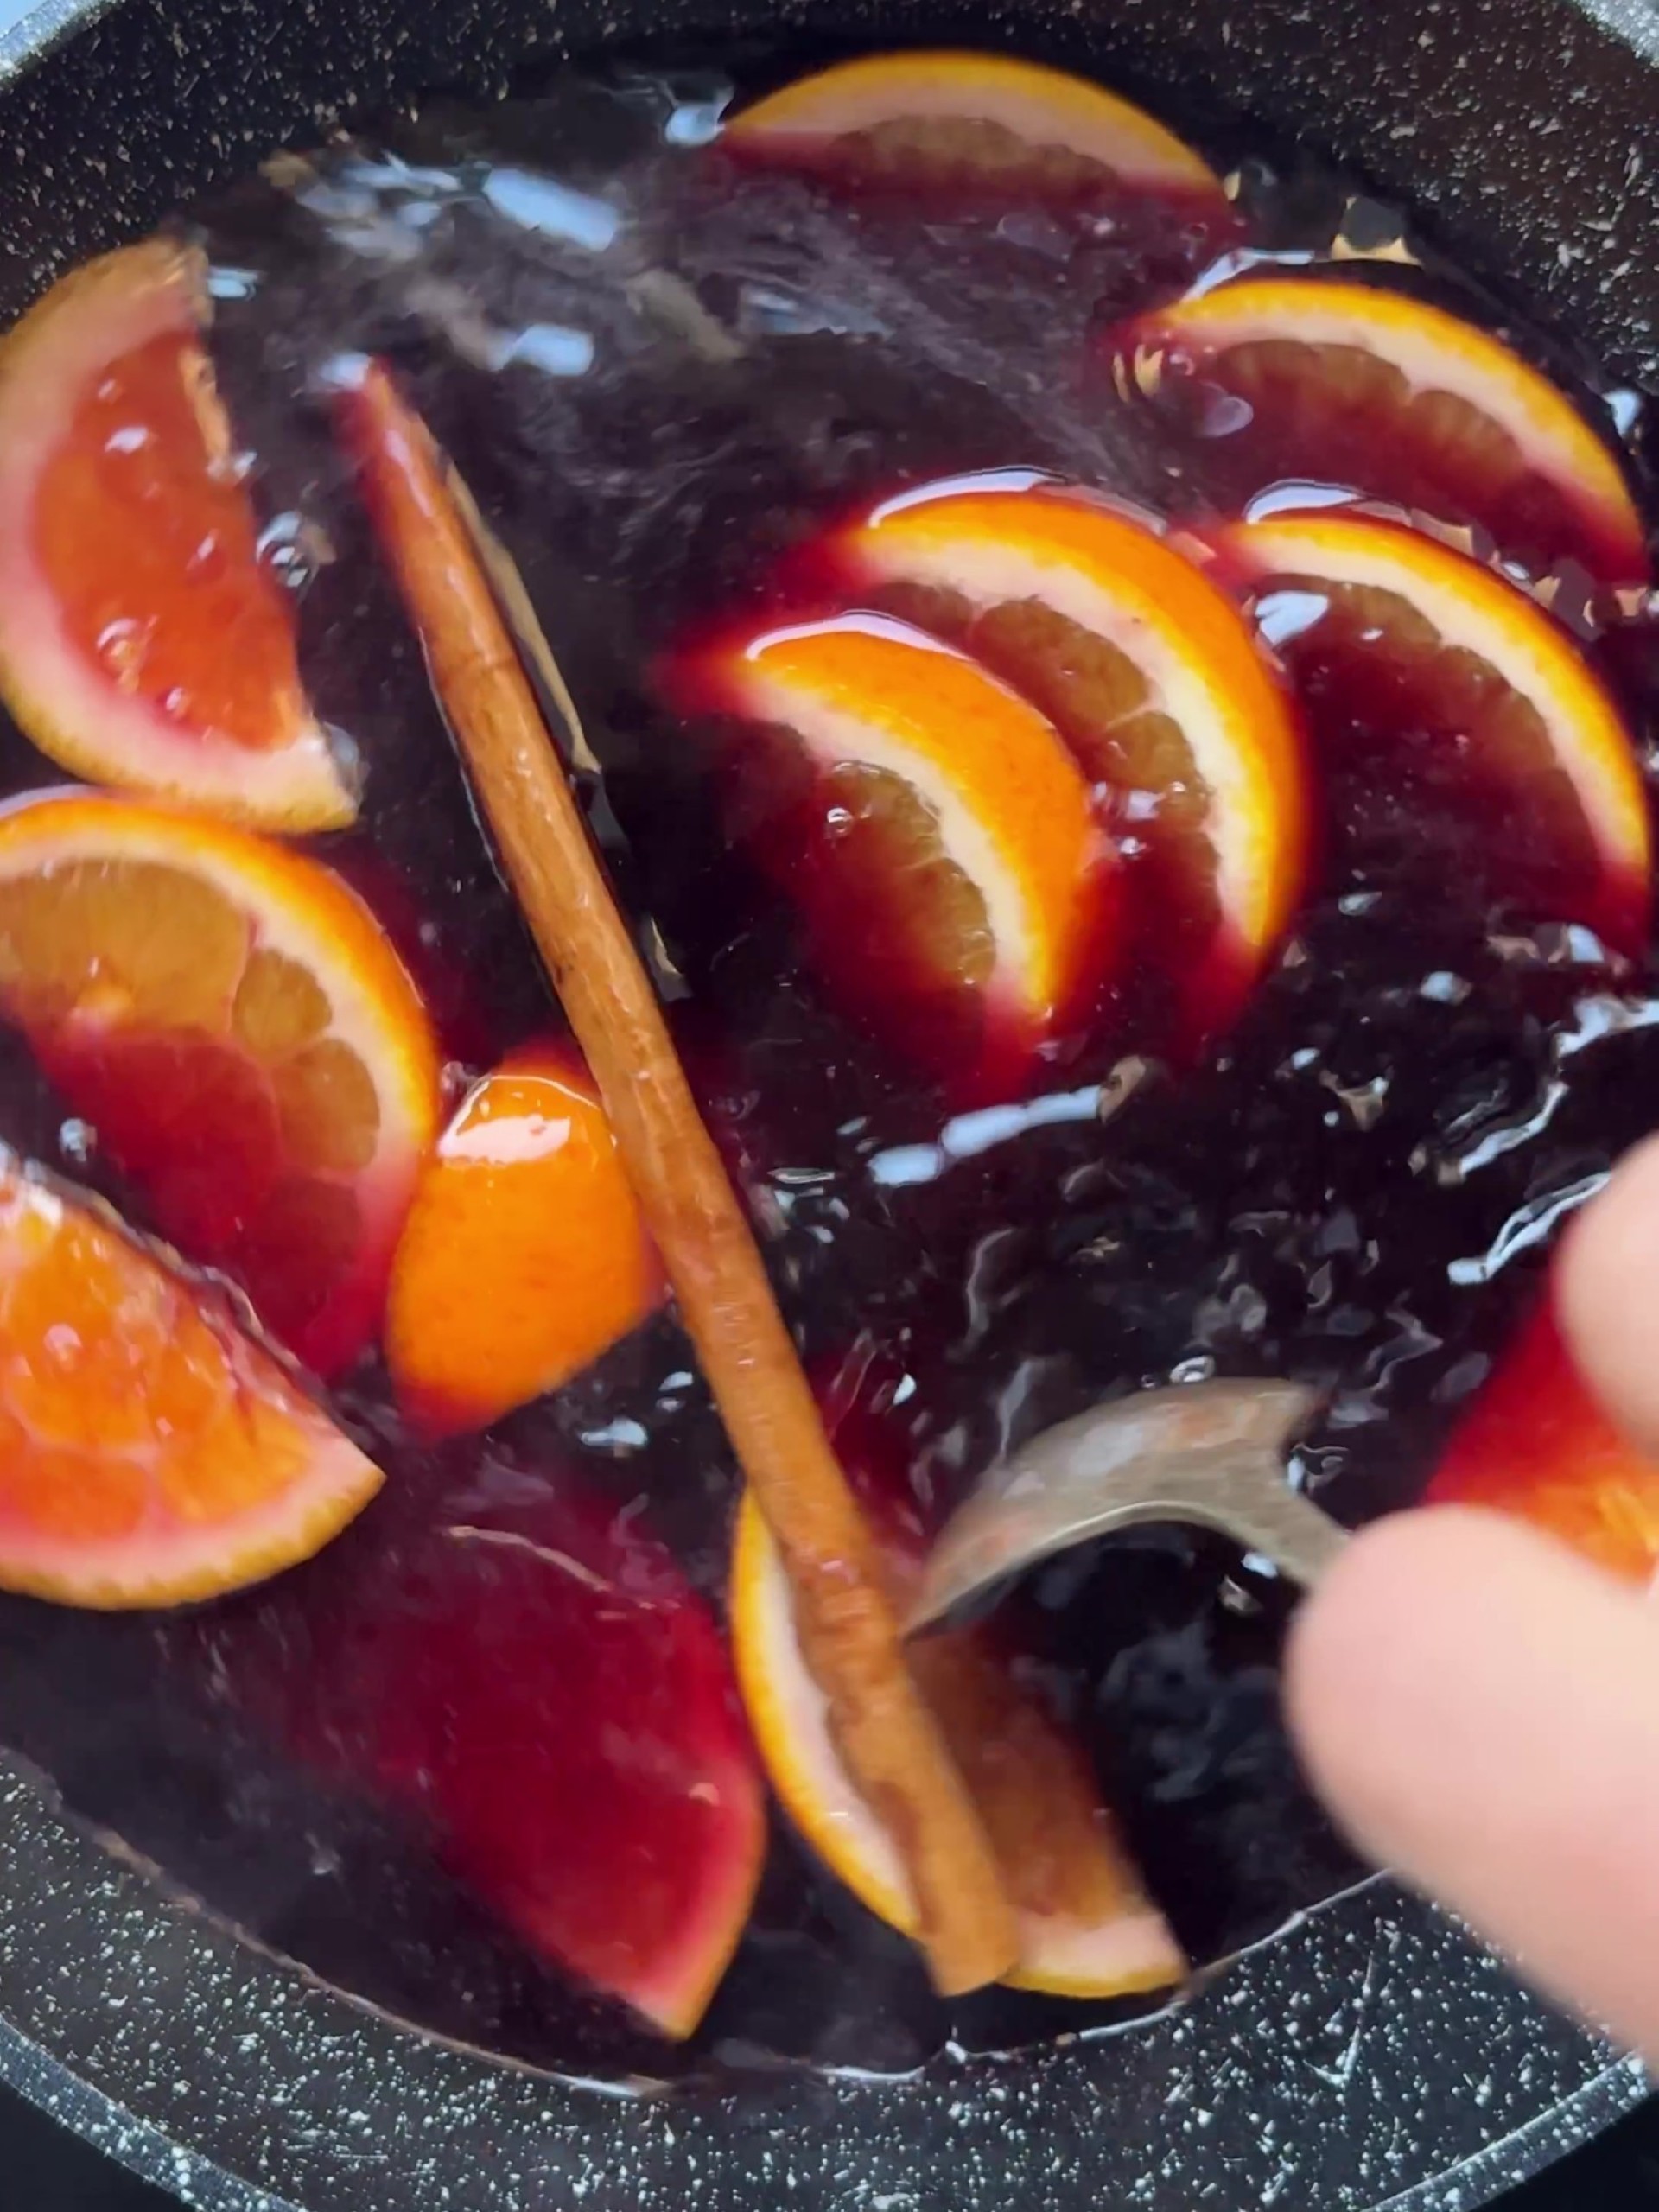
FOUR: Add the orange slices, red wine, honey, sugar, cinnamon stick, and cardamom to a saucepan.
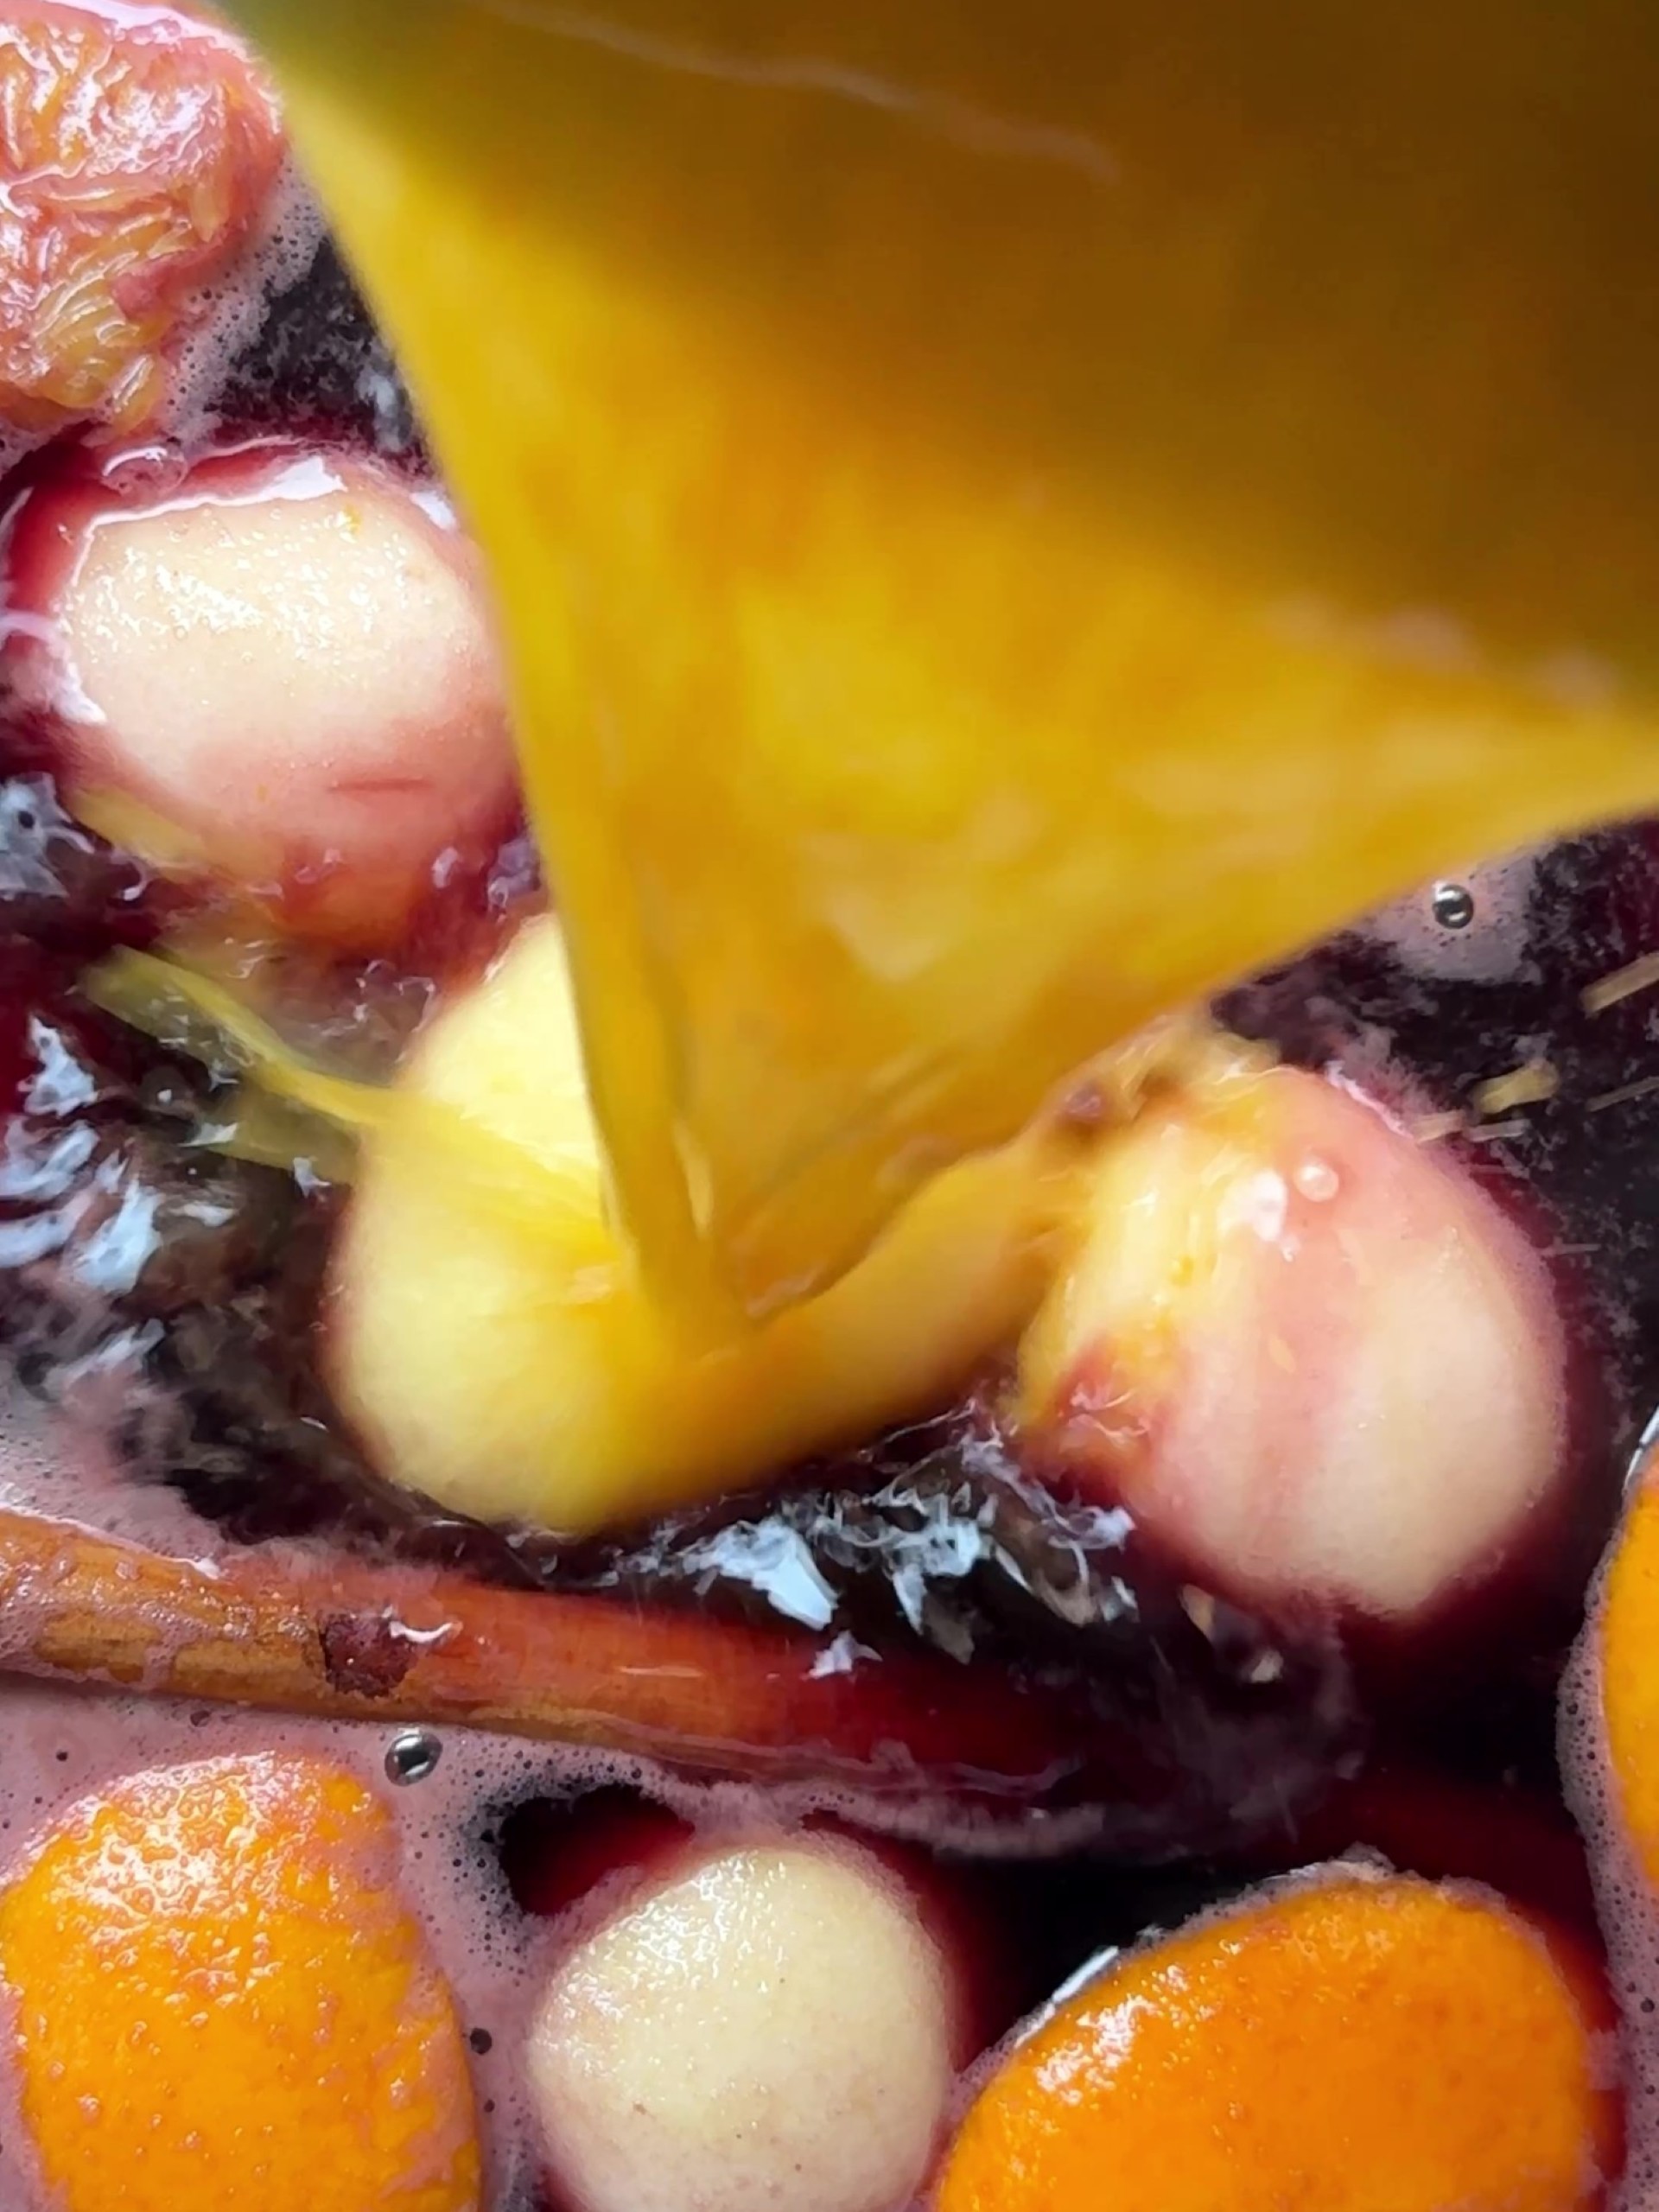
FIVE: Place the pan over a medium-high heat and bring the liquid to a rolling boil. Reduce the heat and carefully add the pears and orange juice. Cover and simmer gently for 20-30 minutes, occasionally rotating them using a wooden spoon, until the pears have softened enough for a skewer inserted in the middle of a pear at the thickest part to be met with no resistance.
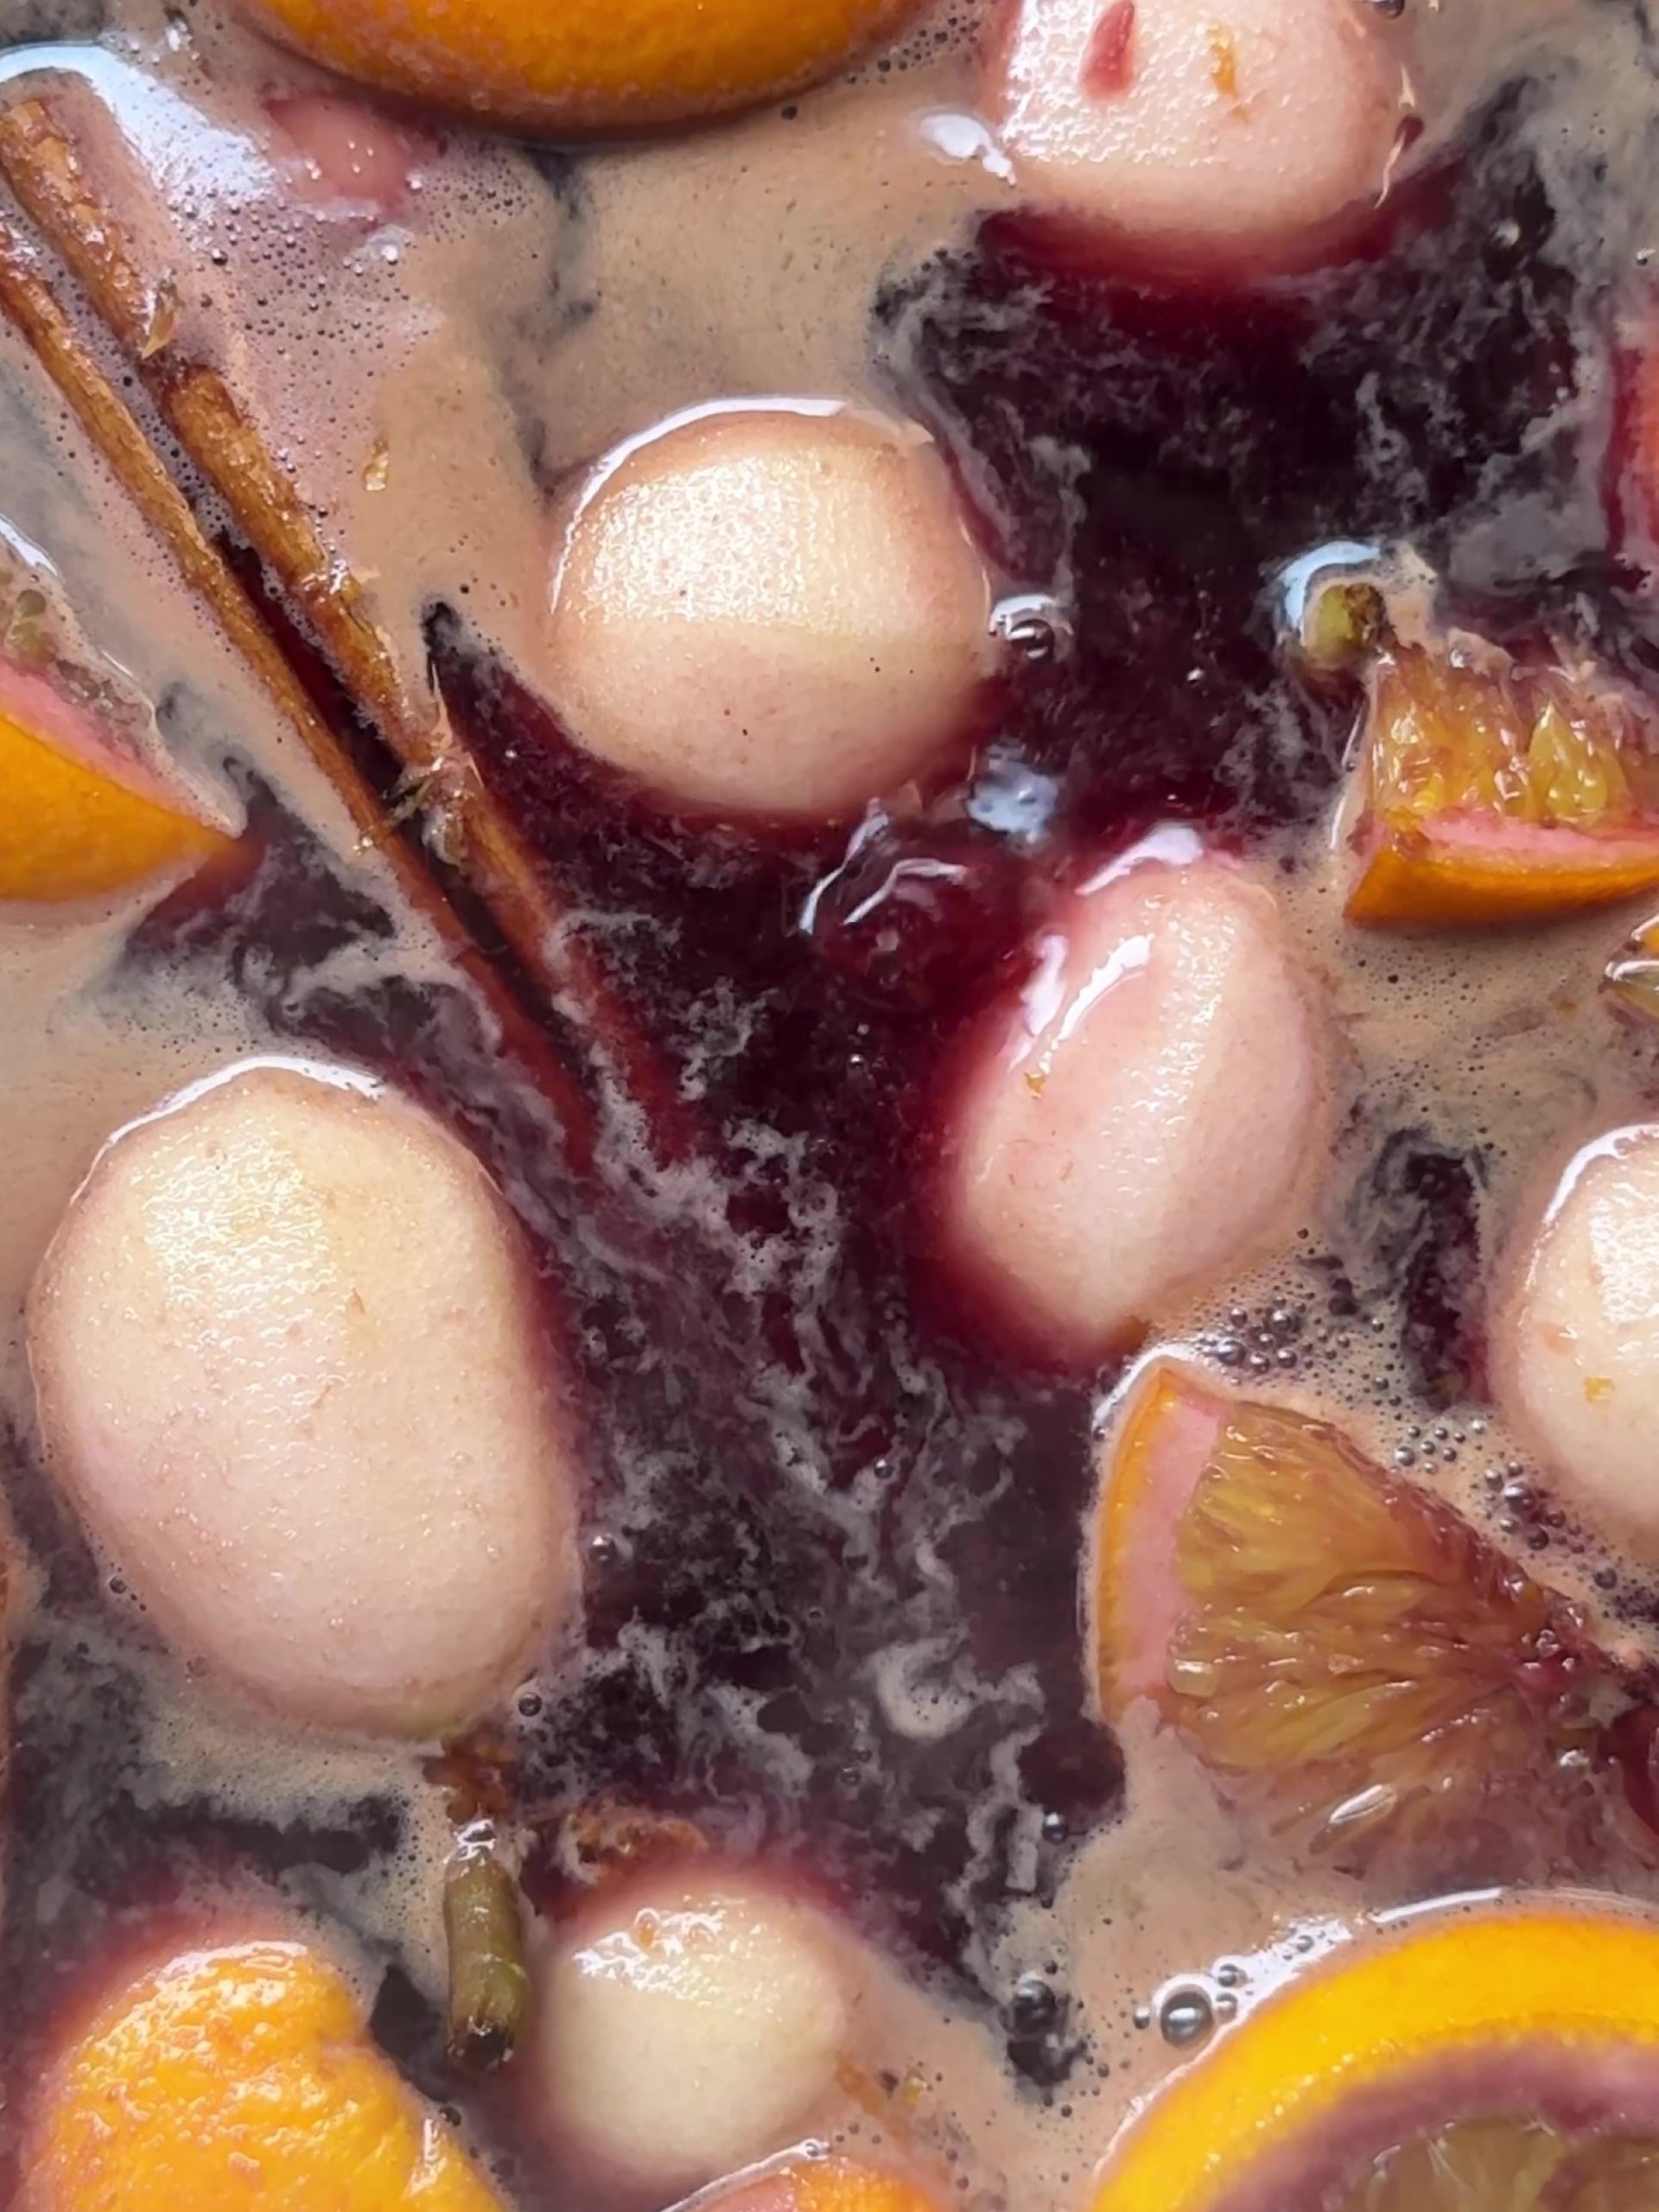
SIX: Transfer the pears back to the bowl that you tossed with orange juice. Set aside to cool.
Part 2: Making the Pavlova
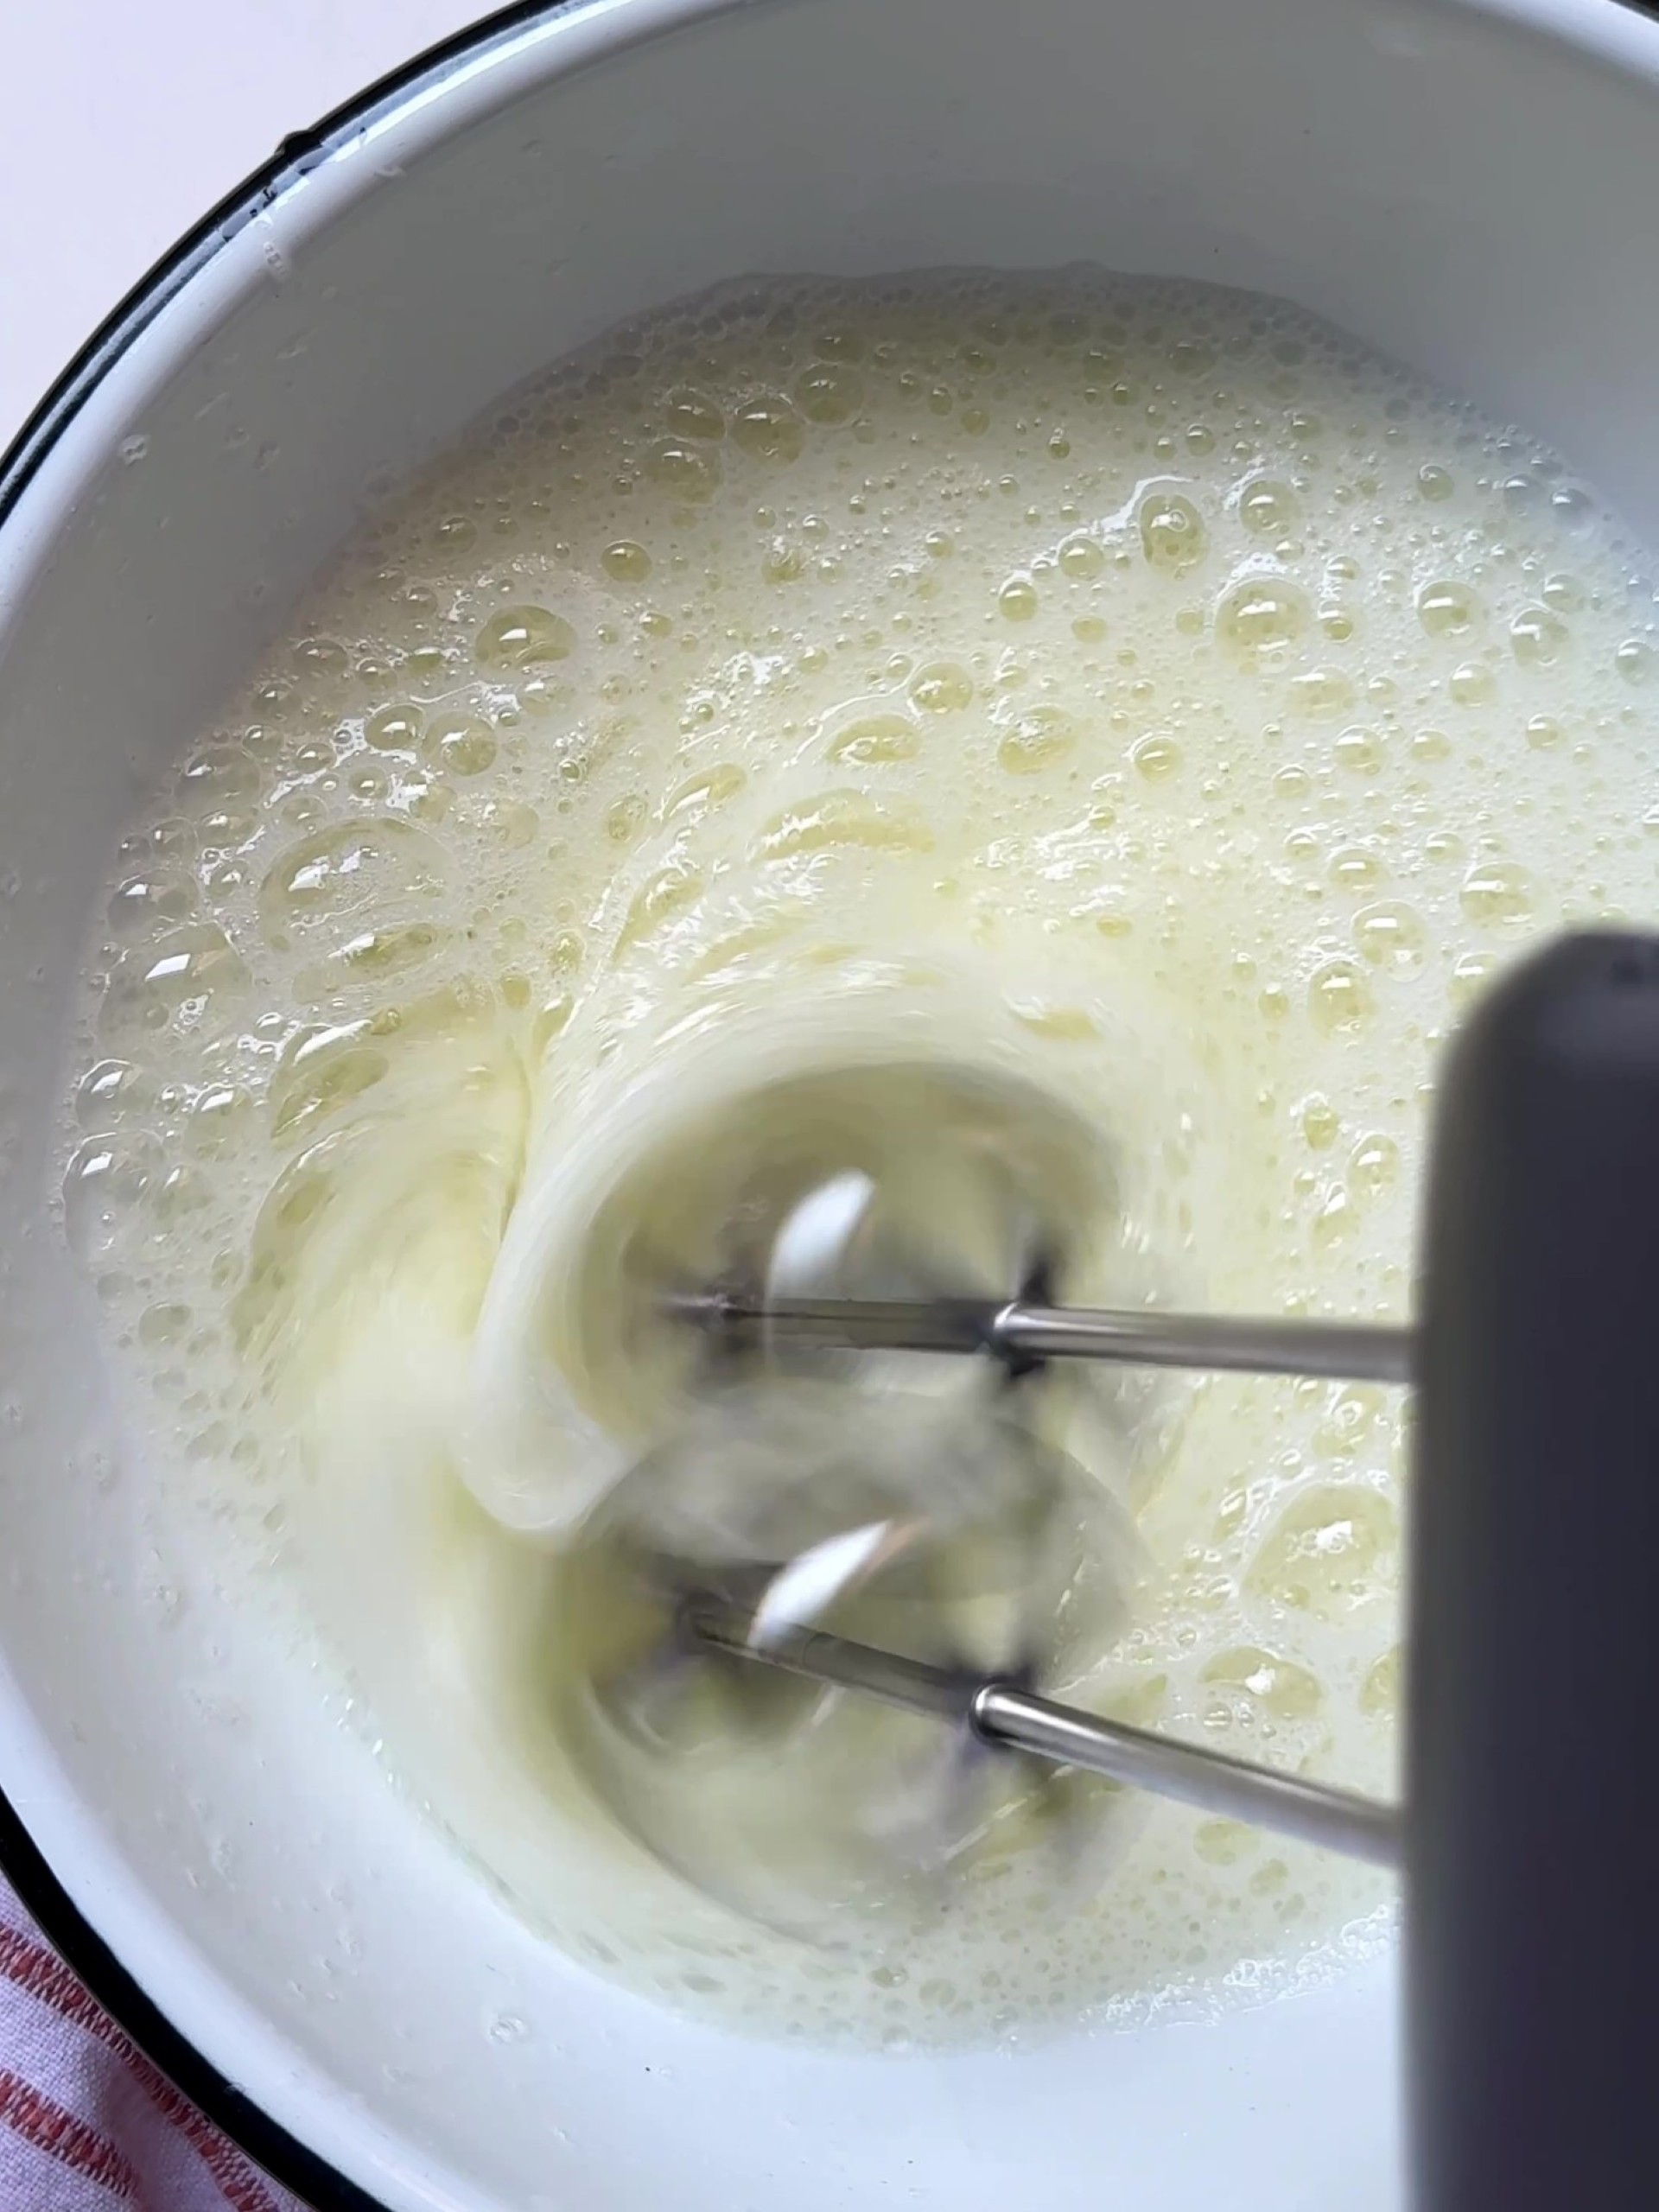
ONE: Preheat the oven to 120C / 100C Fan. Add the egg whites to the bowl of a stand mixer. Whisk on low until foamy, then increase to medium until soft peaks form.
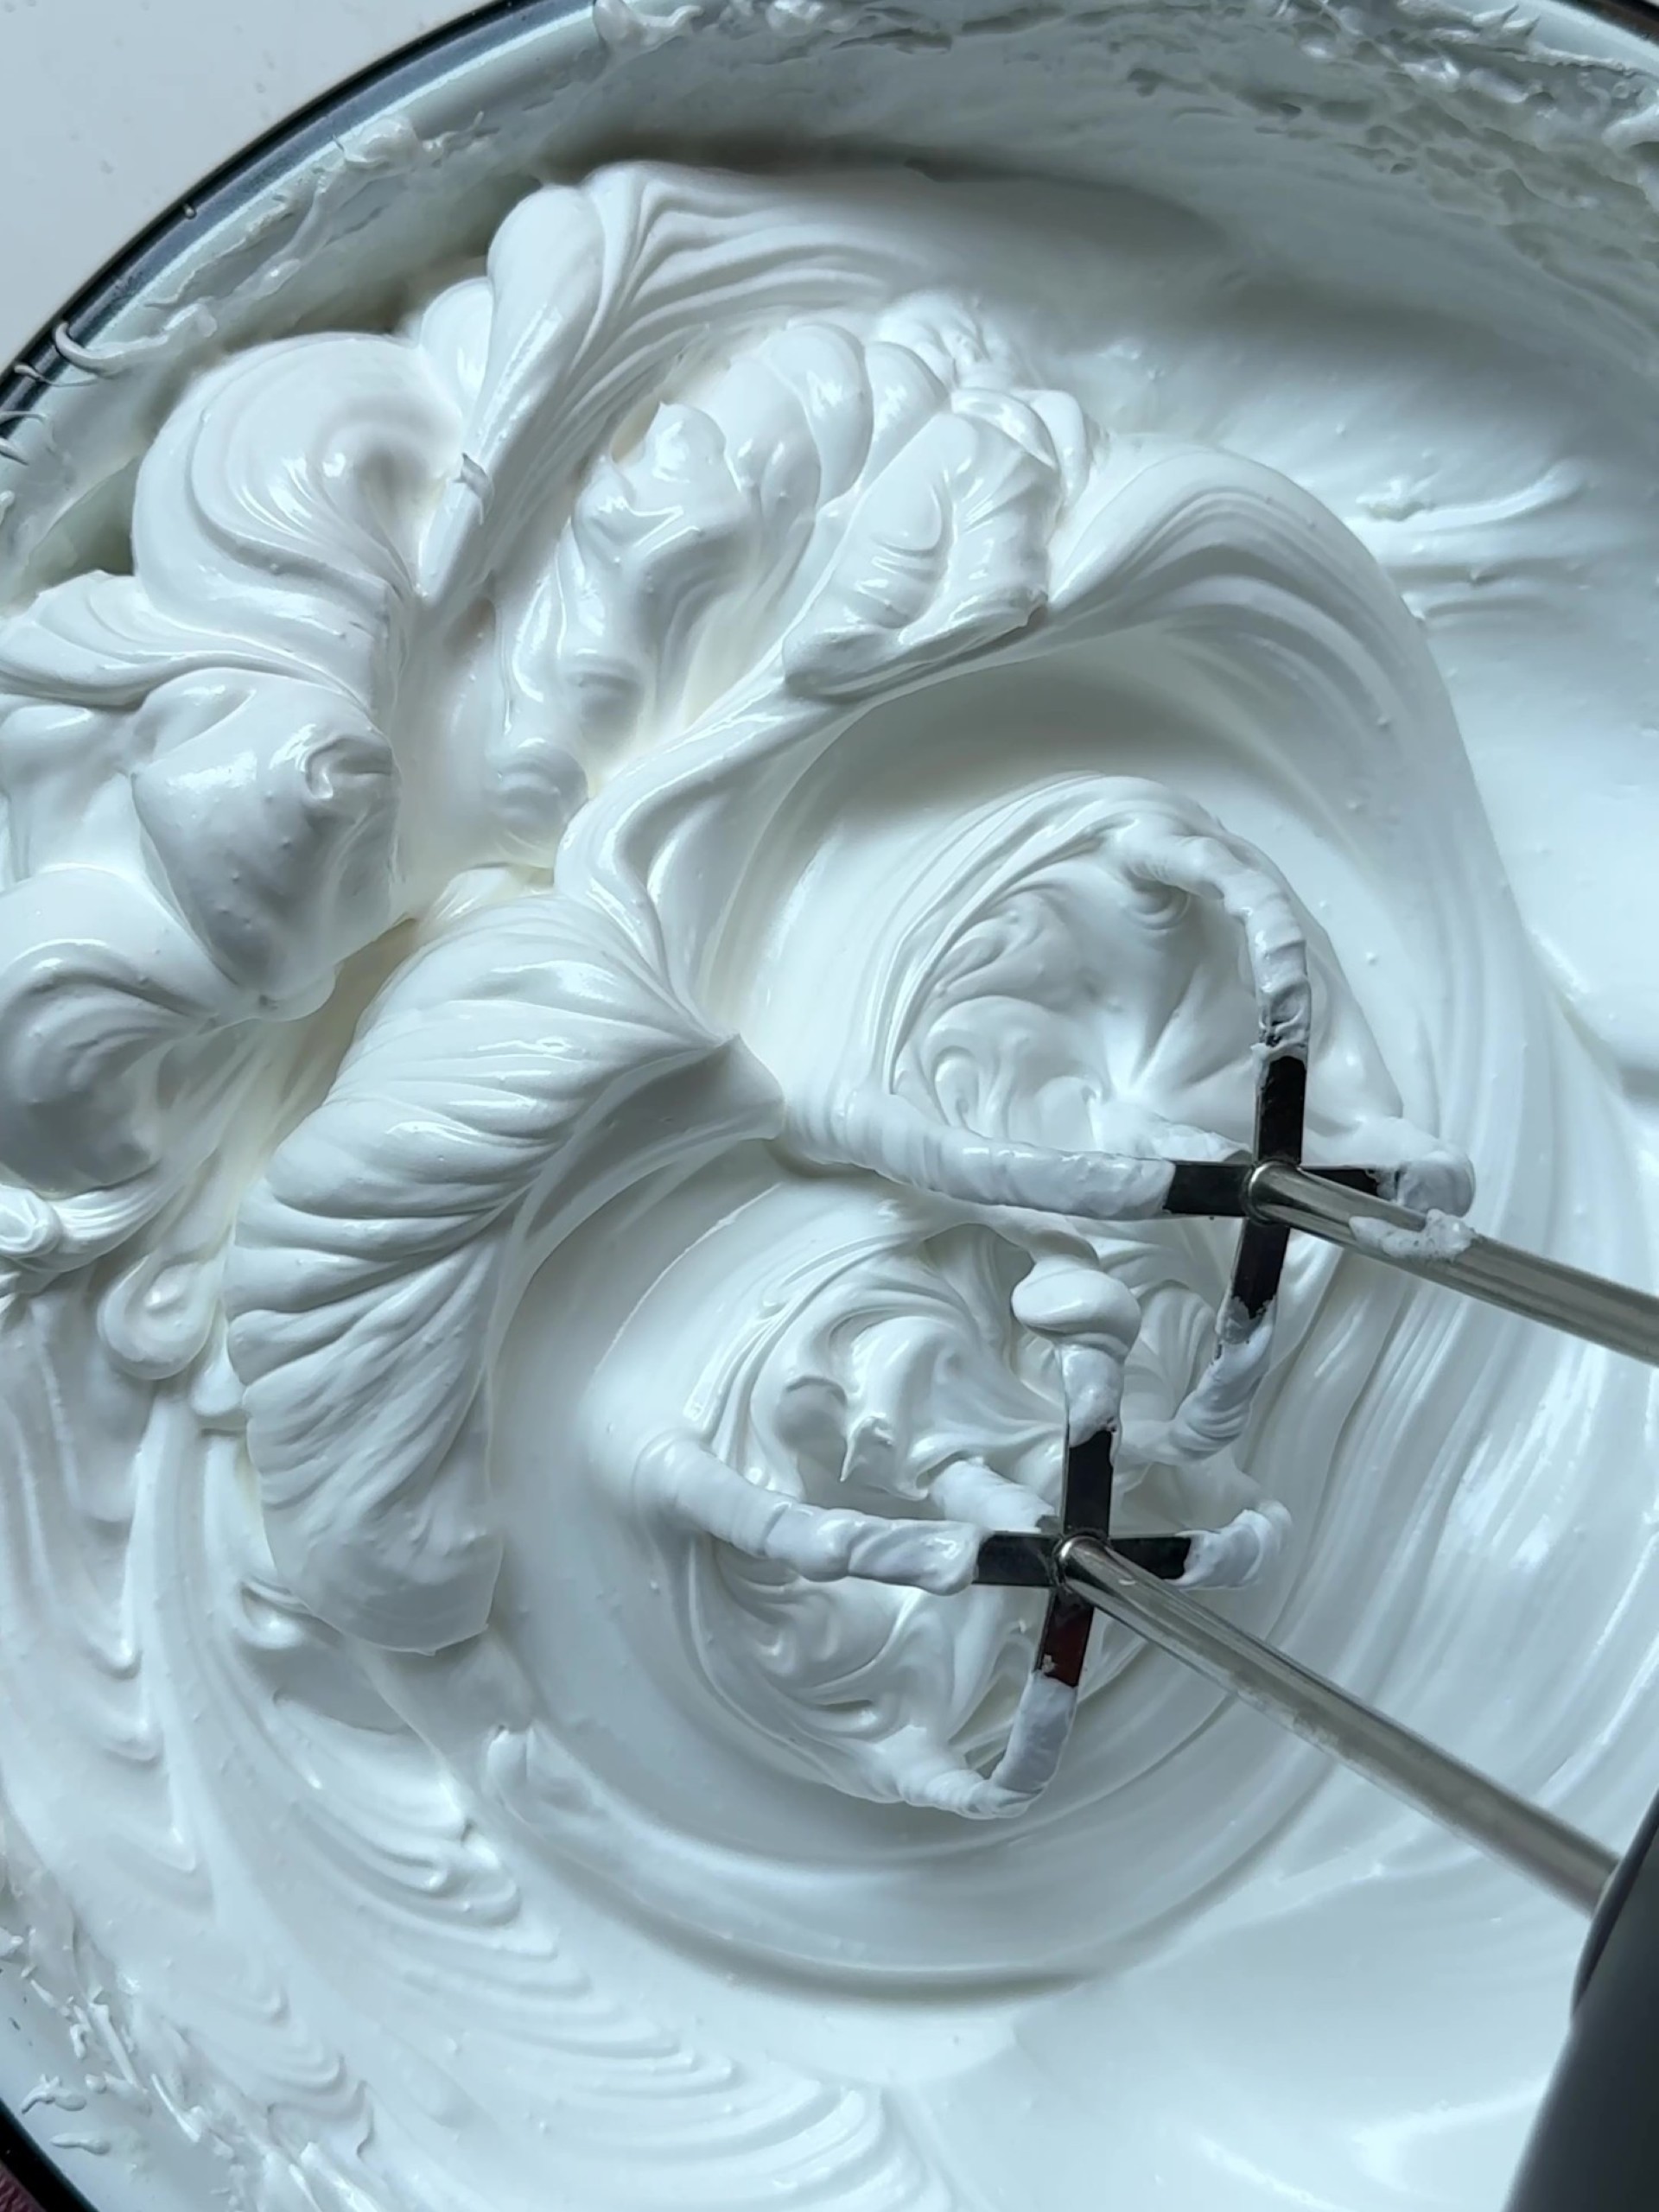
TWO: Gradually add the caster sugar 1 tbsp at a time, whisking until dissolved. Increase the speed to high and whisk for 8 minutes, or until stiff peaks form and there are no grains of sugar dispersed in the mixture. Test this by rubbing some of the meringue between your thumb and index finger, it shouldn’t feel grainy. Add the vinegar and whisk for a further 10 seconds until just combined.
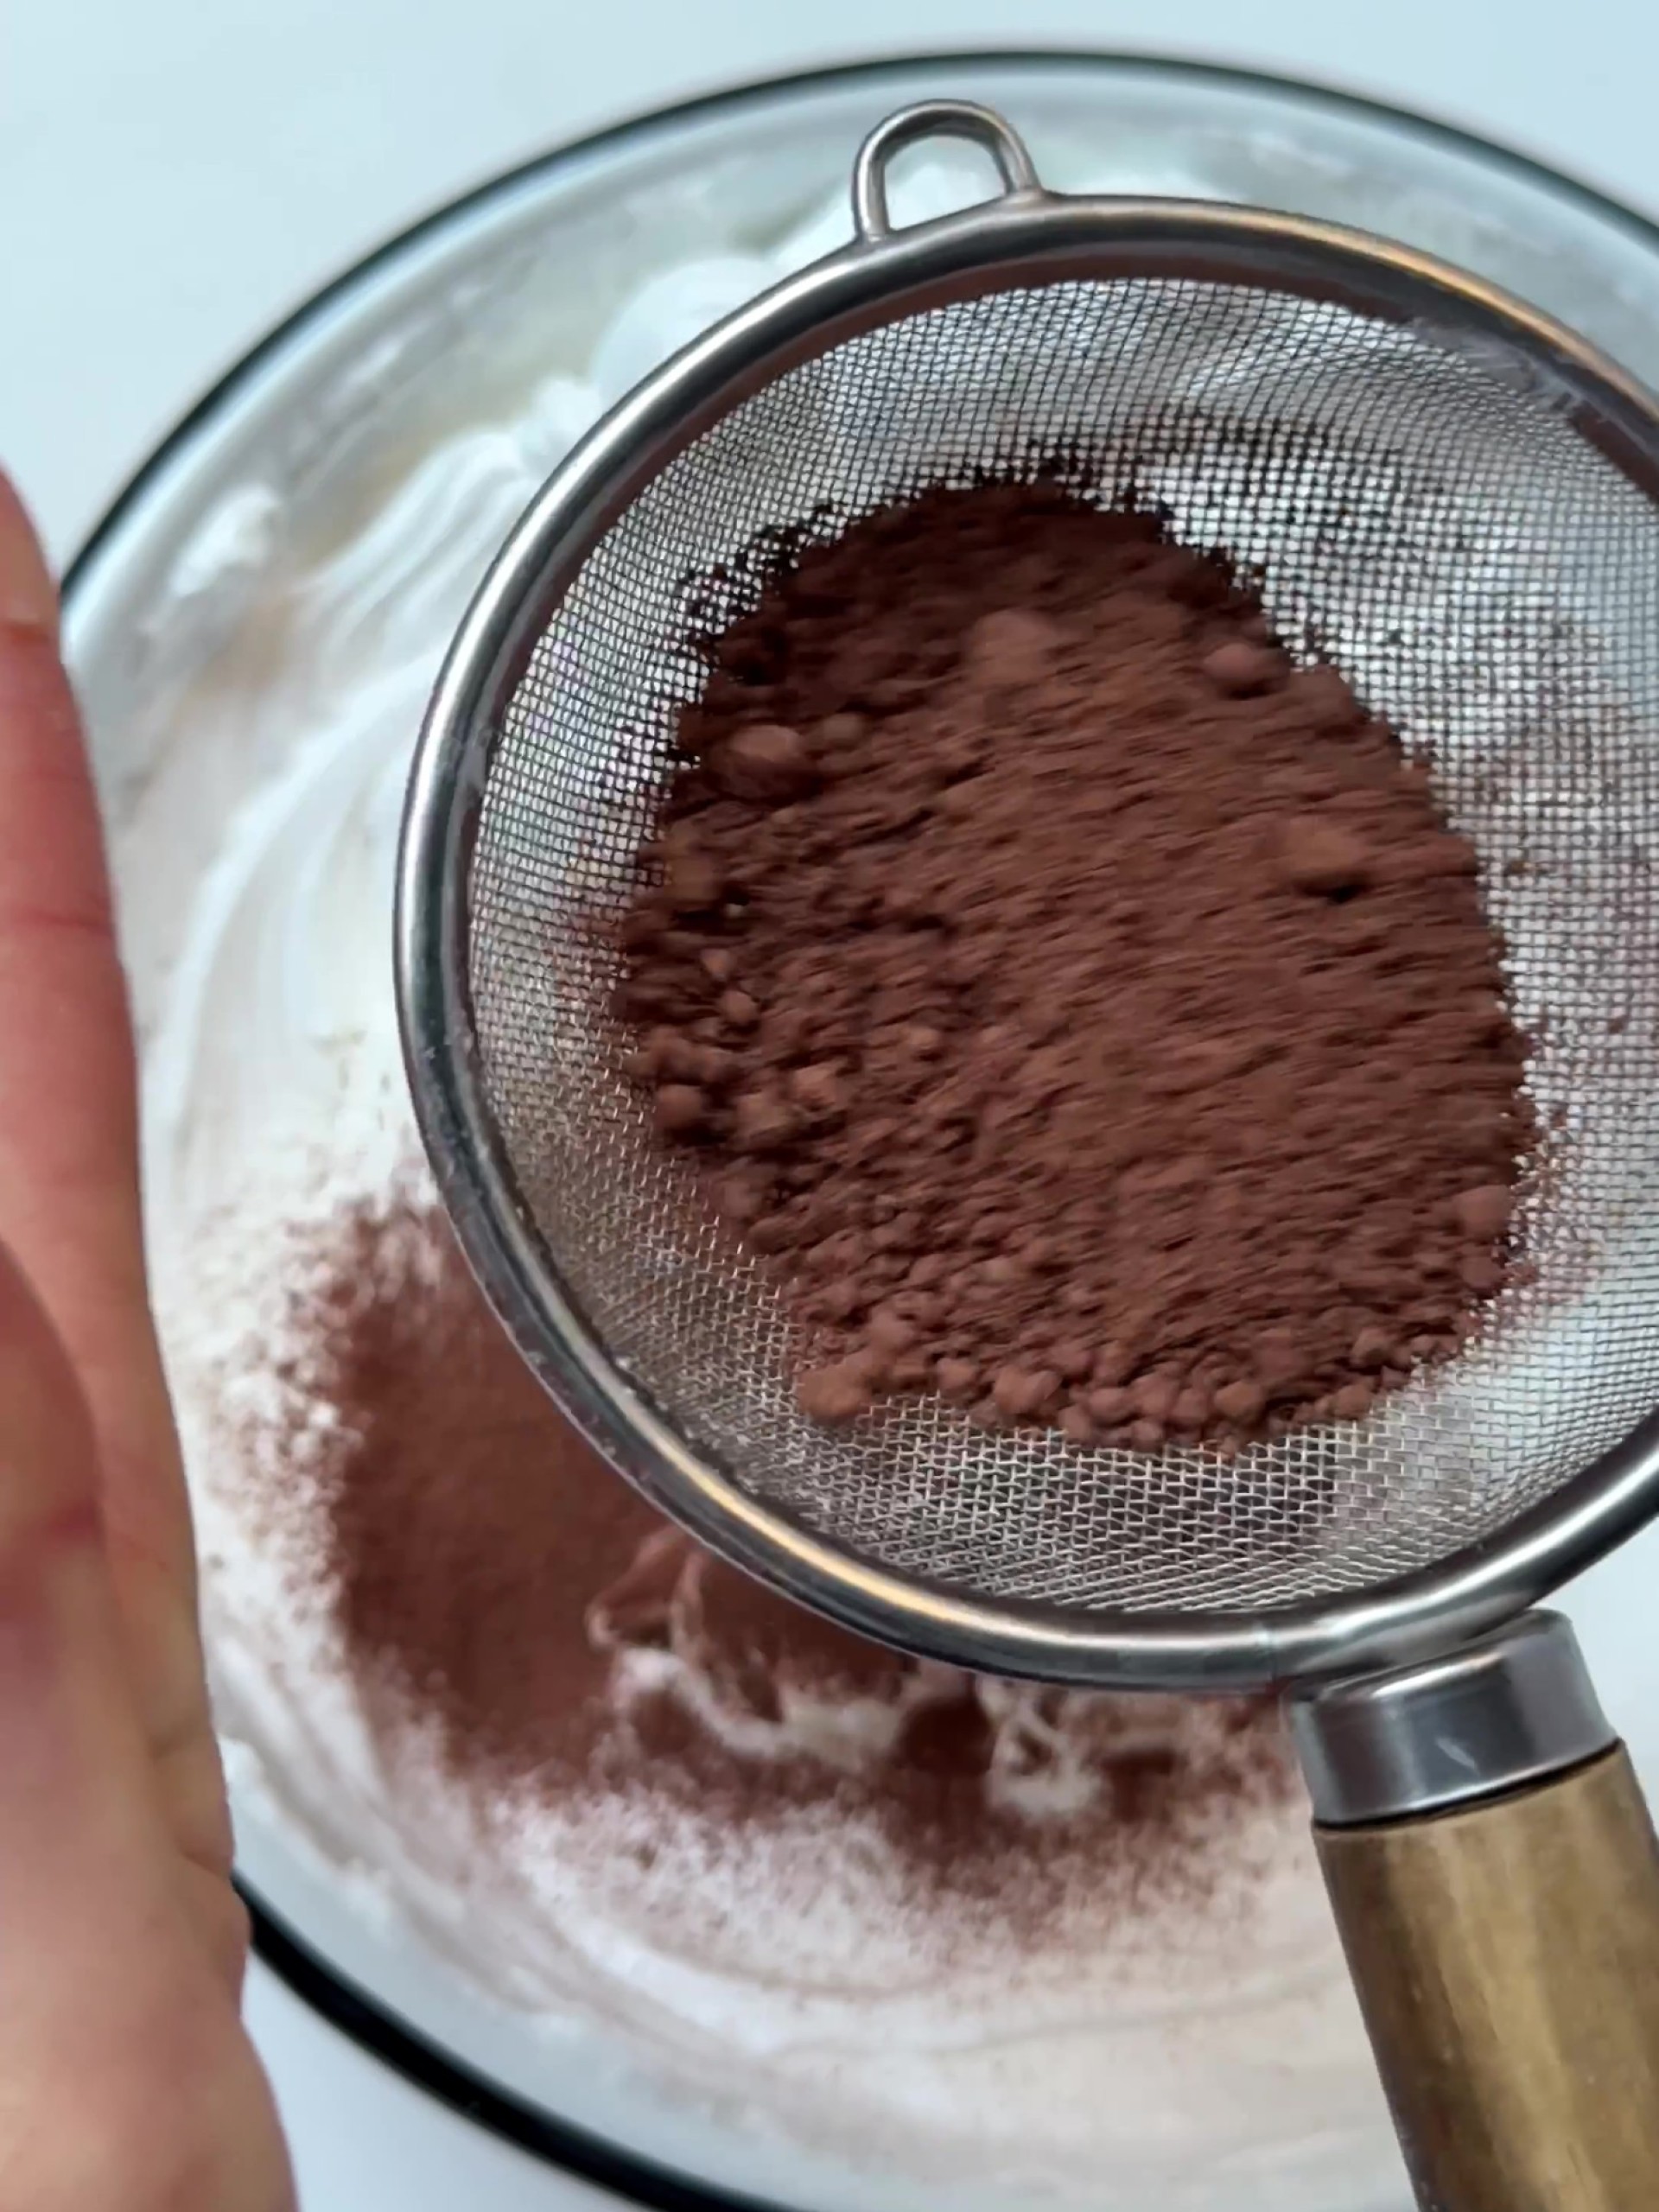
THREE: Sieve in the cornflour and cocoa powder, then fold in with a large metal spoon. Take care to keep in as much air as possible.
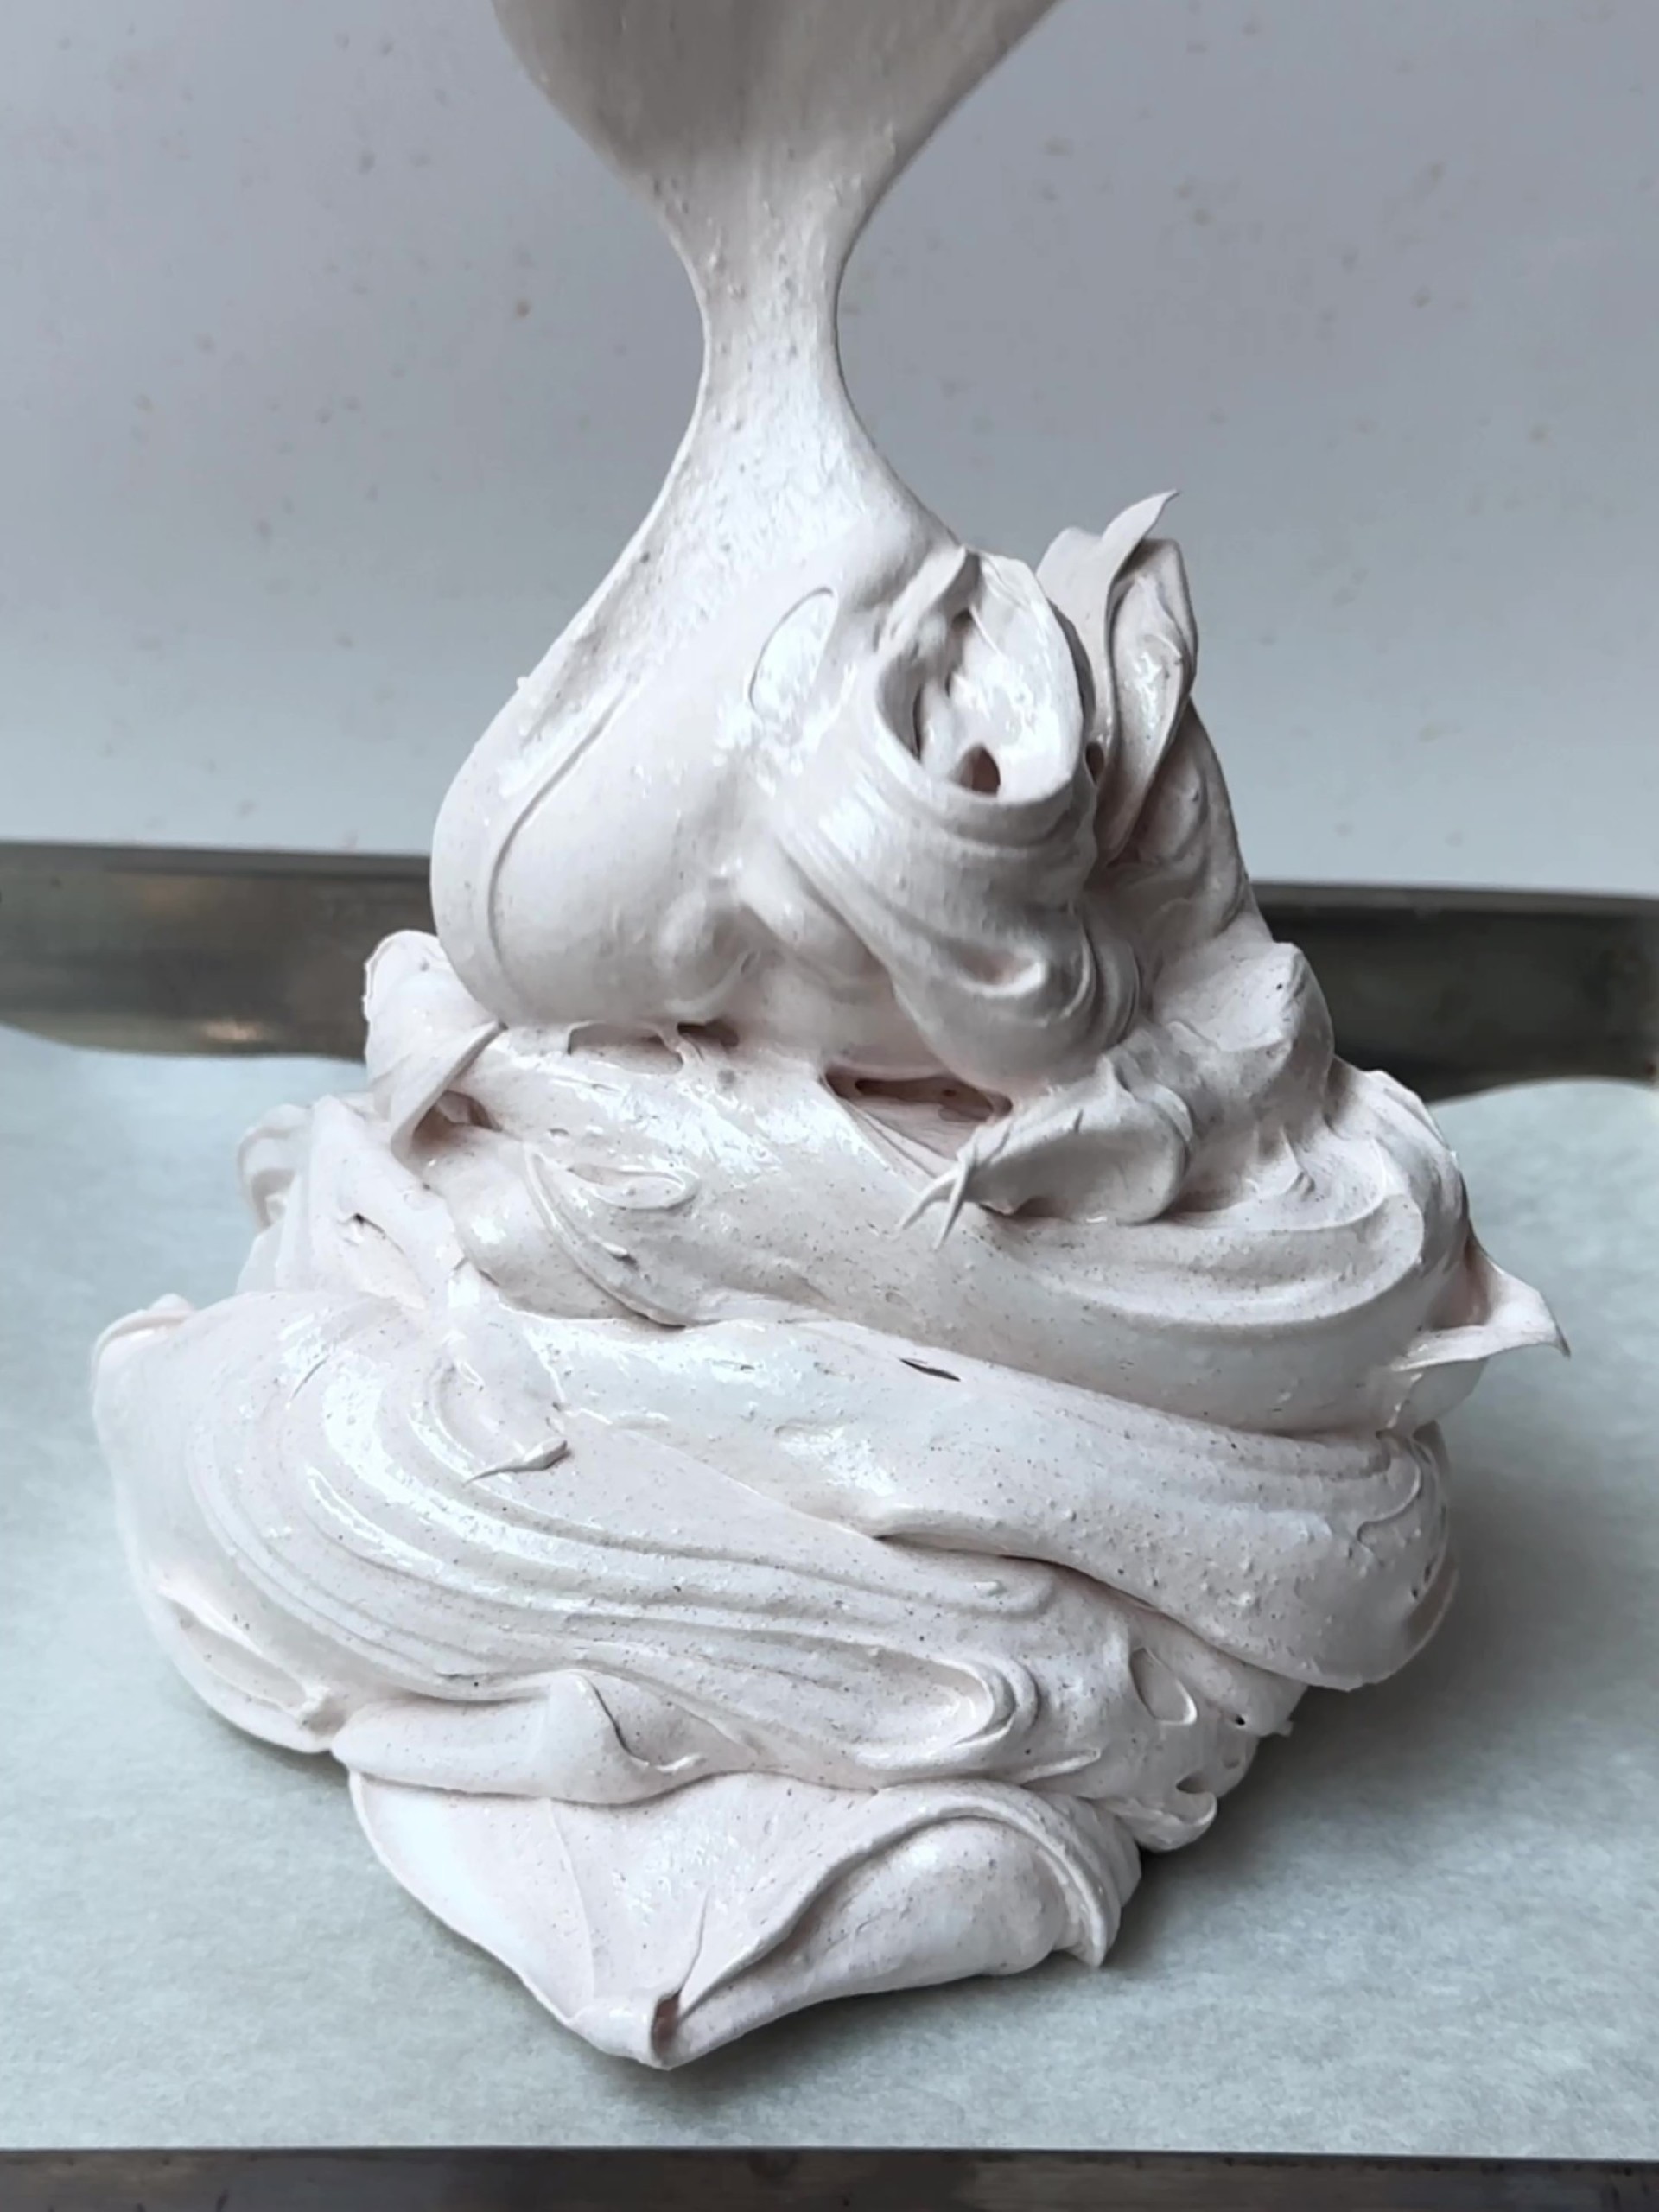
FOUR: Line a large baking tray with non-stick baking paper – using some of the meringue as glue to stick down the base of the baking paper to the tray. Pile the meringue in the middle, then lightly and evenly distribute into a dome about 15 cm in diameter.
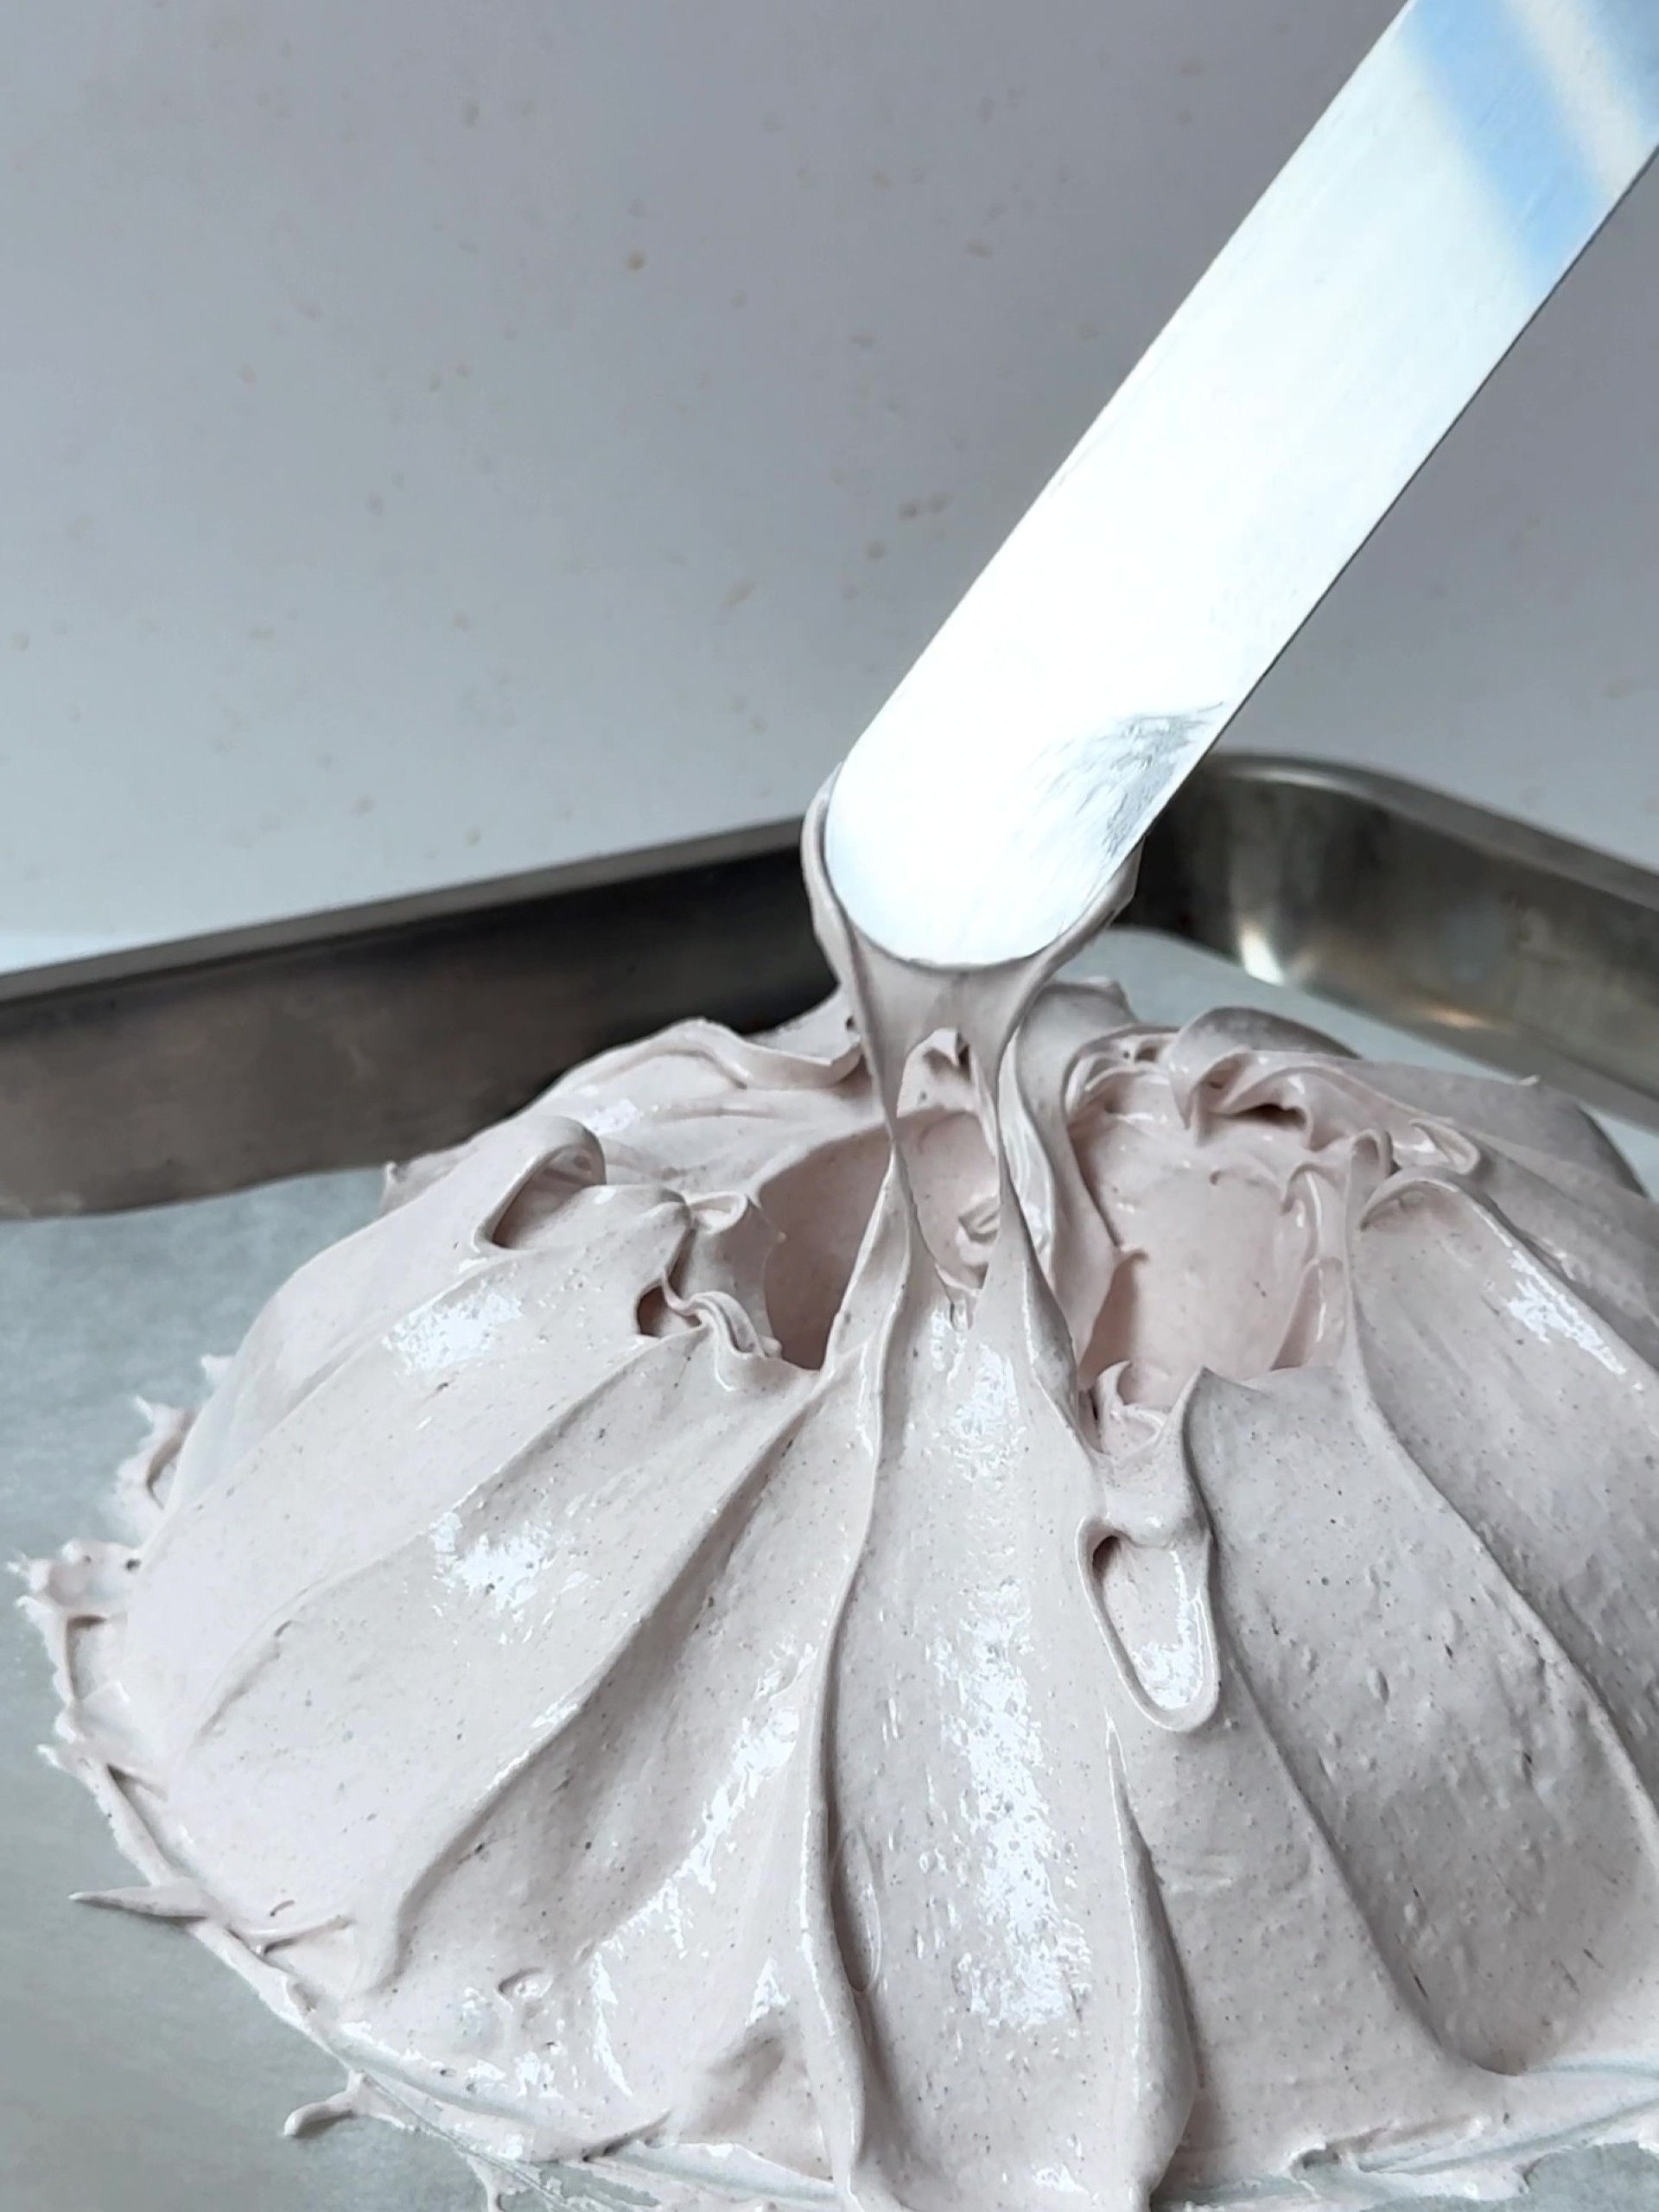
FIVE: Scoop out a little from the middle, to create a shallow volcano cavity, then add back to the sides and evenly distribute. Once smooth, using a butter knife or small palette knife, glide vertically up the surface and across the top of the pavlova on a slight angle to form a striped pattern.
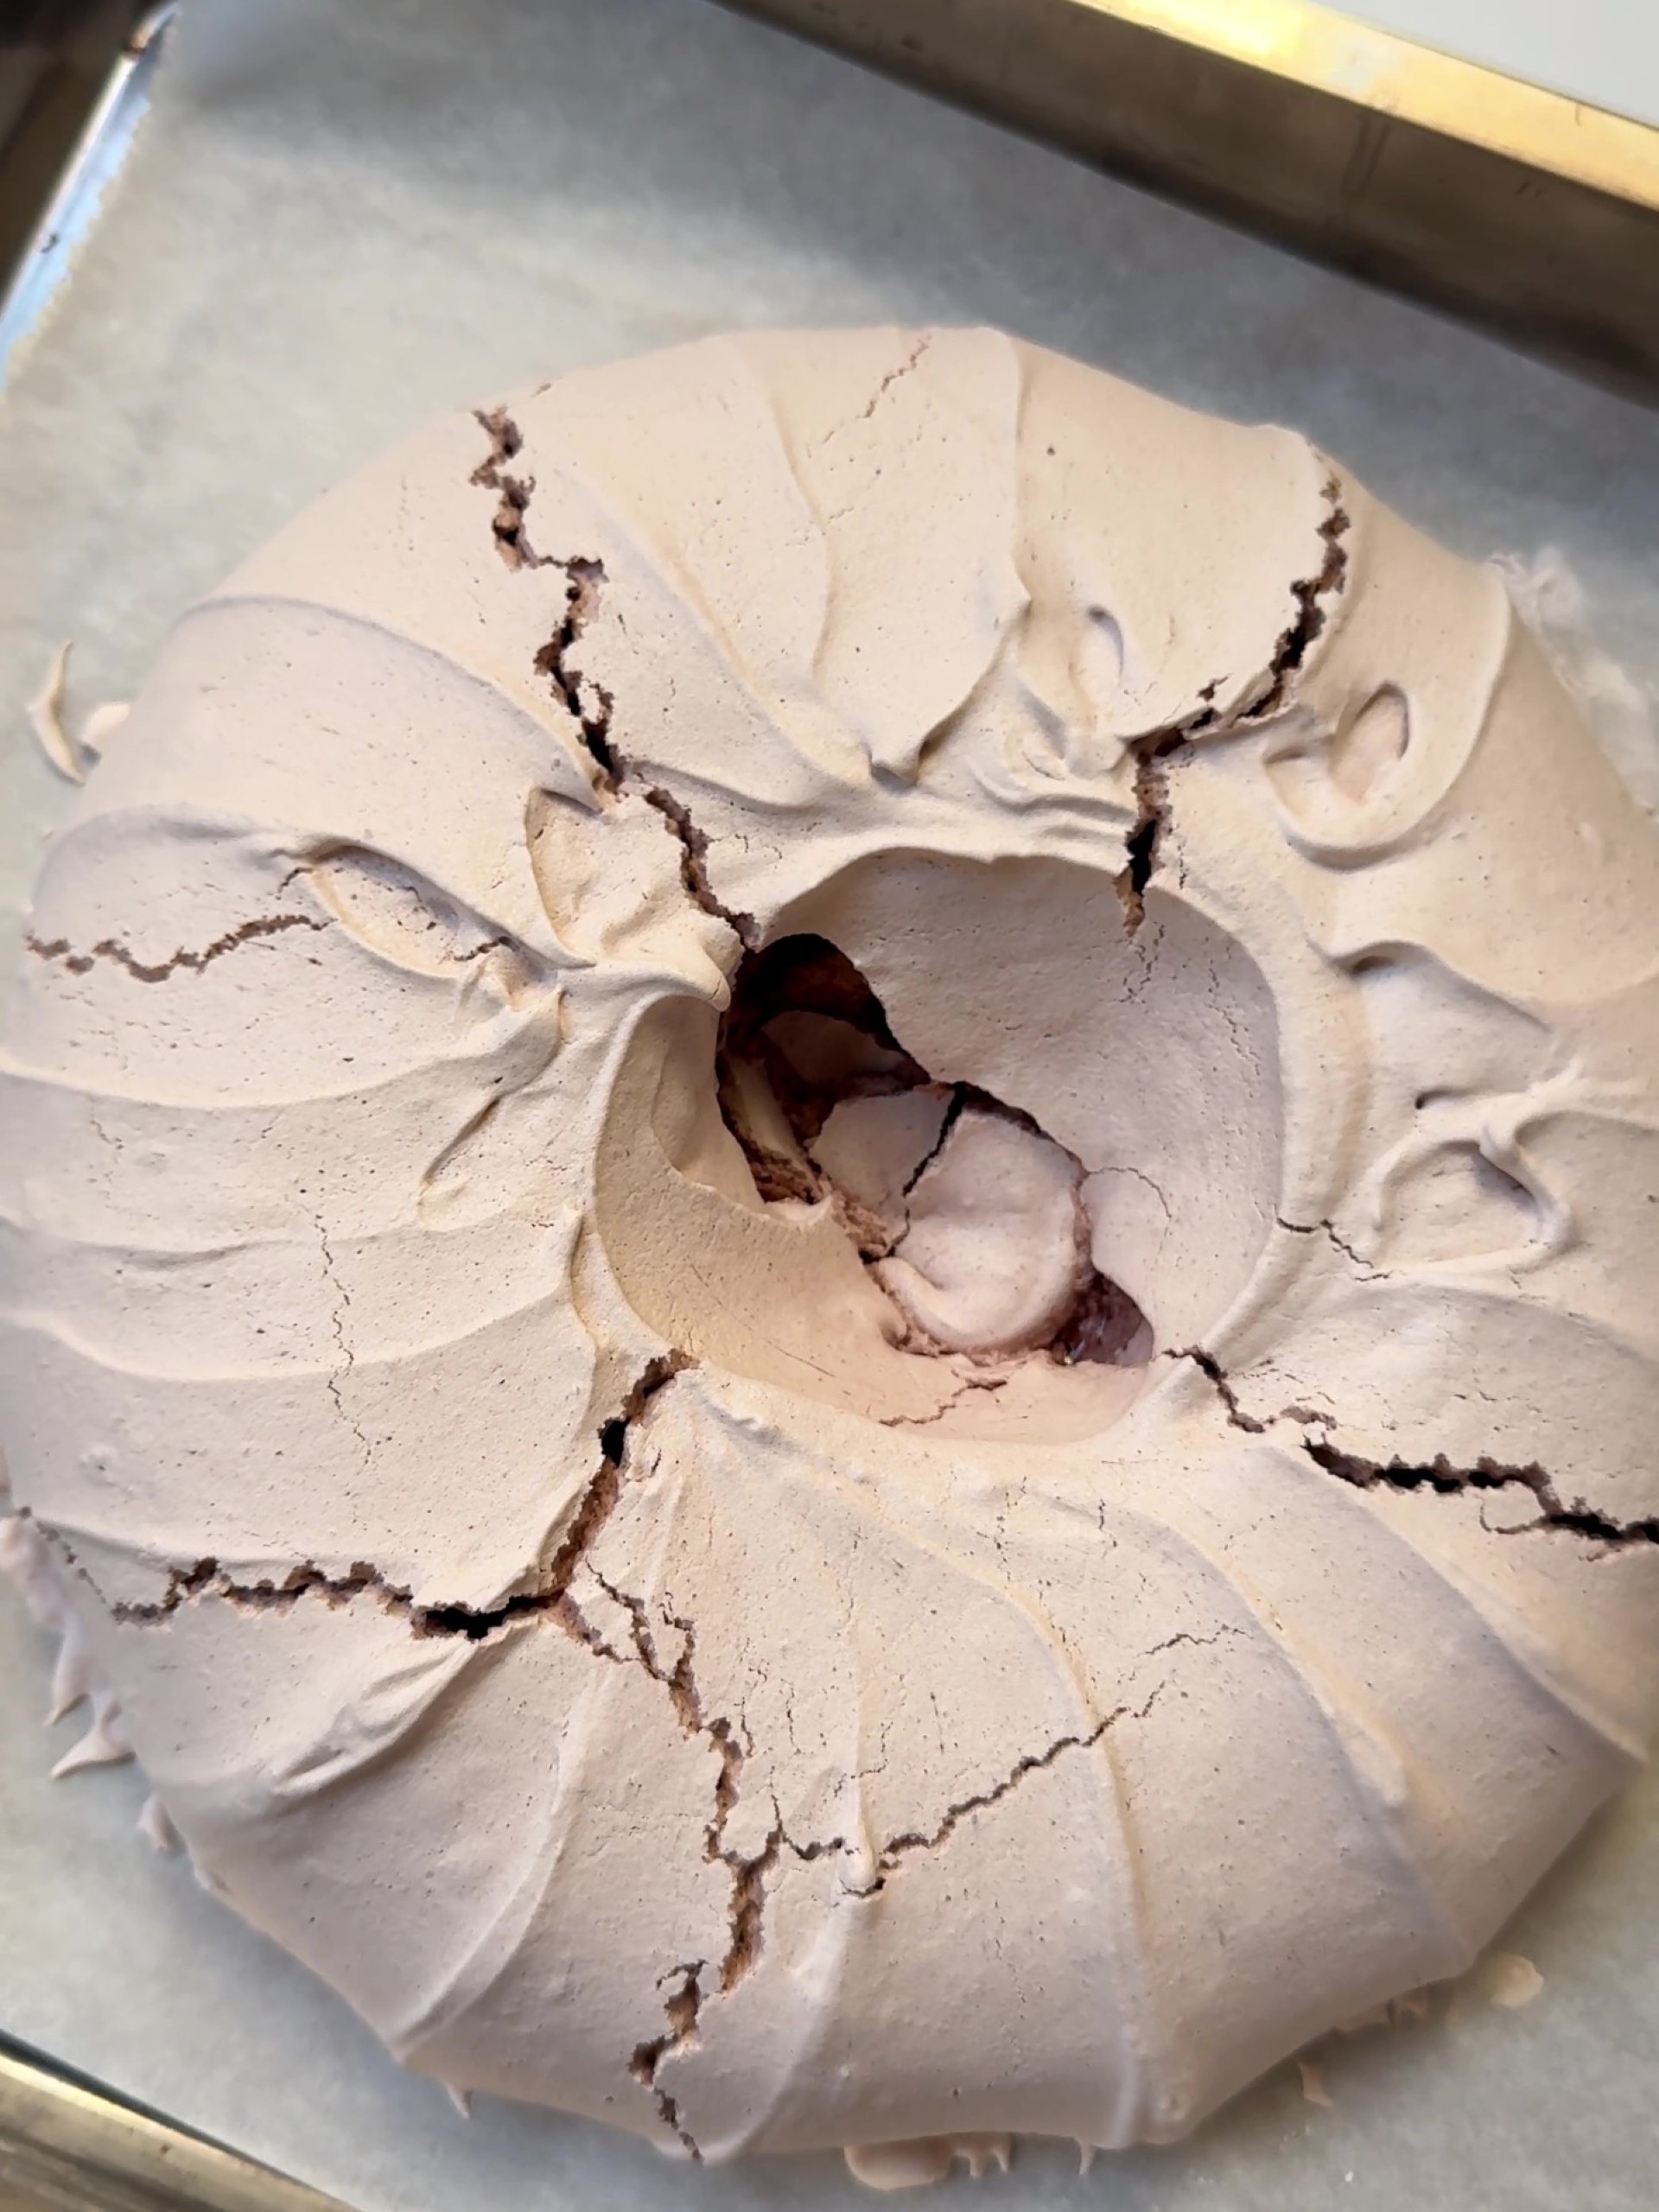
SIX: Clean up the cavity if necessary, then bake in the oven for 1 hour and 45 minutes. Next, turn the oven off but don’t open the oven door. Leave the pavlova inside to cool completely for at least 4 hours.
Part 3: Making the Chocolate Sauce and assembling the Christmas Pavlova
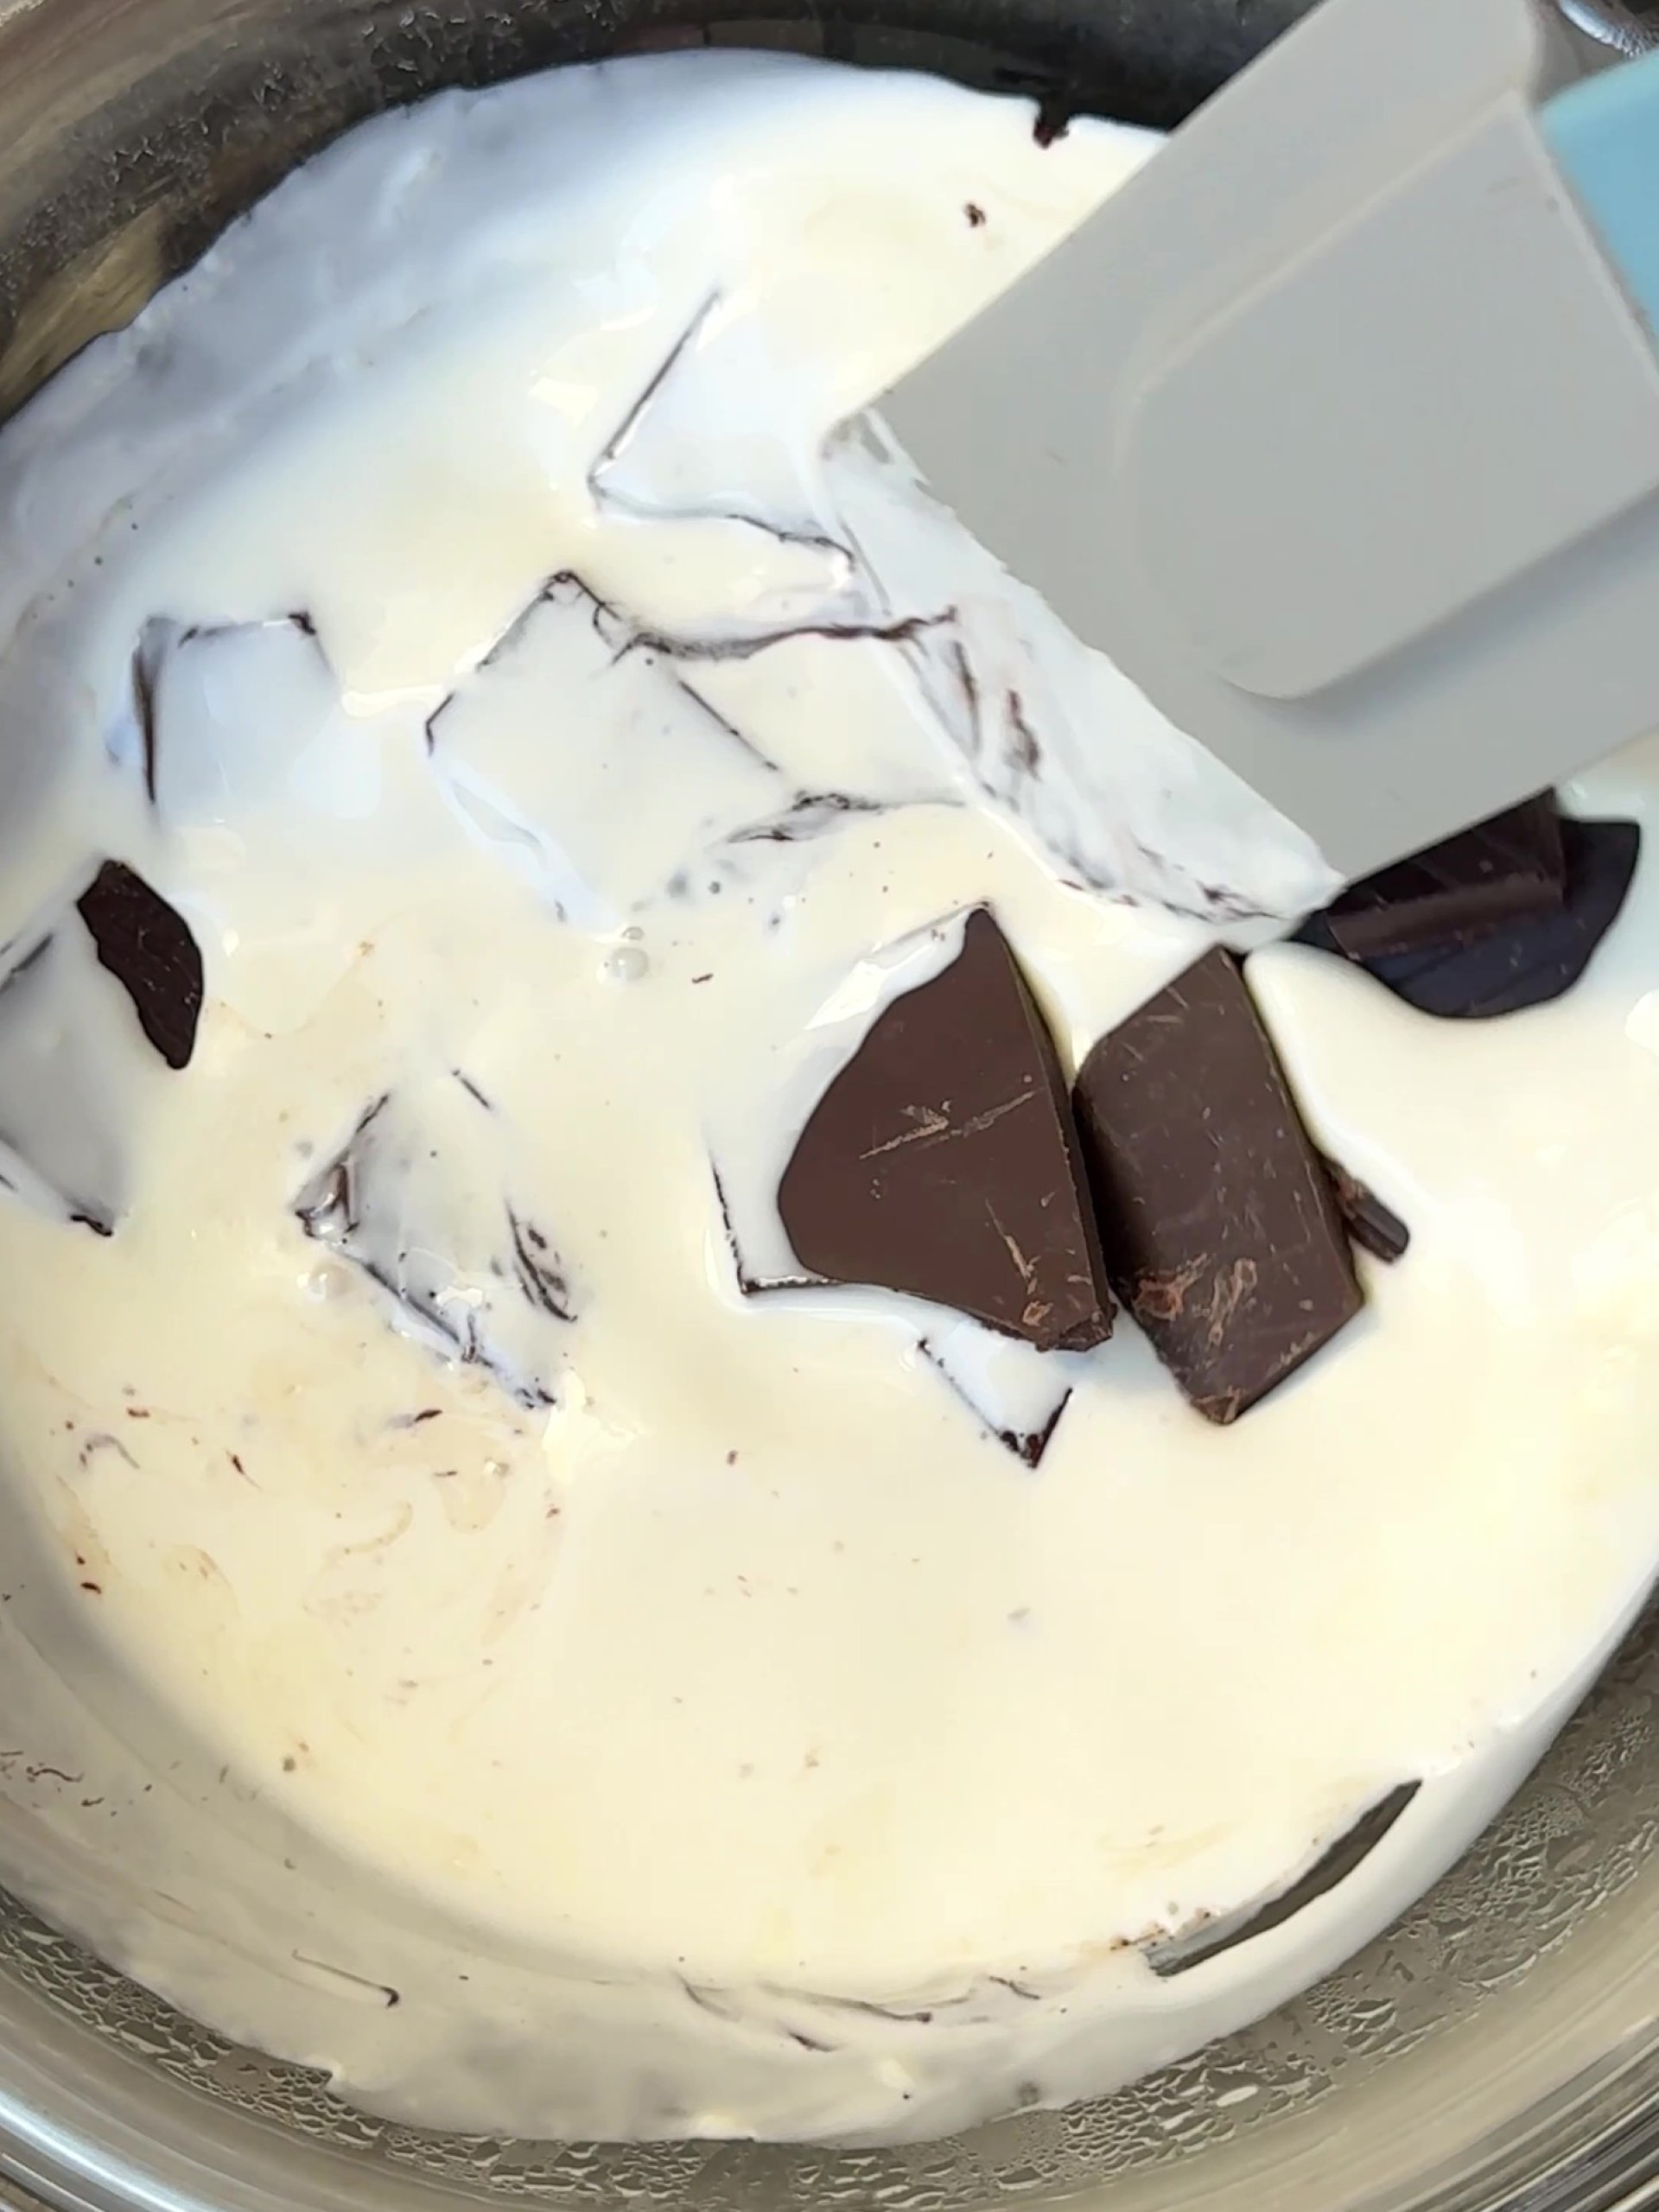
ONE: Make the chocolate sauce: put the chopped chocolate into a heatproof bowl and set aside. Pour the cream into a small saucepan and place over a medium heat. Slowly bring to a simmer.
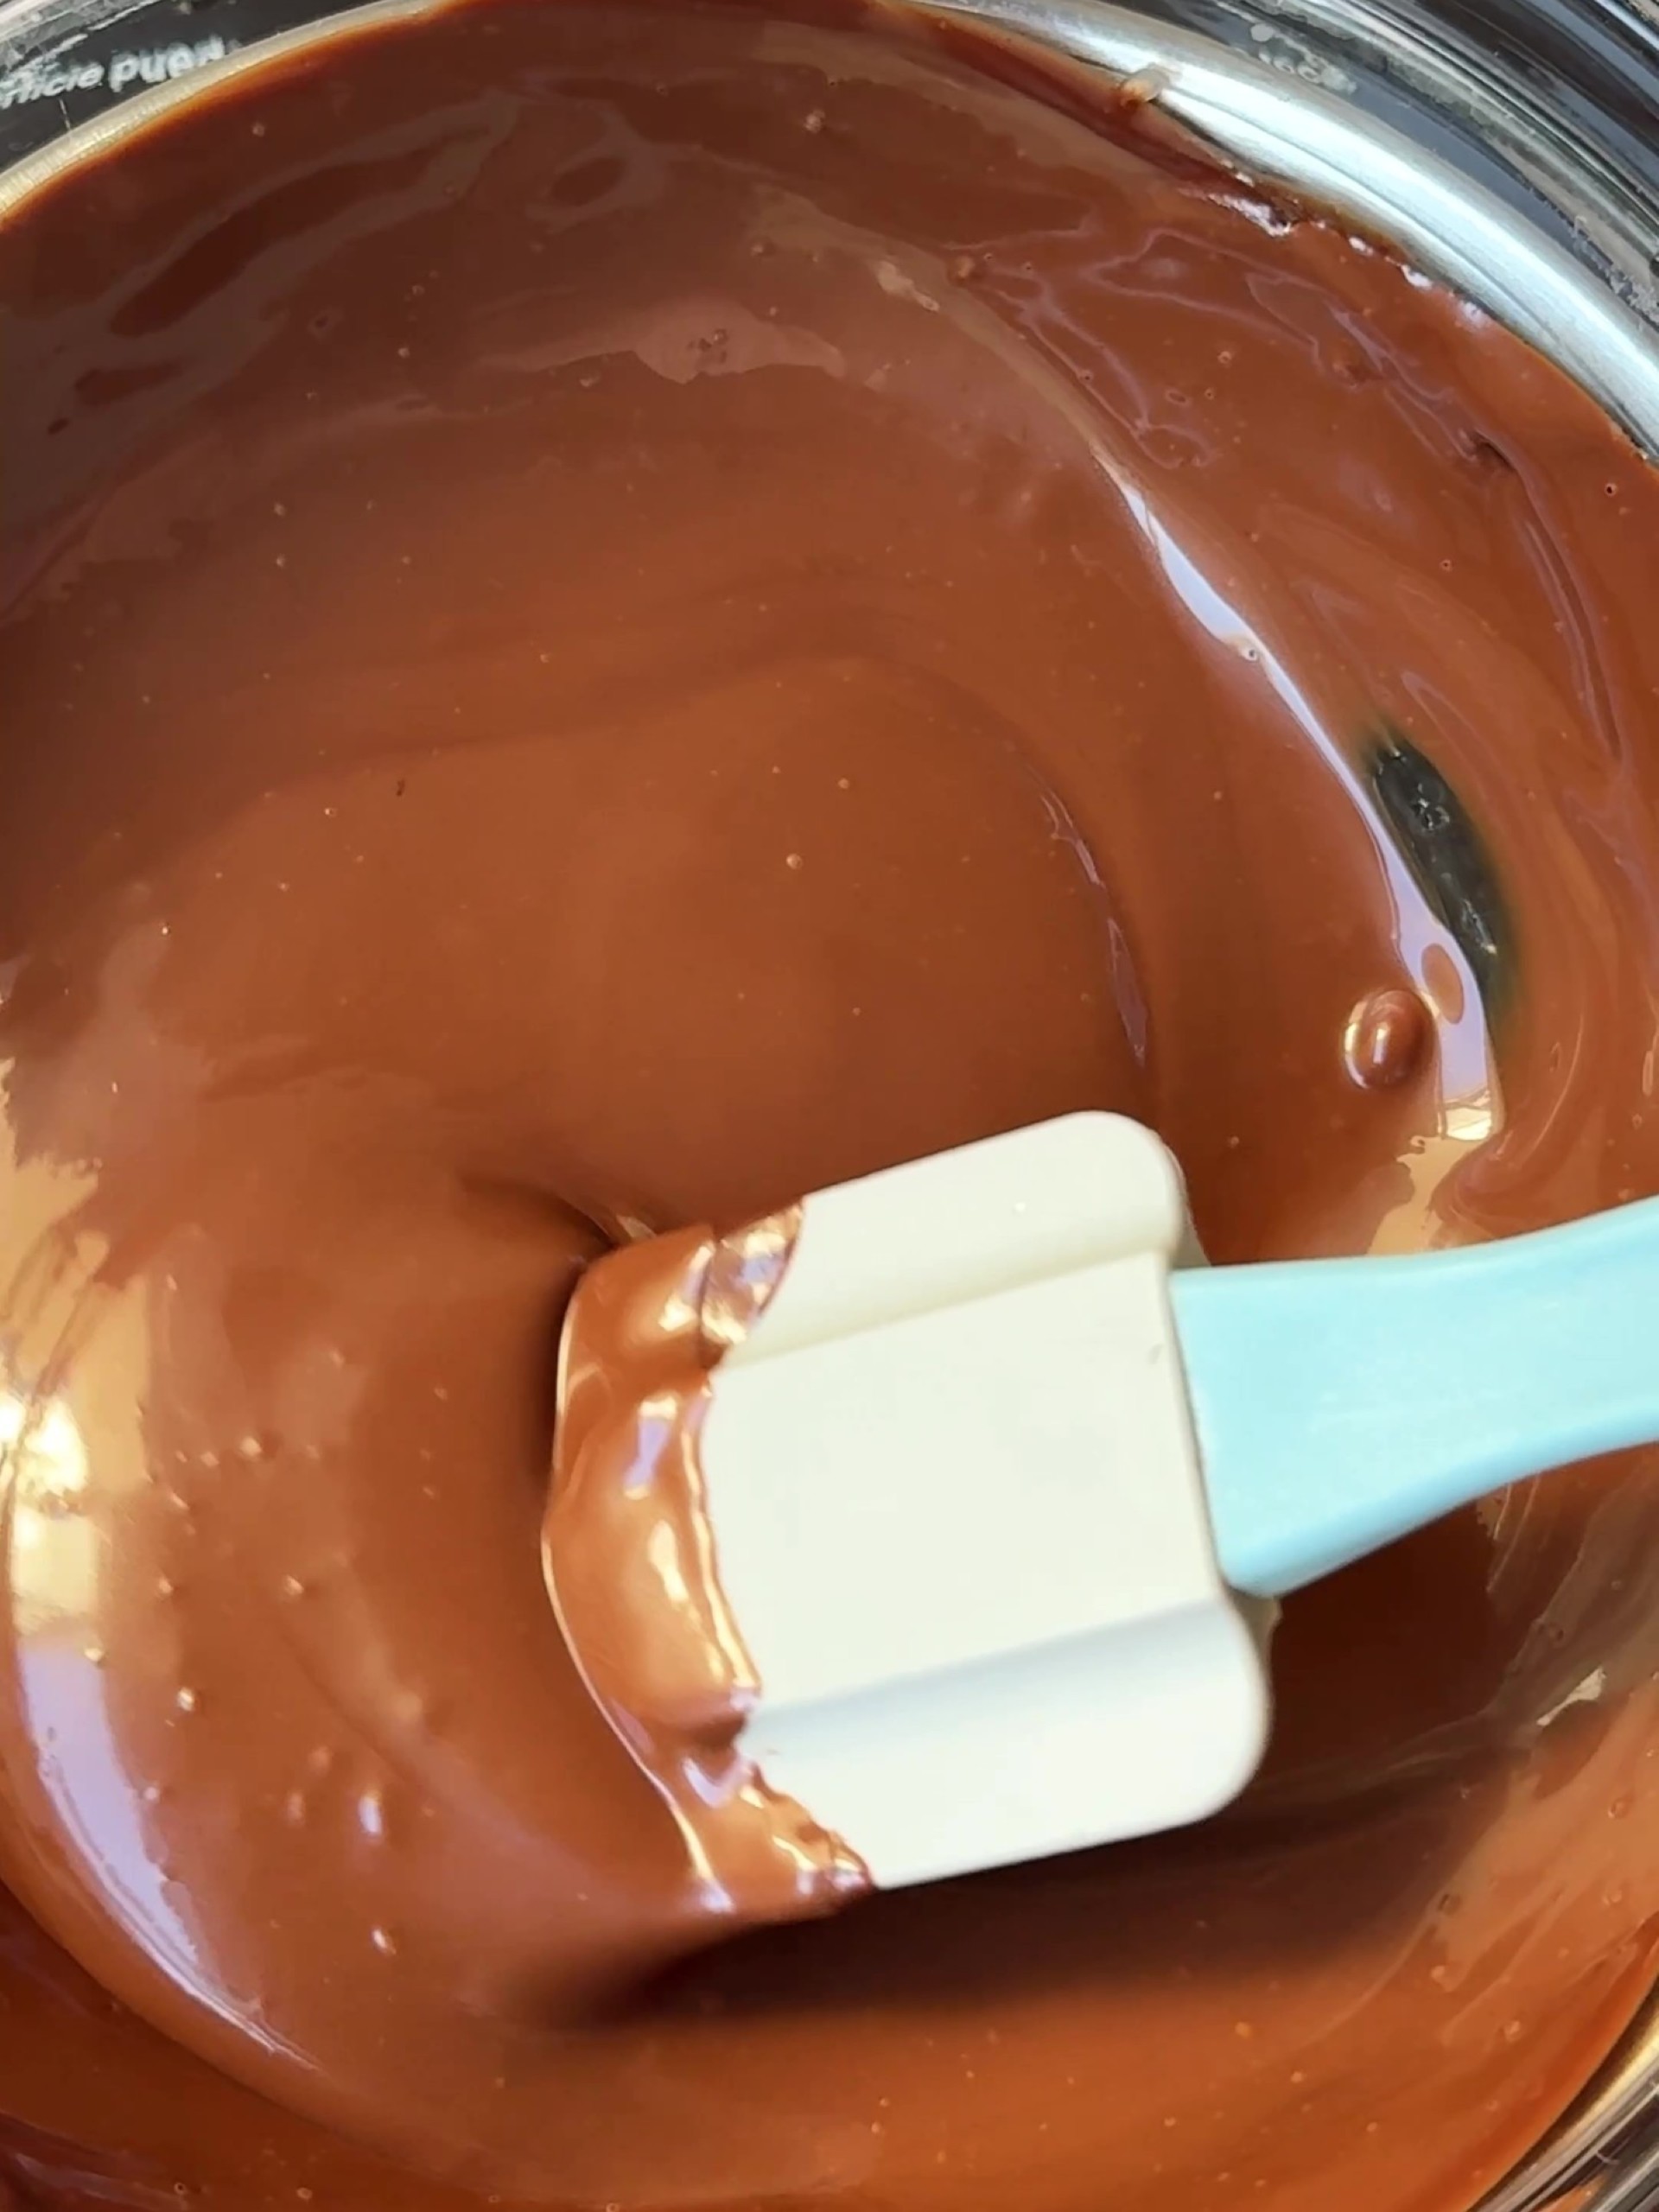
TWO: Remove from the heat and pour over the chopped chocolate. Stir well until the chocolate is completely melted
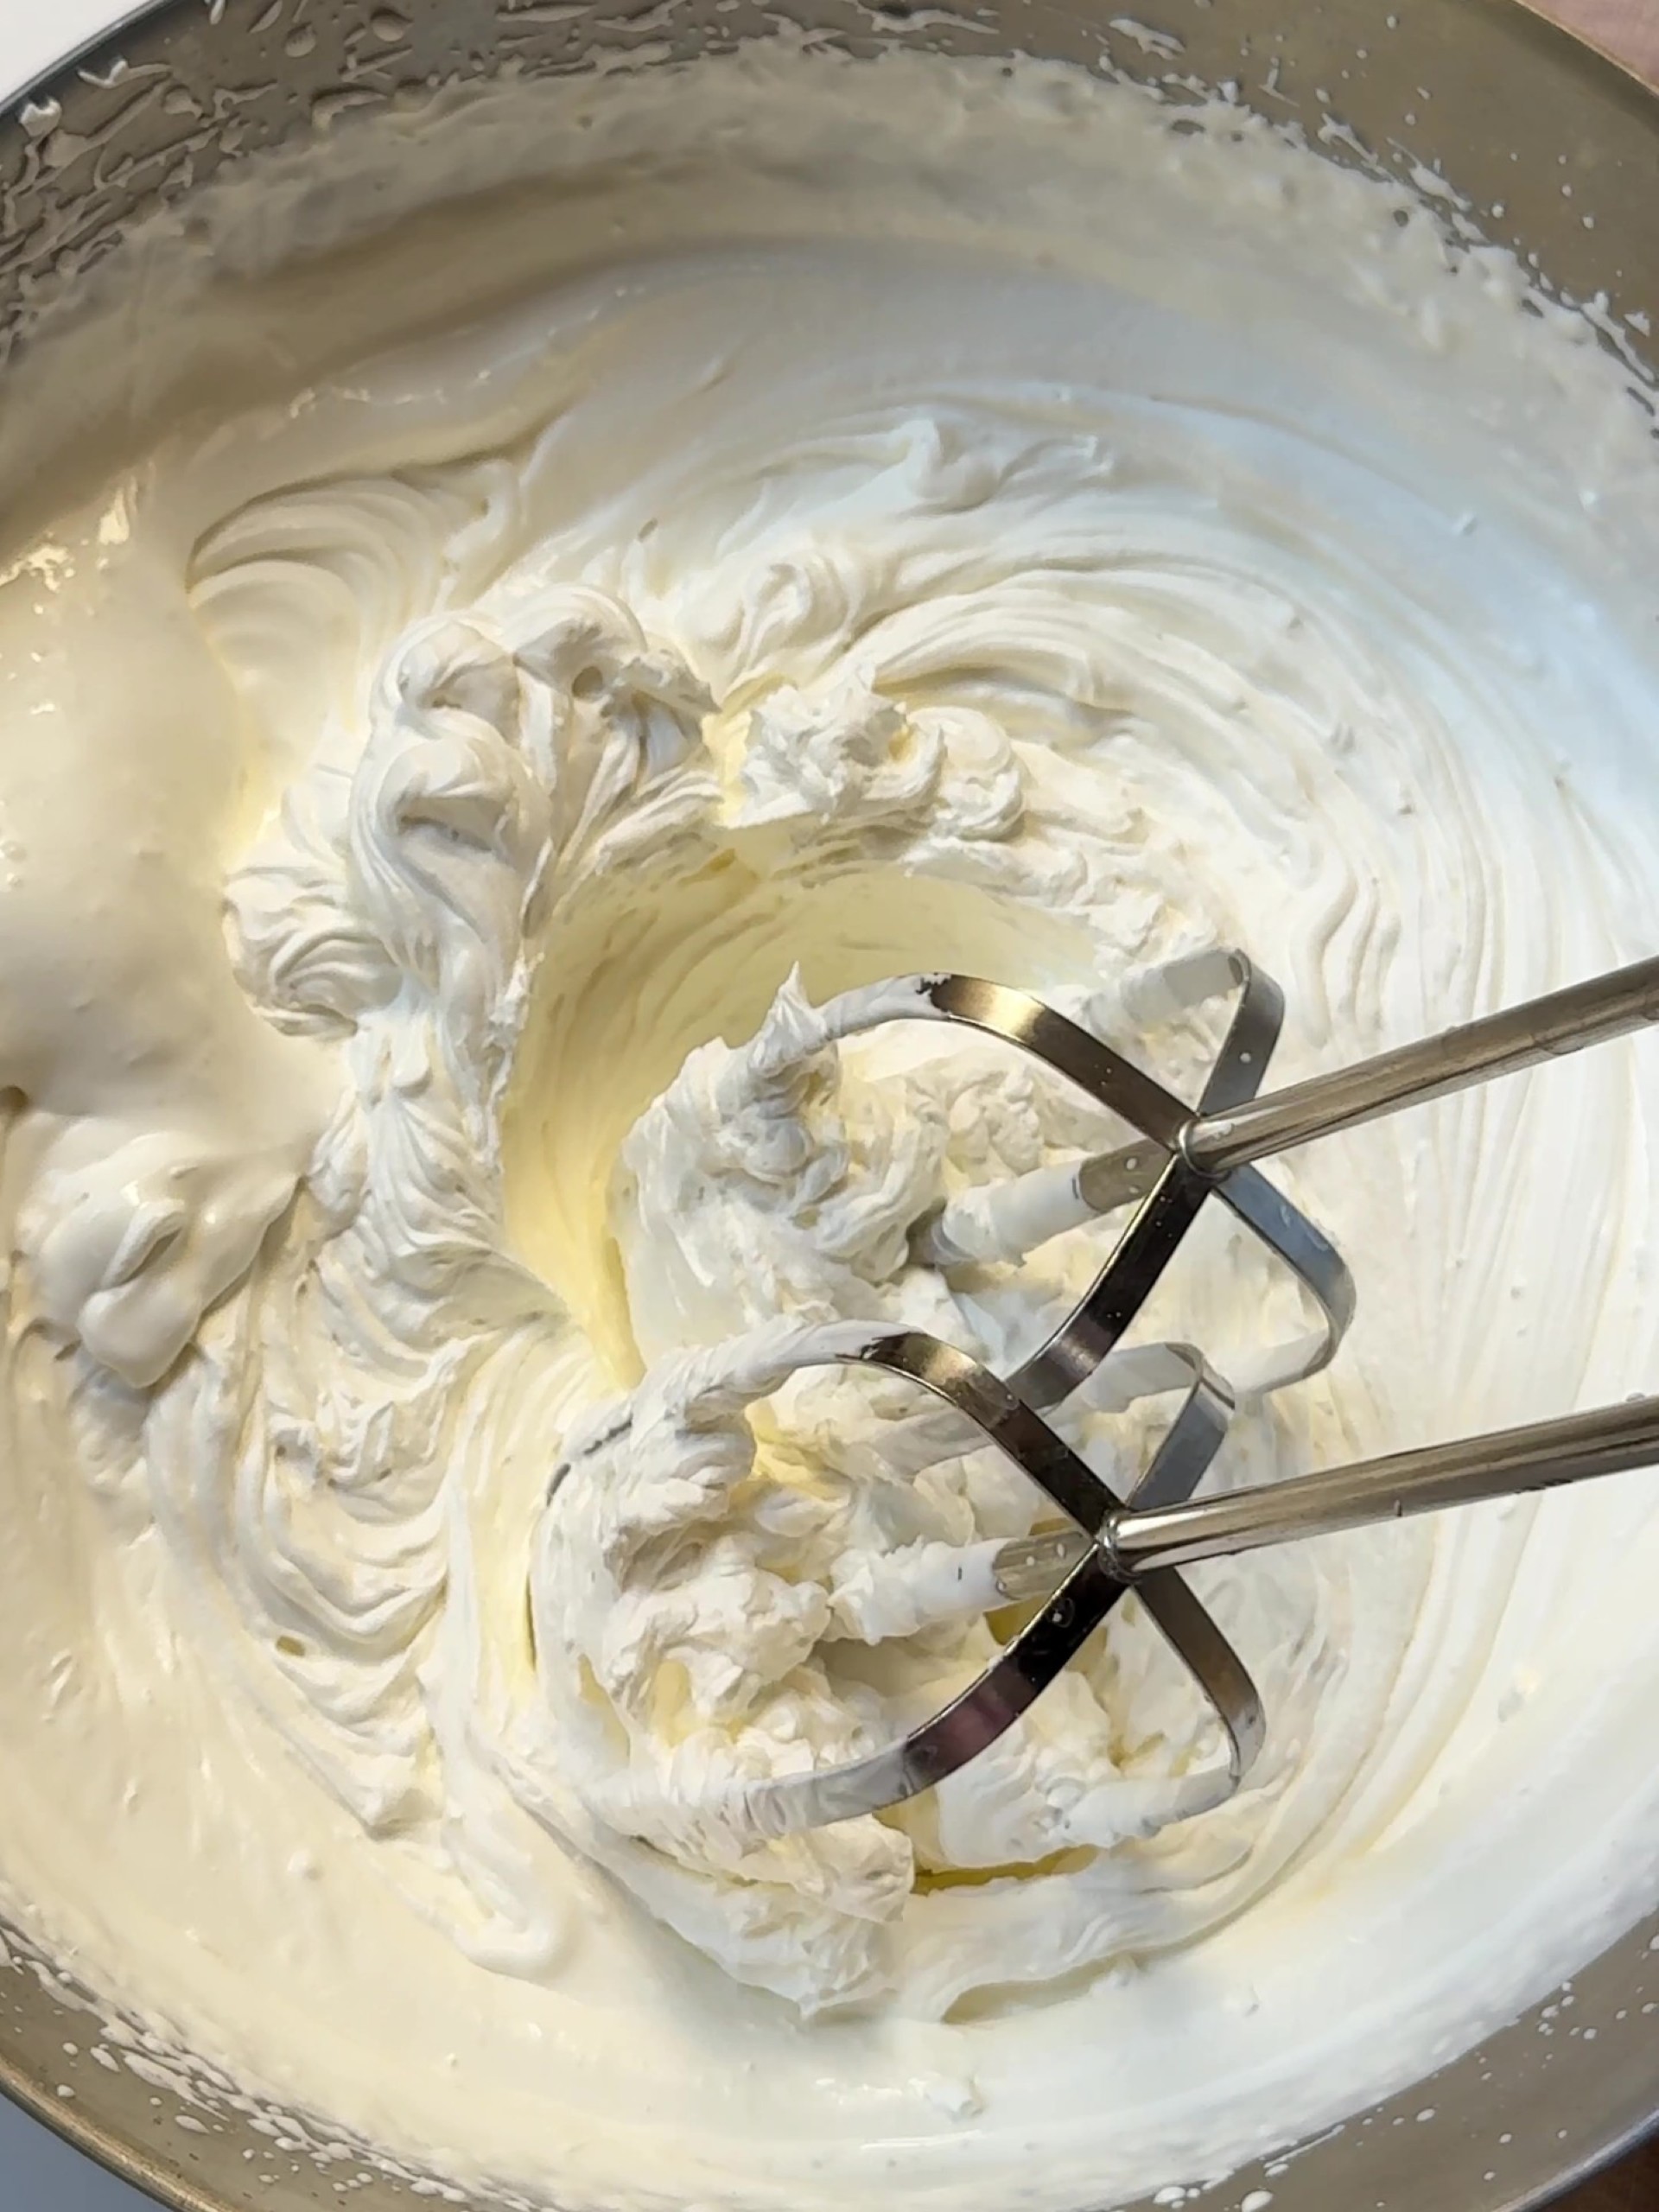
THREE: Whip the cream in a mixing bowl
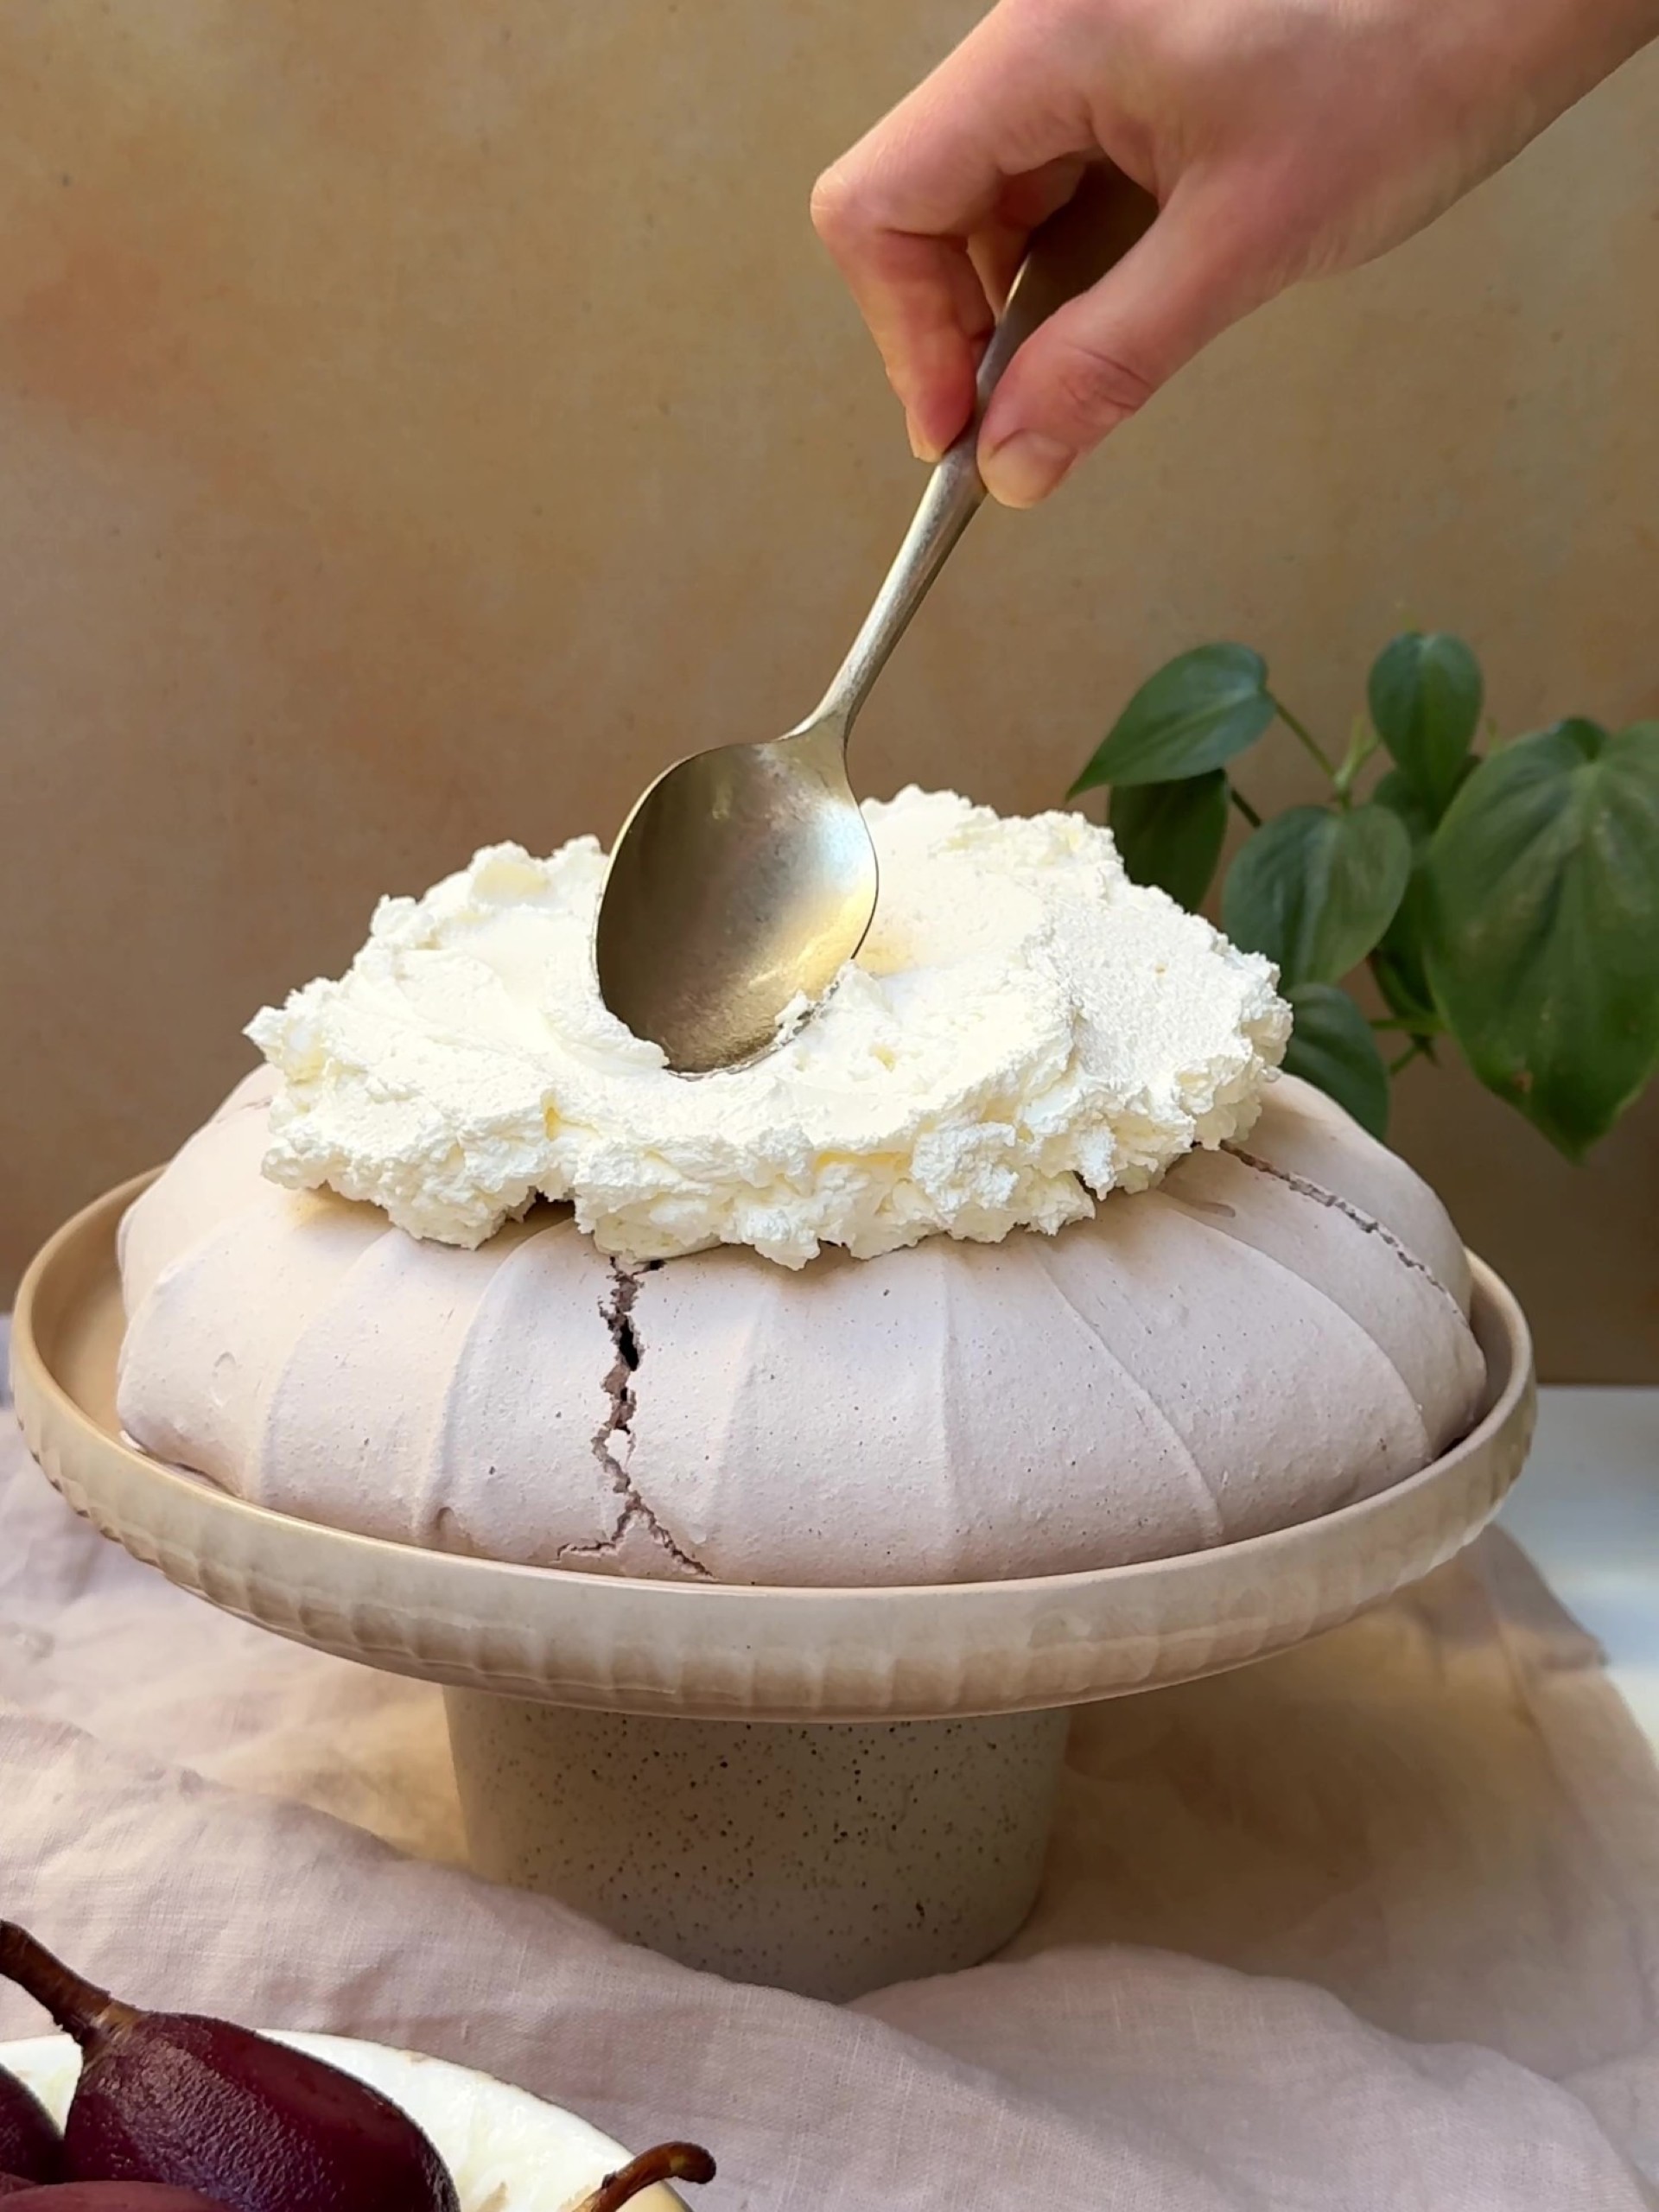
FOUR: Spoon a generous amount of freshly whipped cream onto the center of the Pavlova.
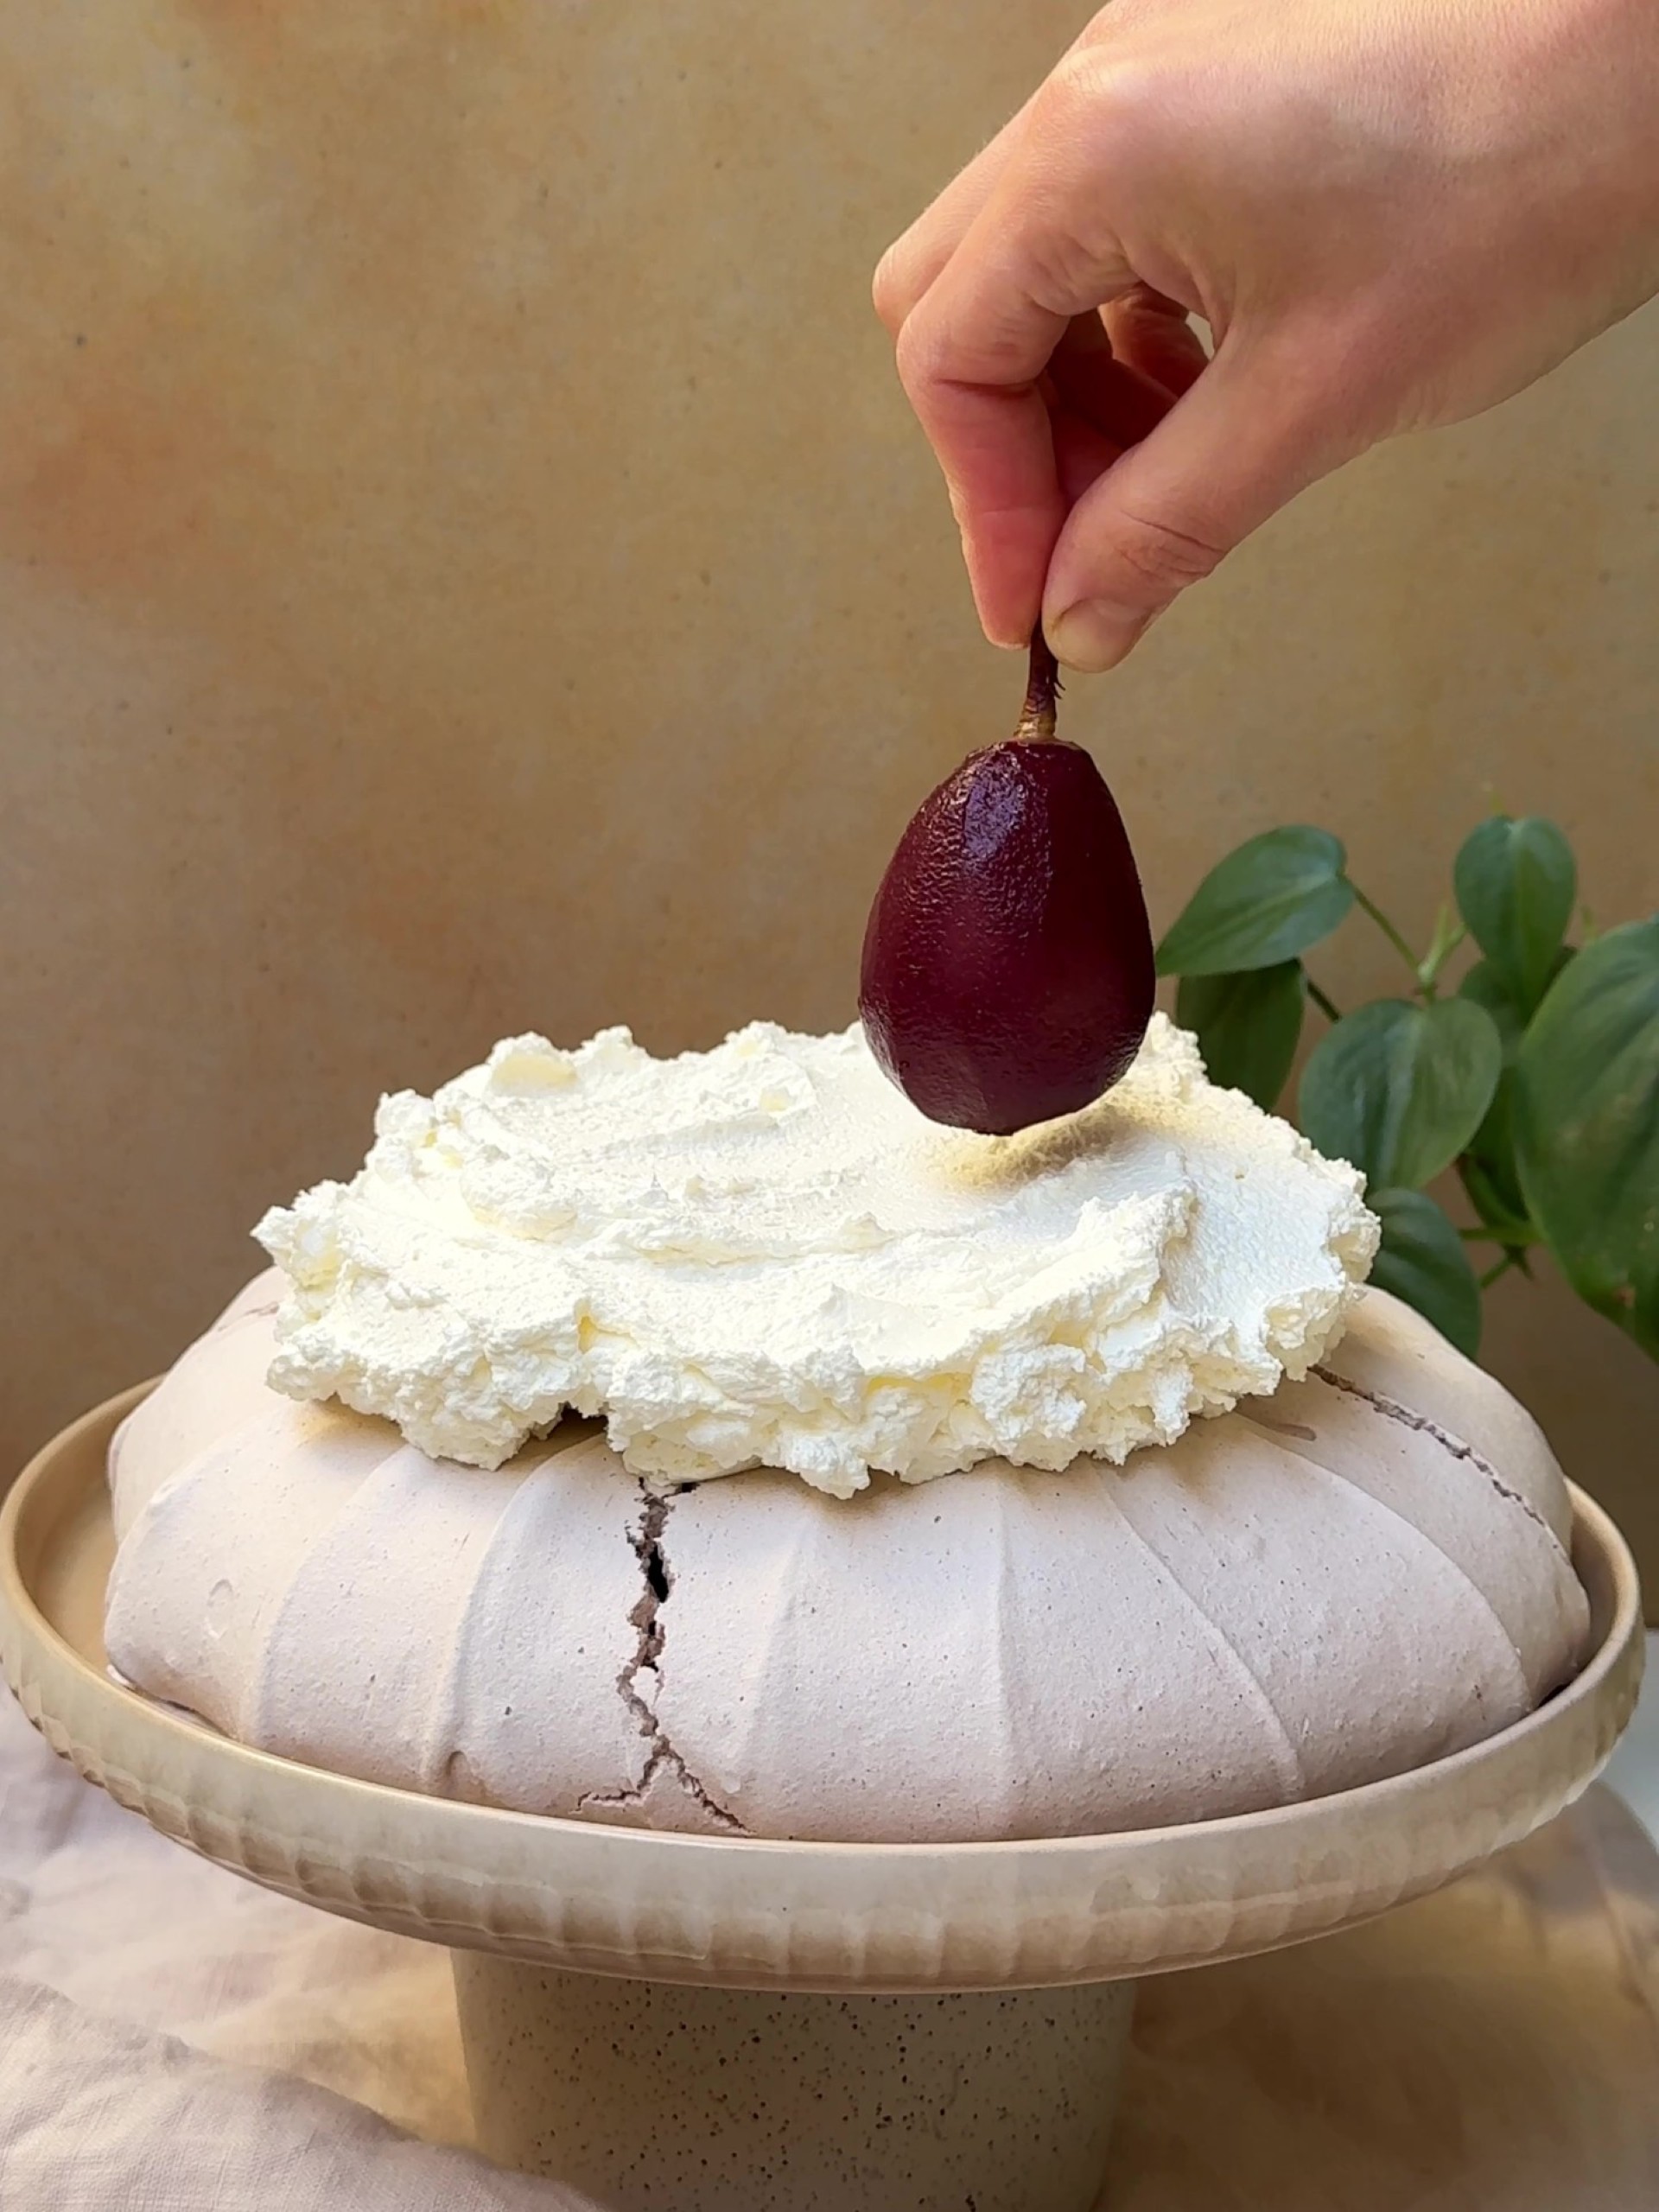
FIVE: Add the cooled poached pears on top of the whipped cream.
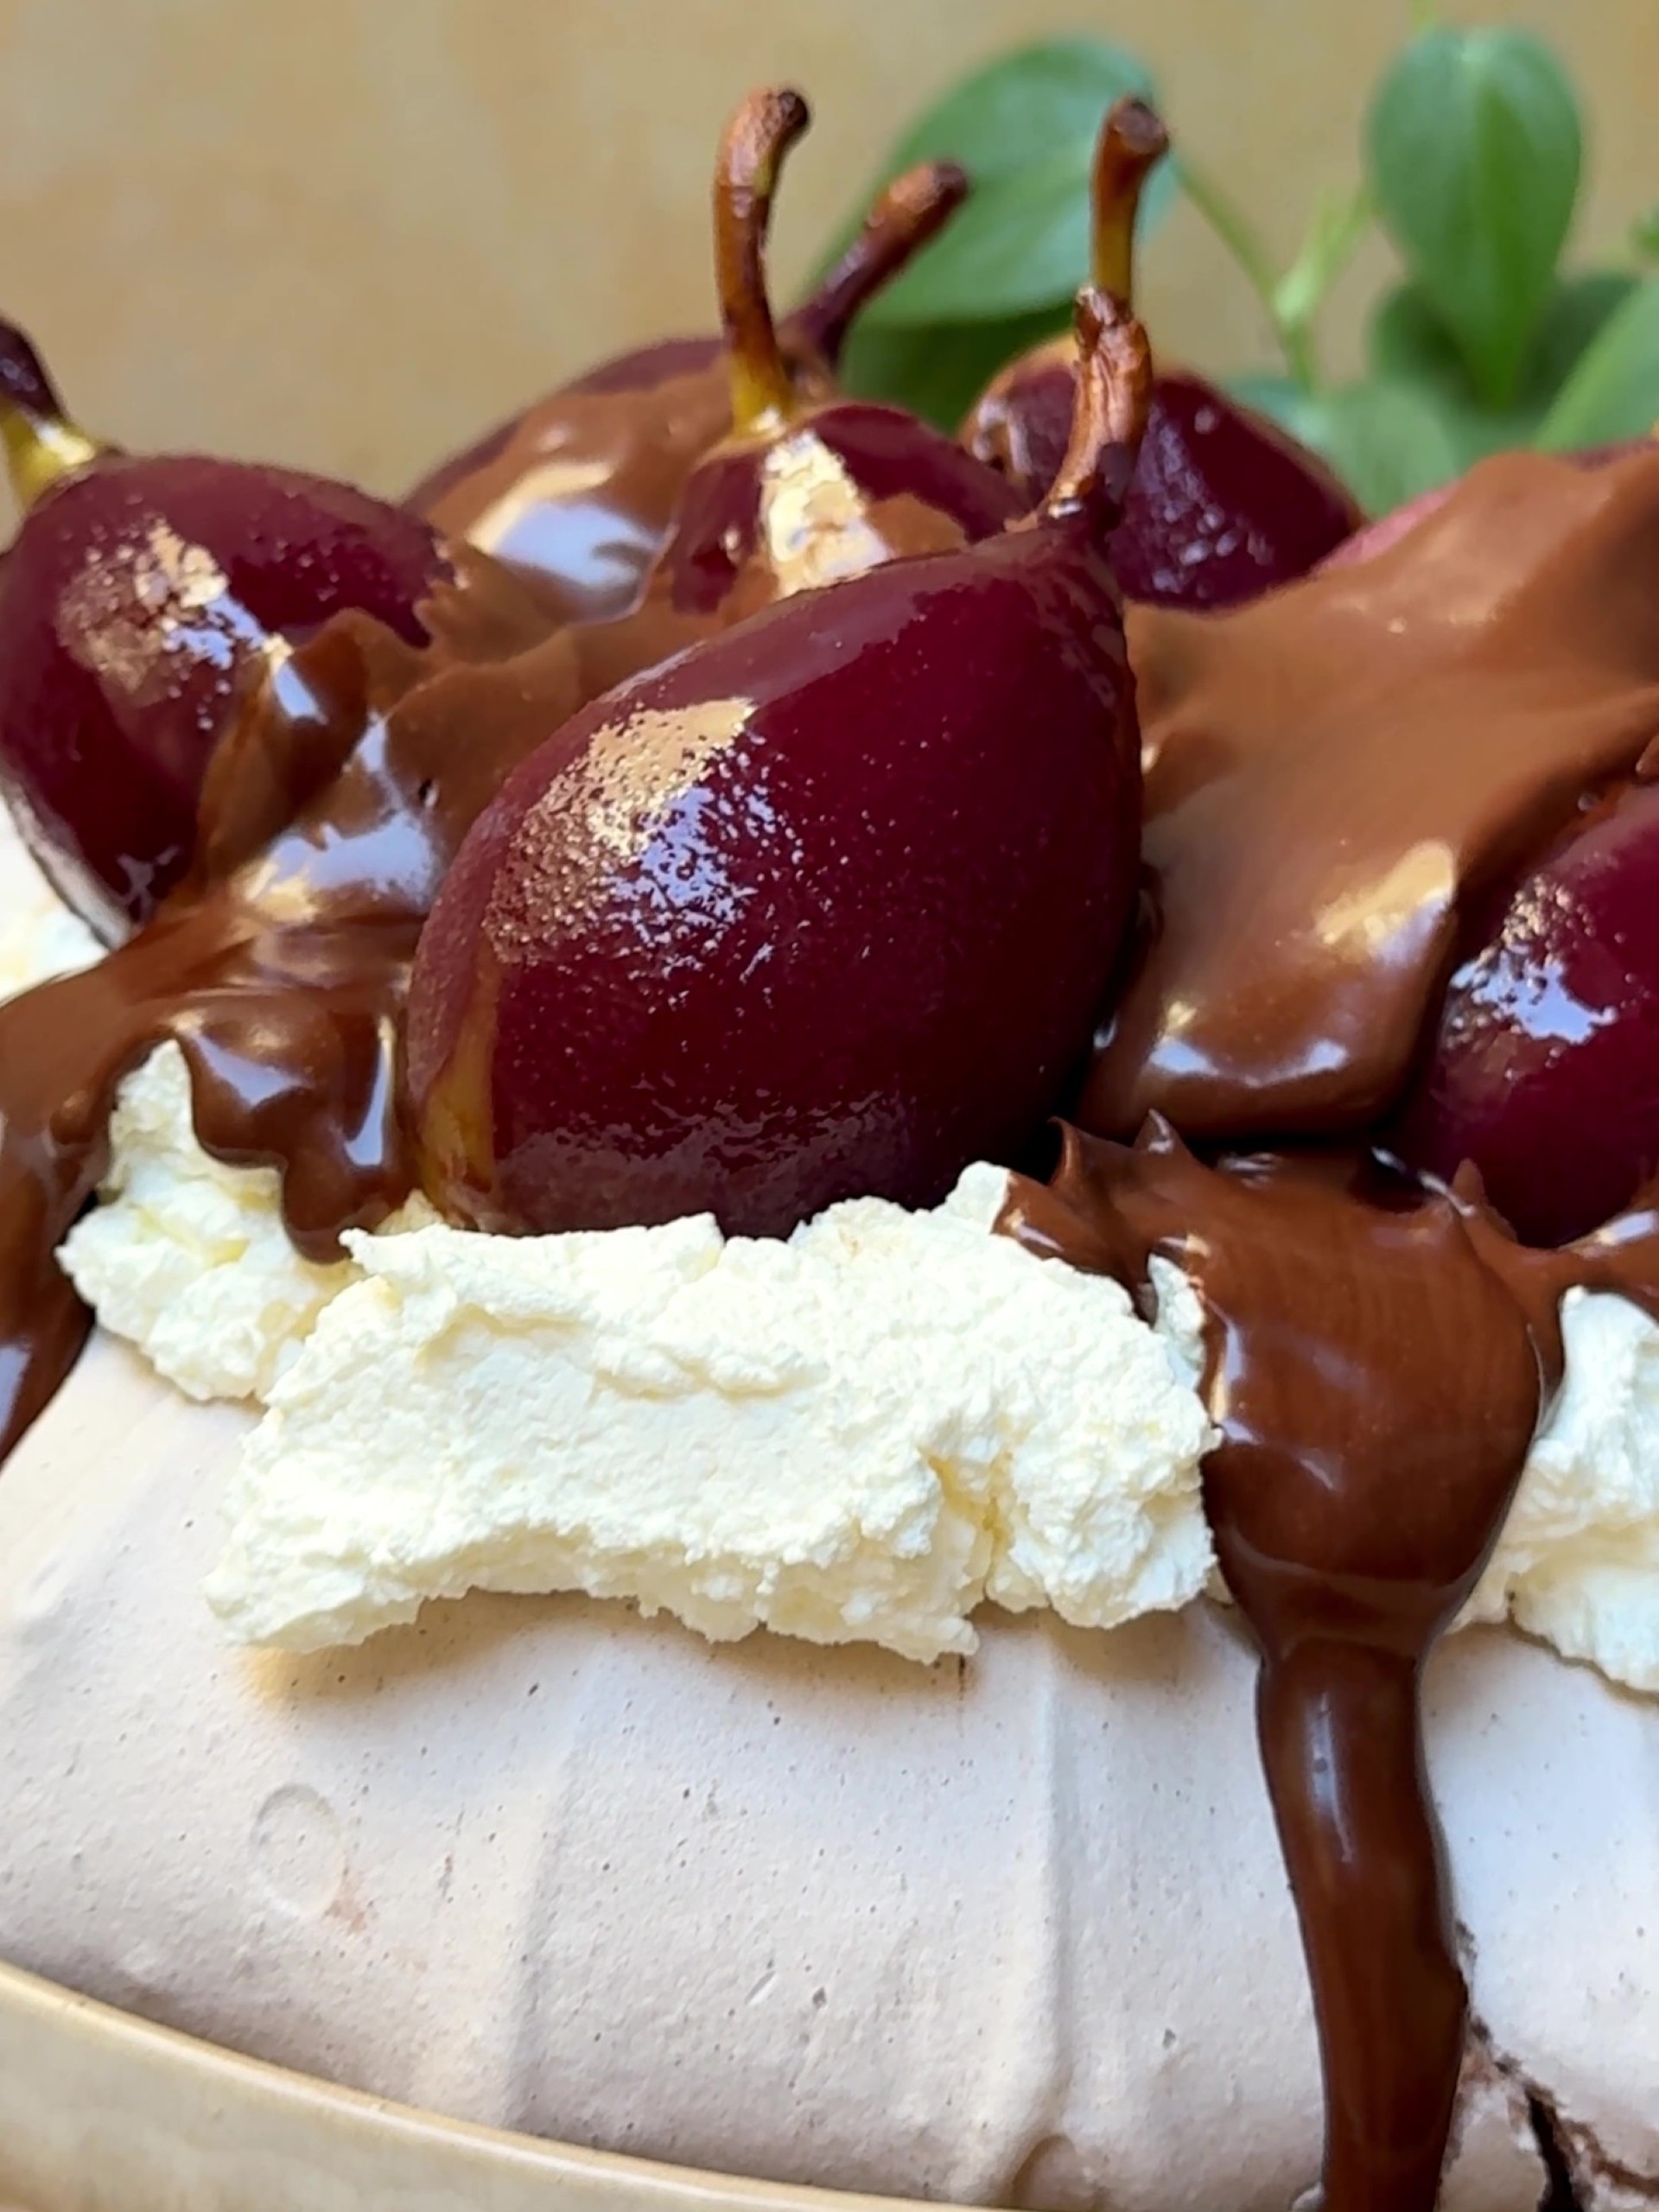
SIX: Drizzle with chocolate sauce and serve!
Cooking Tips:
- Separating egg whites: when separating the eggs, be really careful to not split any yolks which will leave behind a trace. I like to break each egg into a separate bowl, then remove the yolk and transfer the whites individually to a new container. That way if one yolk breaks, you don’t ruin the other 5 egg whites alongside.
- Adding sugar: take care to gradually add the sugar 1 tbsp at the time. This will help the structure of the meringue – don’t be tempted to dump it all in. You can test that all the sugar is dissolved in the meringue by pinching a little of the mix between two fingers. If you can still feel grains of sugar, it needs to whip longer.
- Cooling: for best results, this Christmas pavlova needs to cool very slowly. This helps to prevent cracks forming and keeps it looking pretty. However, a slightly cracked pavlova isn’t the end of the world. I rather like the rustic look. Plus, whipped cream, poached pears and chocolate sauce can hide a multitude of sins!
- Whipped cream: watch closely as you whip the cream and only take it to soft peaks. You don’t want it spongy or turning it into butter where the milk fats separate out. You want it just thickened. If you dragged a spoon through the mix, it would only just hold its shape and it would slowly sink back down. Go slowly, you can always whip a little more but you can’t undo. If you take it too far, it will split. It doesn’t have to be wasted though! Keep whipping and you eventually have homemade butter. You will need to start again with fresh cream for your pavlova though…
- Christmas Eton Mess: don’t panic if your pavlova wreath cracks or you break it when removing it from the tray. You can either patch it together with whipped cream or turn it into a festive Eton Mess.
Frequently Asked Questions
As mentioned, I think cracks in a pavlova add to the charm. Plus it can all be disguised with cream and fruit. Don’t forget that a broken pavlova is an Eton mess. So if it goes really wrong (it won’t), there’s always that. The key really is cooling slowly. Sometimes, I make the pavlova base in the evening and allow it to cool overnight. Just don’t forget it is in there and preheat the oven the next morning!
My non-negotiable top tips are:
Use caster sugar over granulated or icing sugar as it is the perfect fineness for a meringue which stabilises the dessert.
Make sure you let the pavlova cool VERY slowly. You can wedge the oven door open slightly. It will need 4 hours at least (you want it totally cooled in the oven). Removing from the oven too early (when still warm) leads to a drastic temperature drop which can cause cracks.
Adding cornflour and vinegar helps to stabilise the meringue and reduce the risk of cracking.
In my opinion, the best meringues are crisp on the outside and deliciously chewy inside. To achieve this, you need to make sure you don’t overcook the meringue. Remember, even if it seems a little soft after 1 hour 45 minutes, it will continue to cook as it slowly cools in the oven. Overcooking meringue makes it dry and crumbly, not gorgeously chewy.
An obvious choice is custard. You then have the perfect excuse to make a crumble or my peach cobbler with cake mix. You can also use them in savoury dishes. They are my secret to creating unbelievably creamy pasta recipes. Don’t miss my buttery lemon pasta and carbonara with guanciale. My udon carbonara is another favourite. Homemade mayonnaise and hollandaise sauce are also quick and easy ways to use up egg yolks.
Make Ahead Instructions
One of the many things I love about this Christmas pavlova is how it can be prepped ahead in stages. However, don’t be tempted to assemble the whole thing in advance. If you do, the cream and the pears will make the meringue soggy.
This is how you can get ahead:
Meringue: leave the meringue to cool completely and pop in an airtight container (or tightly wrap in clingfilm) for up to 2 days.
Poached pears: keep them in an airtight container for up to 5 days. Make sure they aren’t too snug together as they can bash each other and not look as pretty.
Chocolate sauce: pour into an airtight container and pop in the fridge for up to 1 day. It will completely firm up in the fridge so take it out in the morning to come to room temp. Then warm it gently (either in short microwave bursts or over a double boiler) and keep stirring. It will soon loosen again.
Whipped cream: I recommend whipping the cream on the day you want to use it. If you aren’t using it straight away, cover the bowl with cling film and pop in the fridge until ready to use.
Other recipes you might enjoy:
For more Christmas inspiration, try my no bake tiramisu cake (made with panettone), Panettone Tiramisu or my apple crumble cheesecake. My chocolate brownie trifle and chocolate cake with chocolate mousse are also firm favourites. Otherwise I have a Wreath Pavlova or my Buche de Noel Yule Log.
Christmas Recipes
Nutella Puff Pastry Christmas Tree
Christmas Recipes
Easy Christmas Cheesecakes
Christmas Recipes
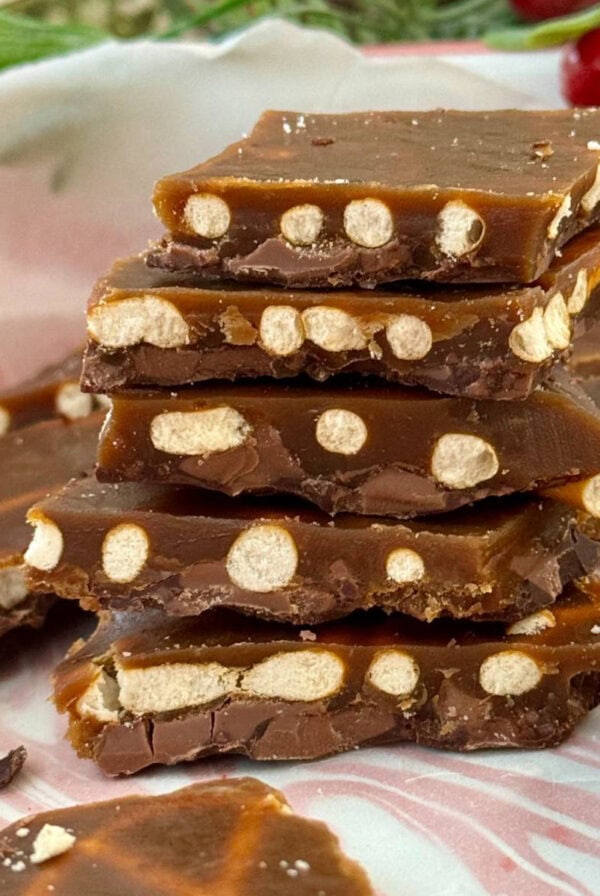
Christmas Pretzel Crack
Christmas Recipes
The Best Shortbread Christmas Tree Cookies
If you tried this Christmas Pavlova or any other recipe on the site, please do leave a rating or comment and let us know how it went!

Christmas Pavlova
Ingredients
For the poached pears:
- 2 large oranges
- 6 ripe but firm small pears, small pears really are preferable for this – you can always use a vegetable peeler to shave them down a bit and cut their bottoms off but leave their hats with the stalks on
- 480 ml red wine, such as Pinot Noir
- 60 ml runny honey
- 3 tbsp caster sugar
- 1 cinnamon stick
- ¼ tsp ground cardamom
For the pavlova:
- 6 large egg whites
- 300 g caster sugar
- 2 tsp white wine vinegar
- 2 tsp cornflour
- 3 tbsp cocoa powder
For the chocolate sauce:
- 75 g good-quality dark chocolate, chopped
- 100 ml double cream
To serve:
- 600 ml double cream, lightly whipped until spoonable
Instructions
- Zest and juice one of the oranges and pour the juice into a large mixing bowl. Slice the remaining orange into ¼-inch rounds.
- With a vegetable peeler, peel the pears, leaving them whole. Add the pears to the bowl with the orange juice and toss to coat (this will help prevent them from turning brown too quickly).
- Add the orange slices, red wine, honey, sugar, cinnamon stick, and cardamom to a saucepan.
- Place the pan over a medium-high heat and bring the liquid to a rolling boil. Reduce the heat and carefully add the pears and orange juice. Cover and simmer gently for 20-30 minutes, occasionally rotating them using a wooden spoon, until the pears have softened enough for a skewer inserted in the middle of a pear at the thickest part to be met with no resistance.
- Transfer the pears back to the bowl that you tossed with orange juice. Set aside to cool.
- Next, make the pavlova: preheat the oven to 120C / 100C Fan. Add the egg whites to the bowl of a stand mixer. Whisk on low until foamy, then increase to medium until soft peaks form.
- Gradually add the caster sugar 1 tbsp at a time, whisking until dissolved. Increase the speed to high and whisk for 8 minutes, or until stiff peaks form and there are no grains of sugar dispersed in the mixture. Test this by rubbing some of the meringue between your thumb and index finger, it shouldn’t feel grainy.
- Add the vinegar and whisk for a further 10 seconds until just combined.
- Sieve in the cornflour and cocoa powder, then fold in with a large metal spoon. Take care to keep in as much air as possible.
- Line a large baking tray with non-stick baking paper – using some of the meringue as glue to stick down the base of the baking paper to the tray. Pile the meringue in the middle, then lightly and evenly distribute into a dome about 15 cm in diameter.
- Scoop out a little from the middle, to create a shallow volcano cavity, then add back to the sides and evenly distribute. Once smooth, using a butter knife or small palette knife, glide vertically up the surface and across the top of the pavlova on a slight angle to form a striped pattern. Clean up the cavity if necessary, then bake in the oven for 1 hour and 45 minutes.
- Next, turn the oven off but don’t open the oven door. Leave the pavlova inside to cool completely for at least 4 hours.
- Meanwhile, make the chocolate sauce: put the chopped chocolate into a heatproof bowl and set aside. Pour the cream into a small saucepan and place over a medium heat. Slowly bring to a simmer. Remove from the heat and pour over the chopped chocolate. Stir well until the chocolate is completely melted.
- To serve: set the cooled pavlova onto a plate. Top with the gently whipped cream and cooled poached pears. Drizzle with chocolate sauce and enjoy!
Notes
Nutrition
Nutrition information is automatically calculated, so should only be used as an approximation.





Hello! When the pear poaching is done and it says transfer back to the bowl, is it just the pears that should be in the last bowl or should they always be in the red wine sauce until serving? 🙂
Just the pears to cool them! For the red wine syrup in the pan, you could reduce the red wine poaching liquid into a thick syrup. It’s so delicious and it complements the pears so well, of course. Remove the pears from the pear as instructed but don’t discard the poaching liquid. Then turn the heat to medium-high and bubble the poaching liquid until totally reduced, syrupy and glossy. This will take anywhere from 15 to 30 minutes, it will depend on the pan used and how much it bubbles, so be patient with it.
I adore this Christmas pavlova recipe – it looks so impressive and whilst it does take a little time, the recipe is really clear to guide you through it.
Did you use food coloring for the pears? Mine are not as nearly as pretty as yours. They remained pale. I’m from Europe, perhaps the wine is different here…
No food colouring necessary, if you use a red wine, they really should turn a lovely shade of red. I can’t think what would have happened to stop yours from going the same colour. Hopefully it still tasted lovely xxx
I thought I was detailed when it comes to recipes but oh my God this is incredible. I followed this recipe step-by-step and it turned out amazing. I would say really do listen when she says allow it to slowly cool I was a little bit impatient and I took it out of the oven after an hour.