This post may contain affiliate links. Please see our disclosure policy.
If you’ve mastered plain marshmallows, you might want to mix it up and try chocolate marshmallows. These are rich and chocolatey and far simpler than you think. If you haven’t made marshmallows from scratch before, they are so different to shop-bought, so I’d highly recommend them. See our classic marshmallows for a really detailed post on marshmallows in general.
I know marshmallows have a reputation for being sickly sweet and cloying. However, that really isn’t the case with homemade marshmallows. They are light, springy and sweet – but not overpoweringly so. Plus you can play around with the flavours, which is why we are making chocolate marshmallows here.
Table of Contents
- Why you will love this recipe:
- Ingredients:
- What is Liquid Glucose?
- Substitutions and Variations:
- Here’s how to make homemade chocolate marshmallows:
- Cooking Tips
- Can I make marshmallows at home without a sugar thermometer?
- Frequently Asked Questions
- Other recipes you might enjoy:
- Homemade Chocolate Marshmallows Recipe
Why you will love this recipe:
- They are so much better than shop bought marshmallows. They are so sweet, soft and light.
- They are the perfect homemade gift.
- You can make ahead up to 3 weeks in advance.
- They can be used in so many ways. I love to serve these chocolate marshmallows in a s’more.
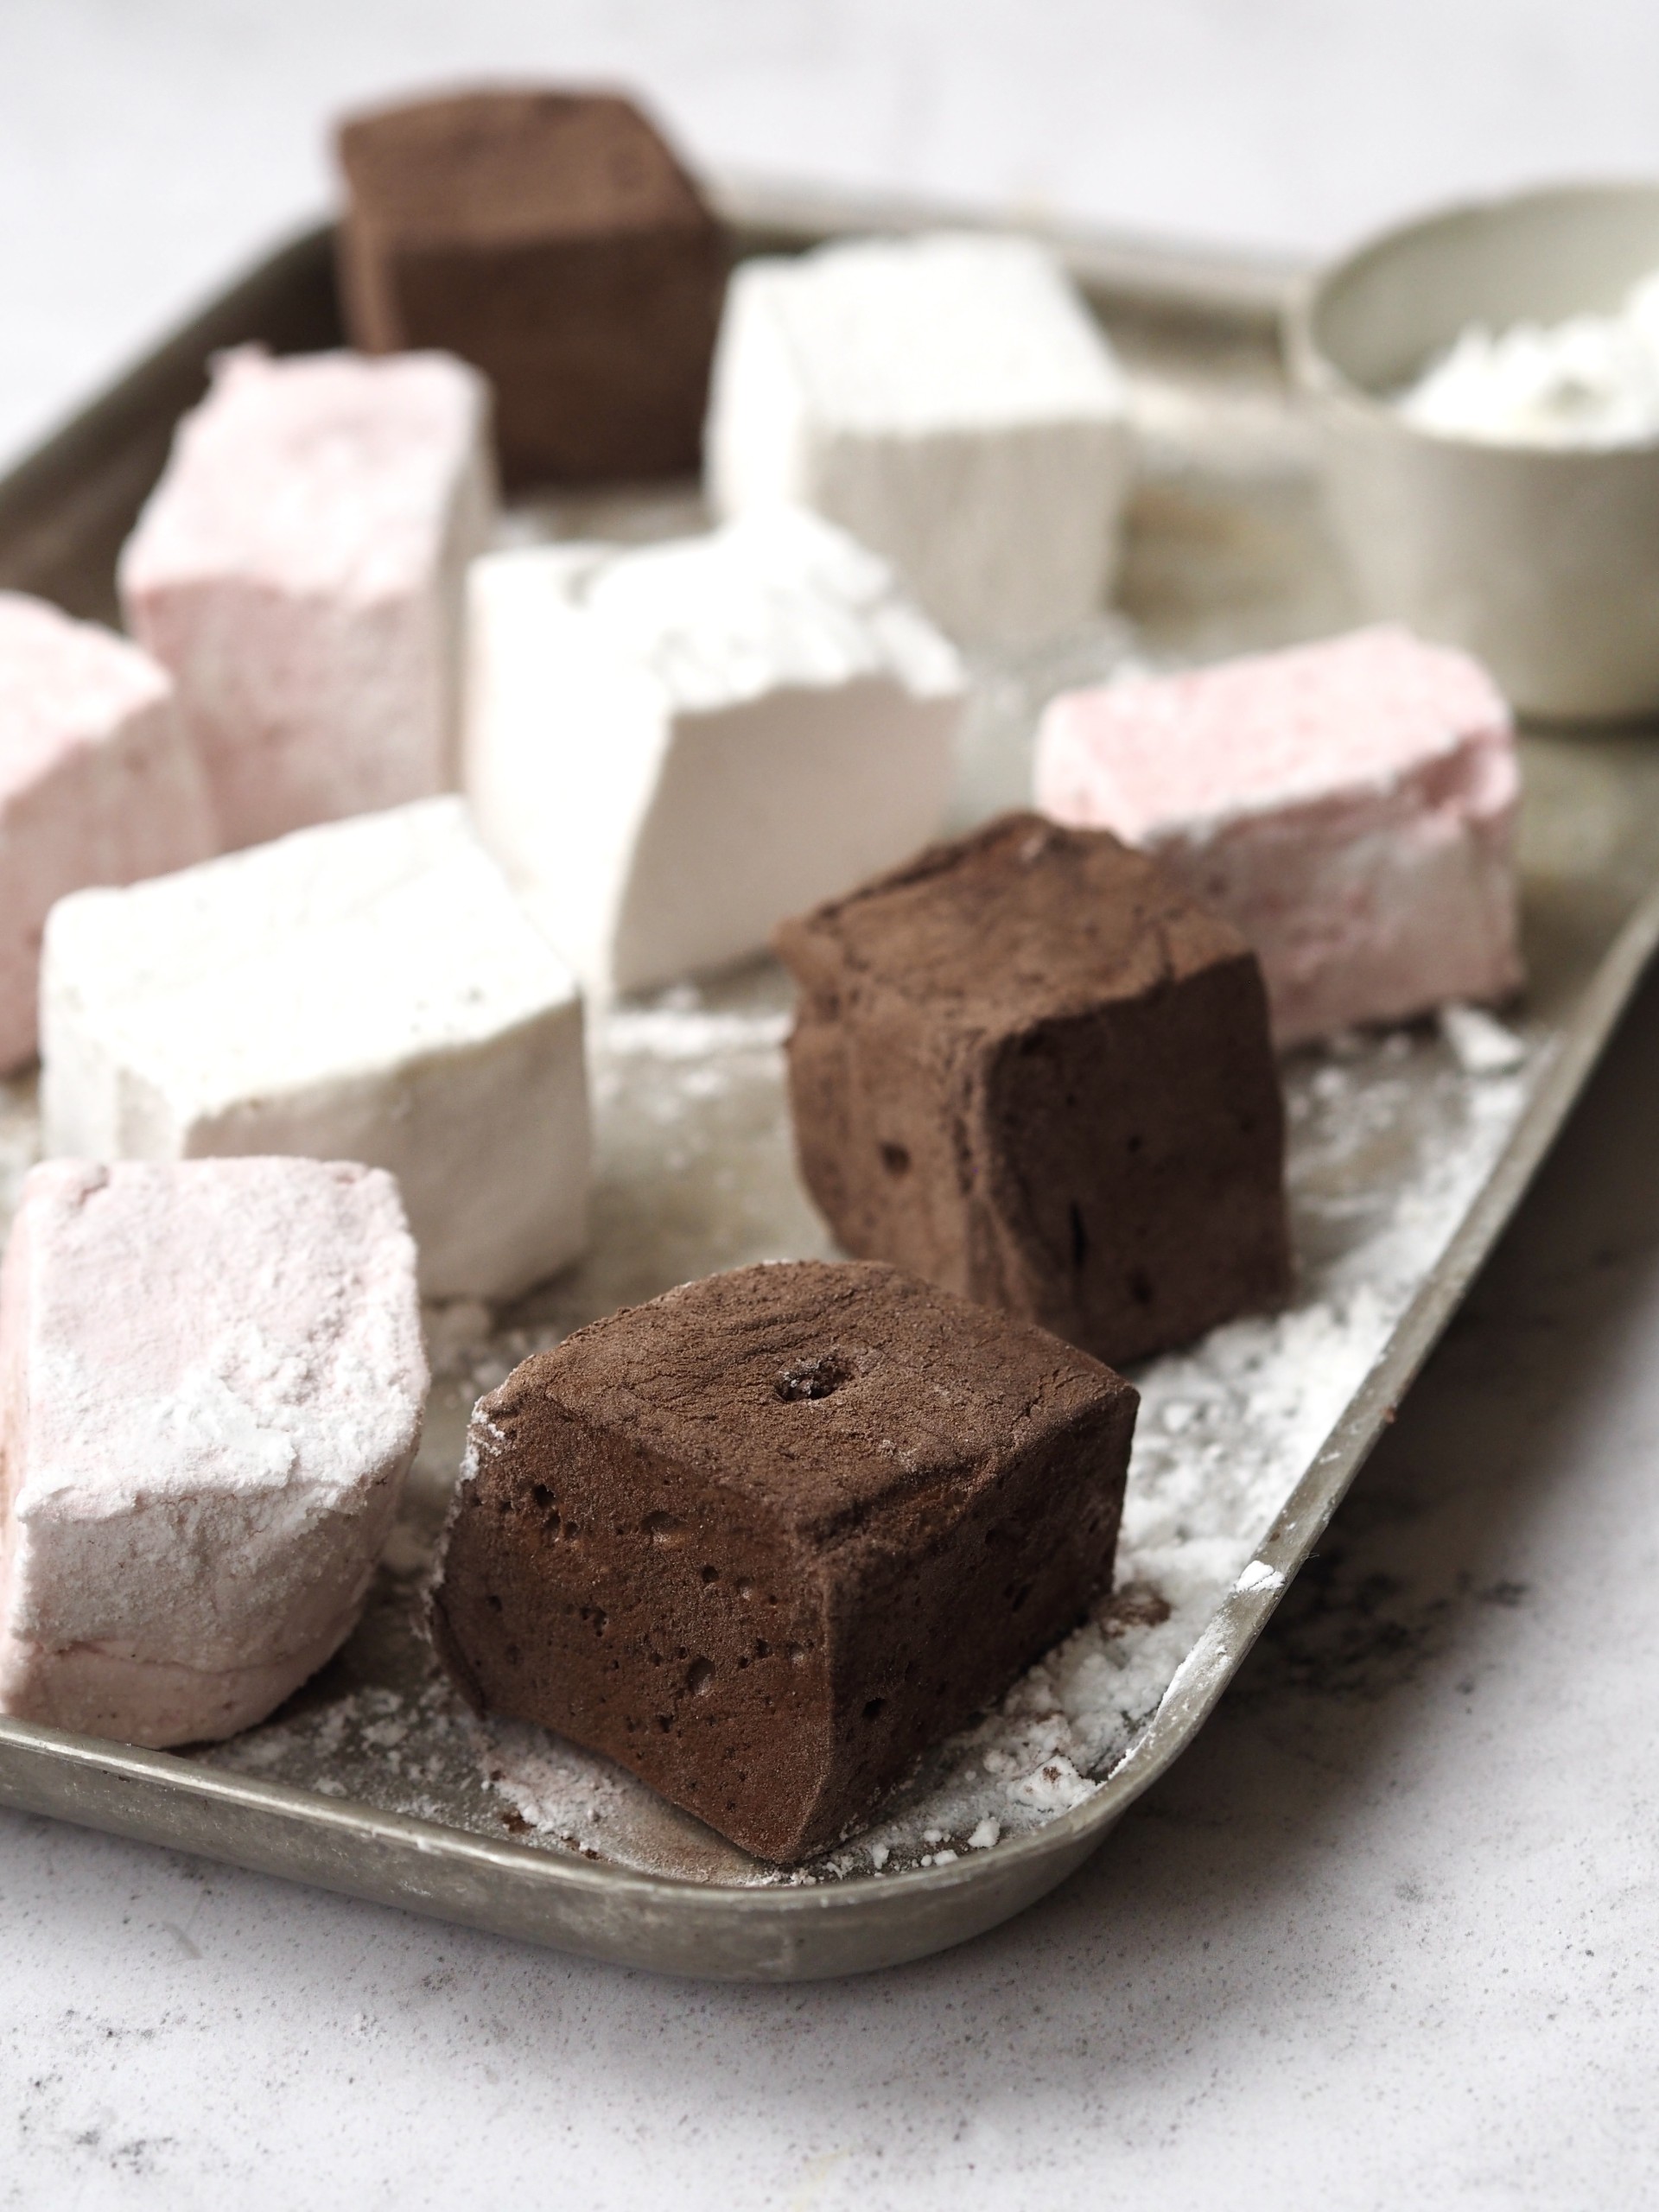
Here I’m going to talk you through how to make chocolate marshmallows. If you want to make plain marshmallows first or raspberry ones, that’s also a good place to start.
Ingredients:
Full recipe can be found in the printable recipe card at the bottom of the post, just scroll down
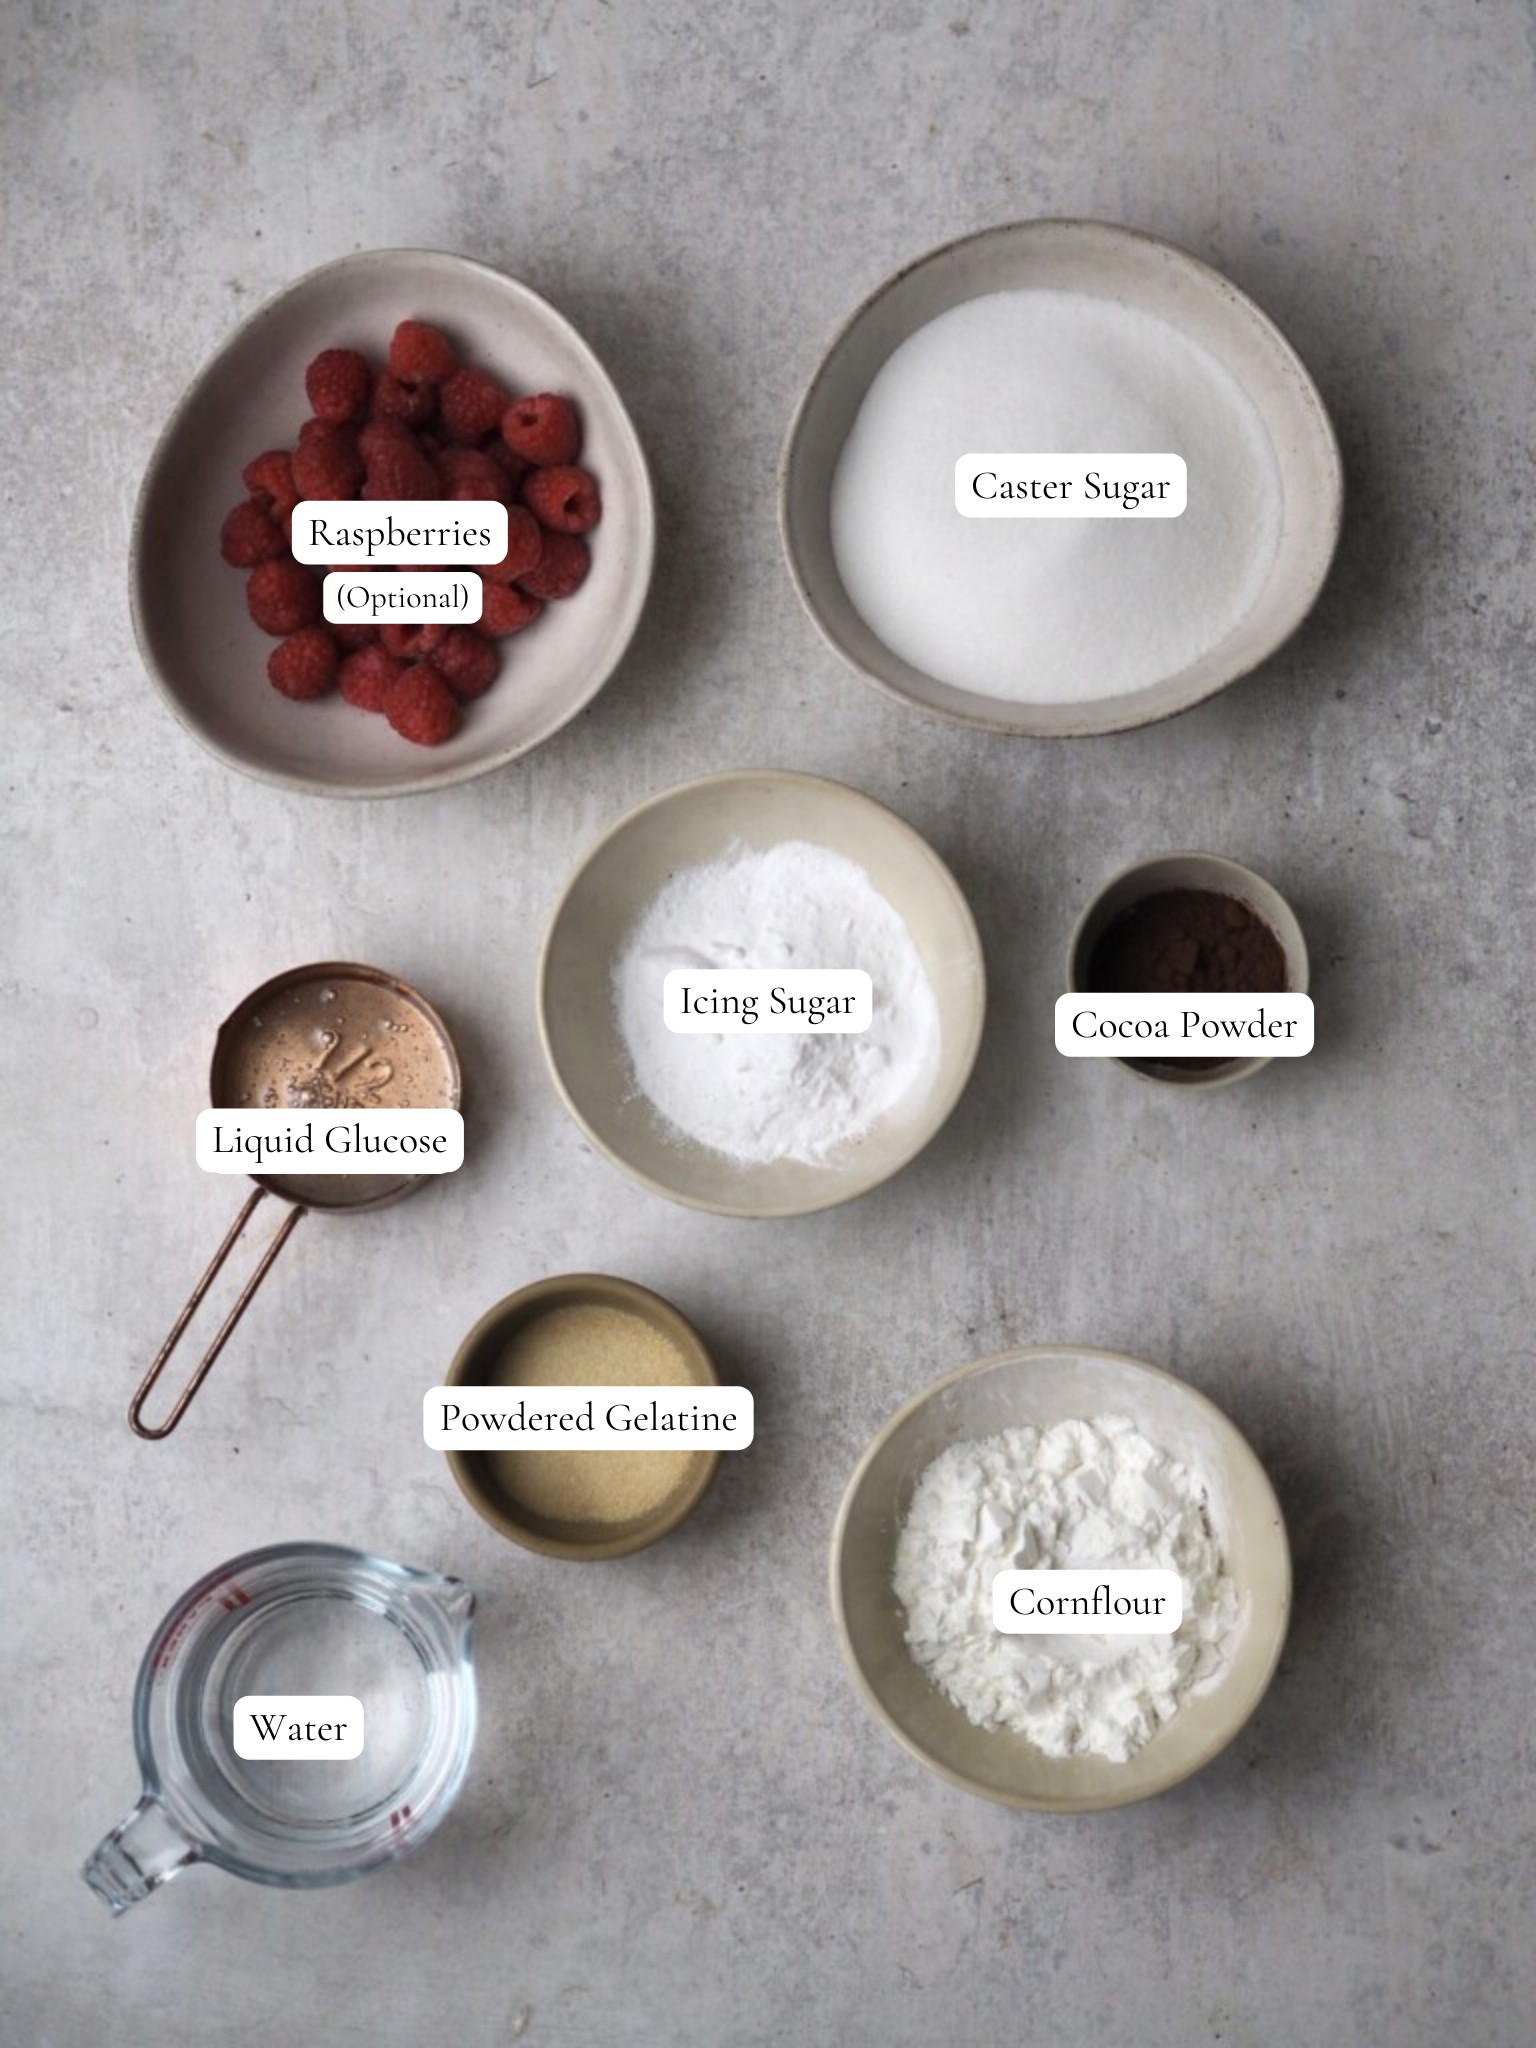
Powdered gelatine – this allows the marshmallow mixture to set, ready to be cut into perfect cubes.
Liquid glucose – this is the secret ingredient to the perfect homemade marshmallows. It helps create the perfect soft and bouncy texture.
Caster sugar – this forms the basis of the sugar syrup. You can use golden caster sugar for a darker marshmallow. Granulated sugar also works well.
Cocoa Powder – Use proper cocoa powder and not hot chocolate powder.
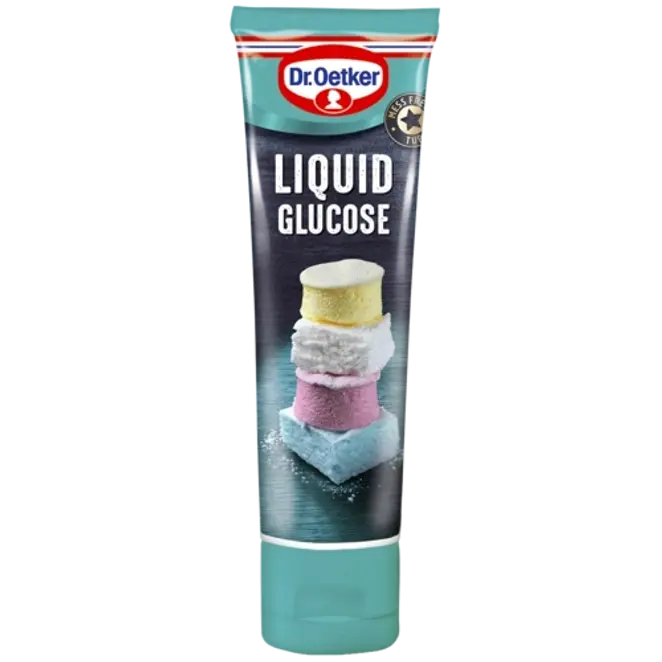
What is Liquid Glucose?
Liquid Glucose is a thick, clear syrup made from corn starch or maize starch (or other starches). It can also be known as corn syrup or glucose syrup, but if you’re in the UK, look for liquid glucose as that is exactly what we used when testing the recipe.
It’s used in many baking or confectionery recipes such as these marshmallows but also it’s useful in icings and jams. It’s much easier to buy it than to make it, so I’d recommend that. You can buy it in the UK in many big supermarkets in the baking section. Dr Oetker Liquid Glucose is a good one. Otherwise, ordering online is easy too.
It has the same texture and viscosity as golden syrup but it’s clear and doesn’t taste the same.
Substitutions and Variations:
Vanilla: you can enhance the chocolate flavour with vanilla. Simply mix in a little vanilla extract or vanilla bean paste.
Mocha: Add a teaspoon of instant coffee granules into the 50g cocoa powder that then gets folded through the marshmallows at the end.
Chocolate Orange: Add the zest of half an orange or a teaspoon of orange extract at the last step, when folding in the cocoa powder.
Here’s how to make homemade chocolate marshmallows:
Here’s a step by step guide for what you need to do, but you can find the full recipe at the bottom of the page for detailed instructions.
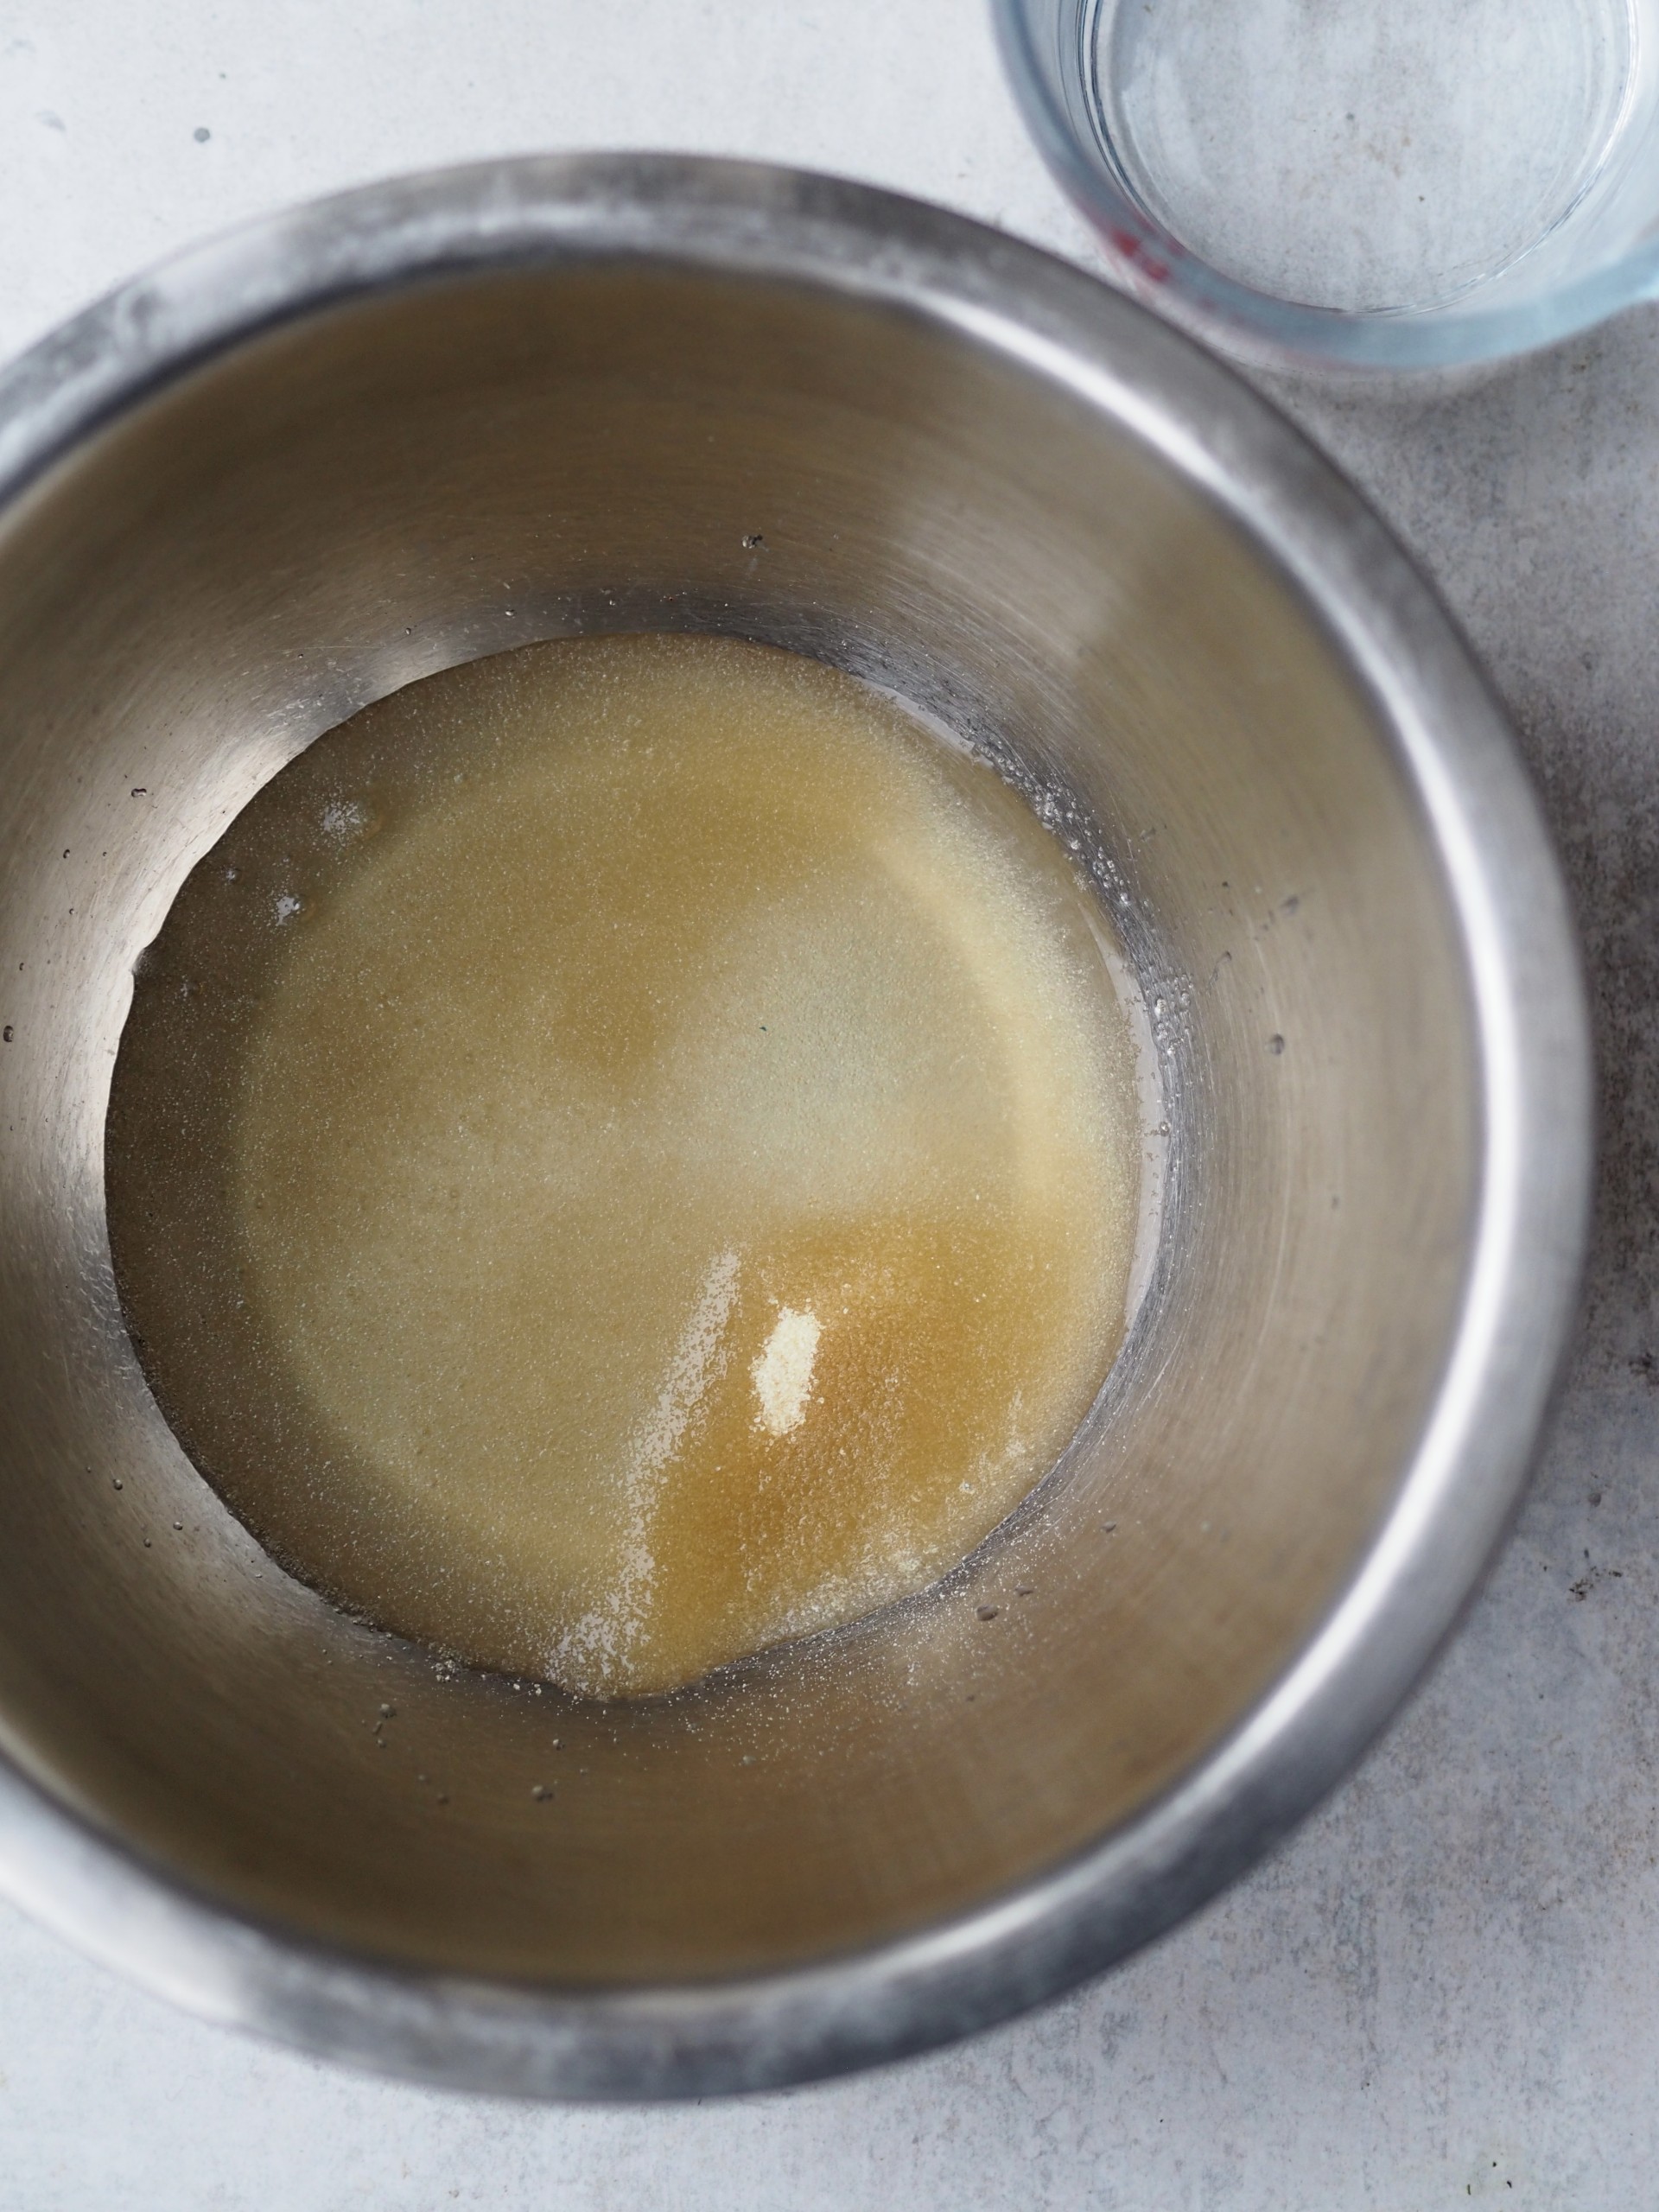
ONE: Place the gelatine into a large heatproof bowl (ideally the bowl of a stand mixer if you have one). Add the 2 tbsp cold water and mix well. Set aside.
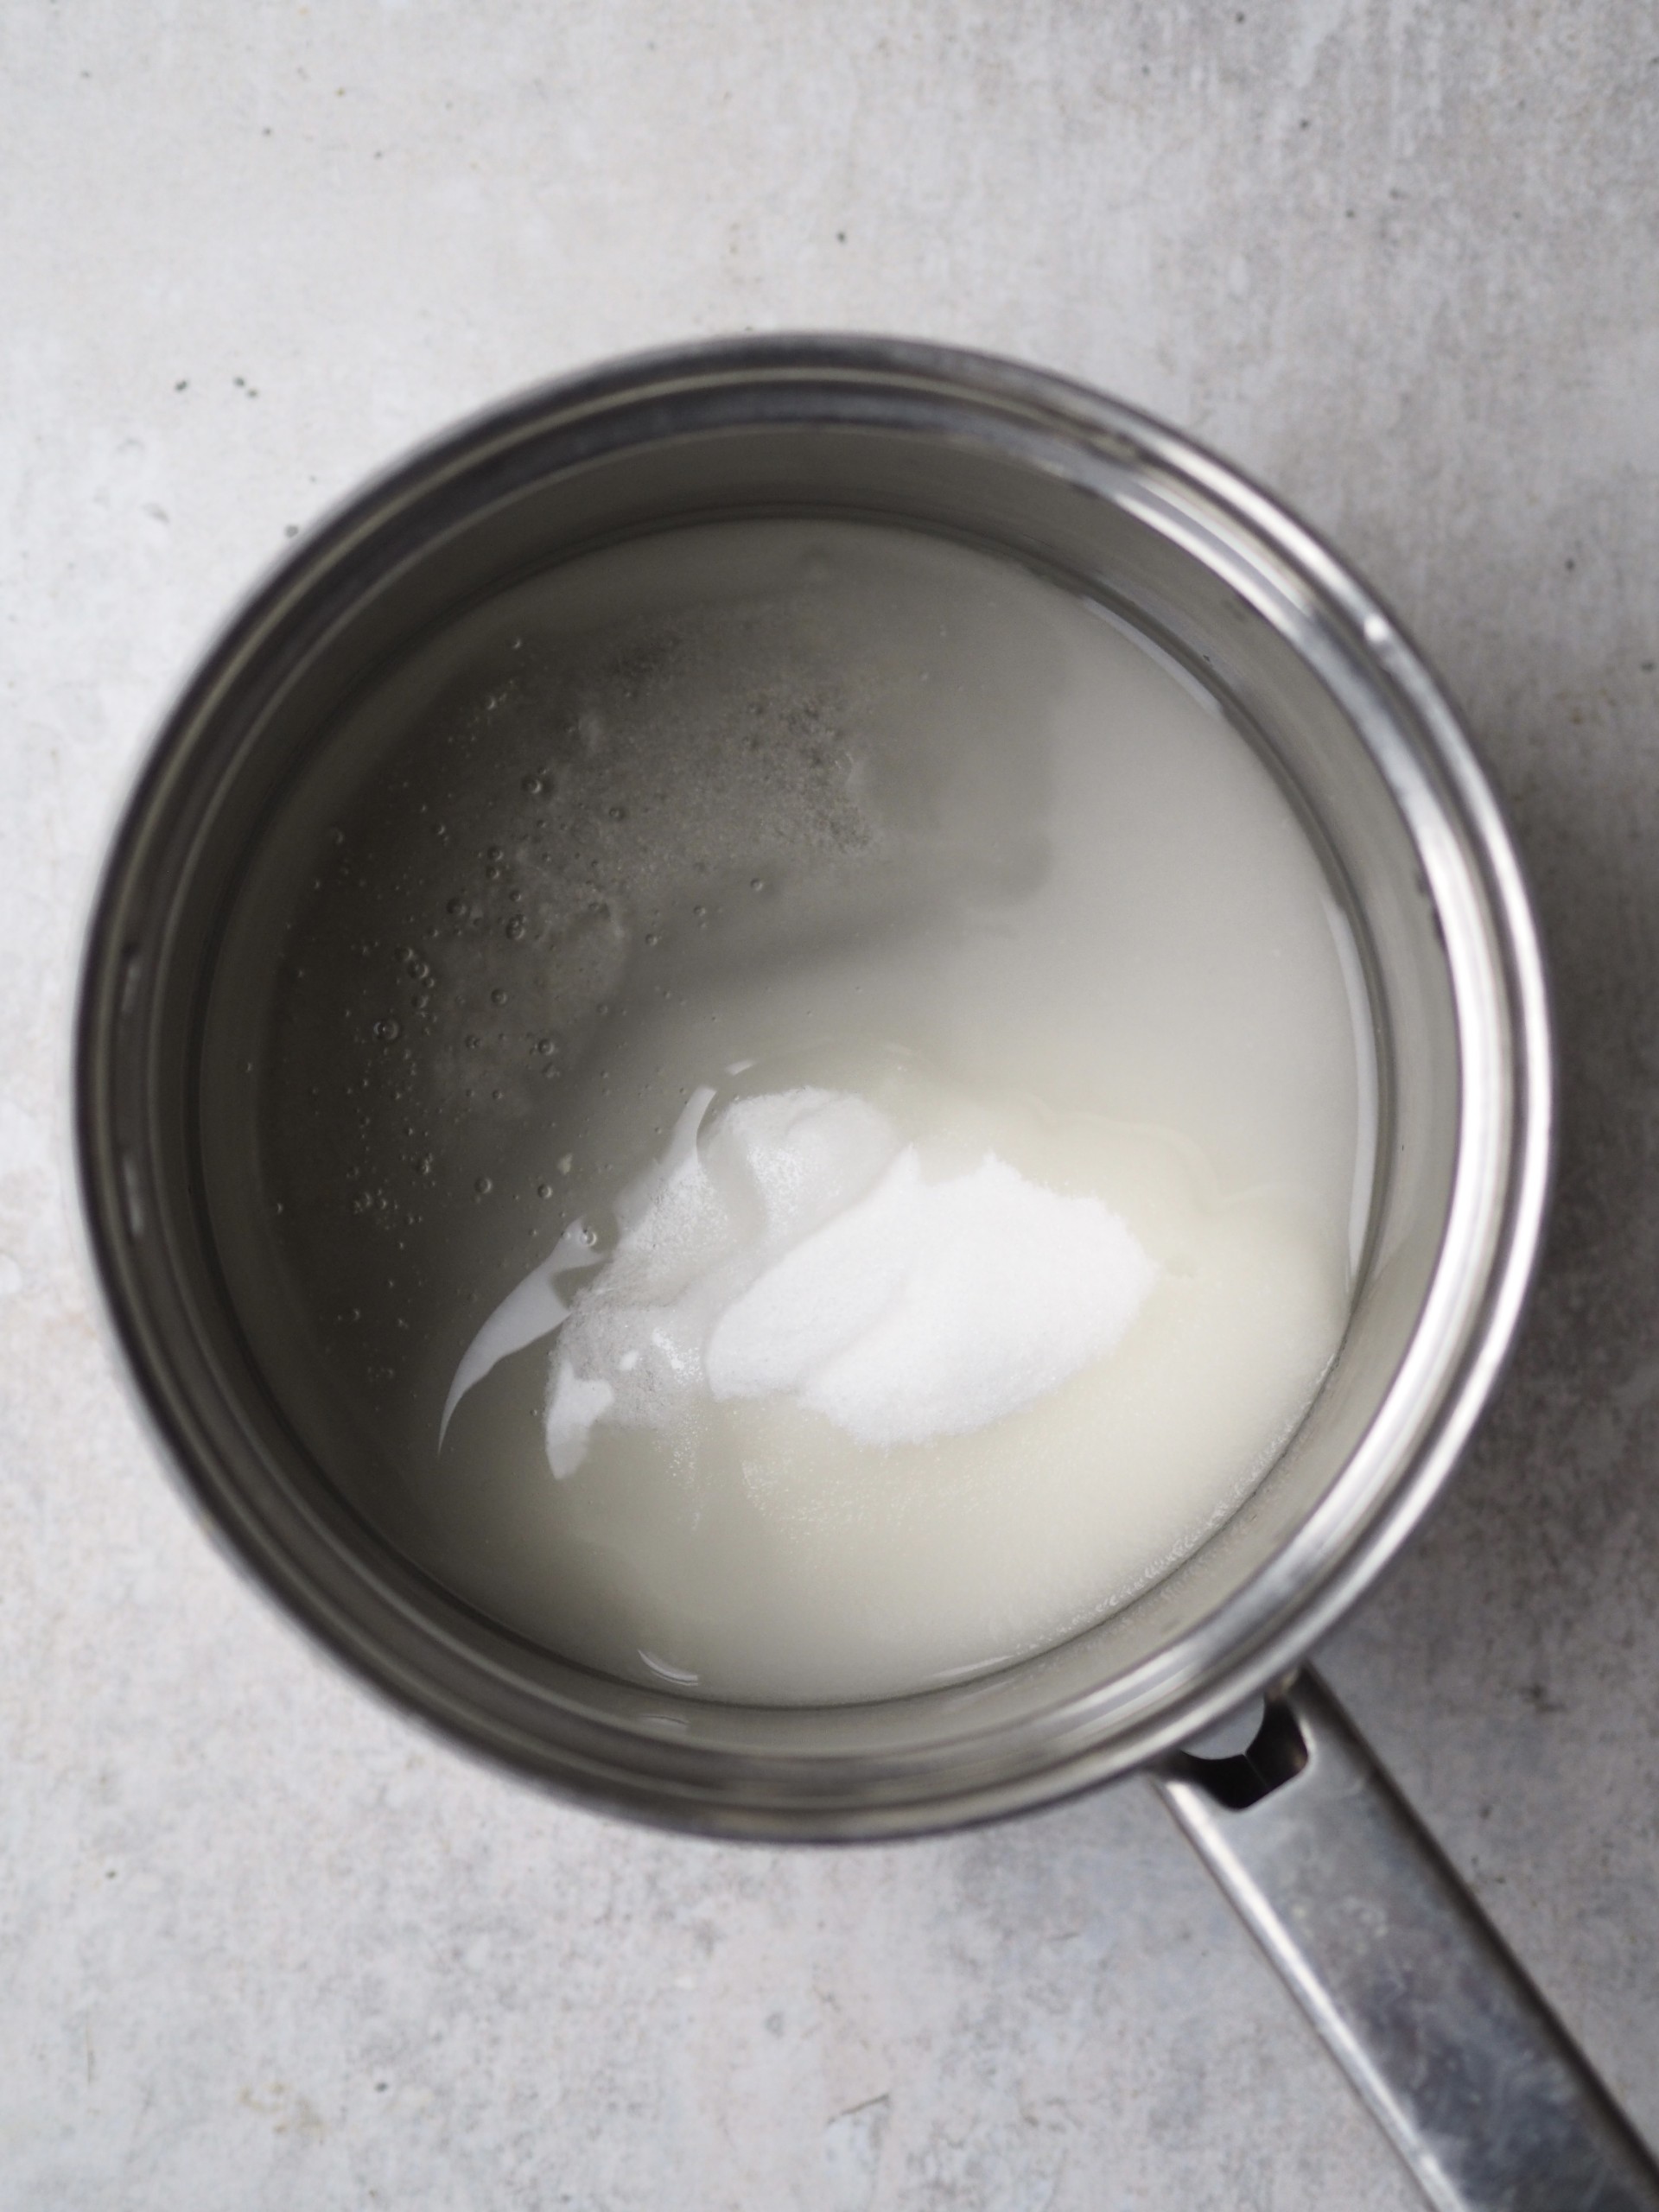
TWO: Next, add the glucose syrup and caster sugar to a large saucepan. Pour in 150ml water and place over a medium heat. Stir gently until the sugar has dissolved in the water. Once the mix begins to simmer, stop stirring.
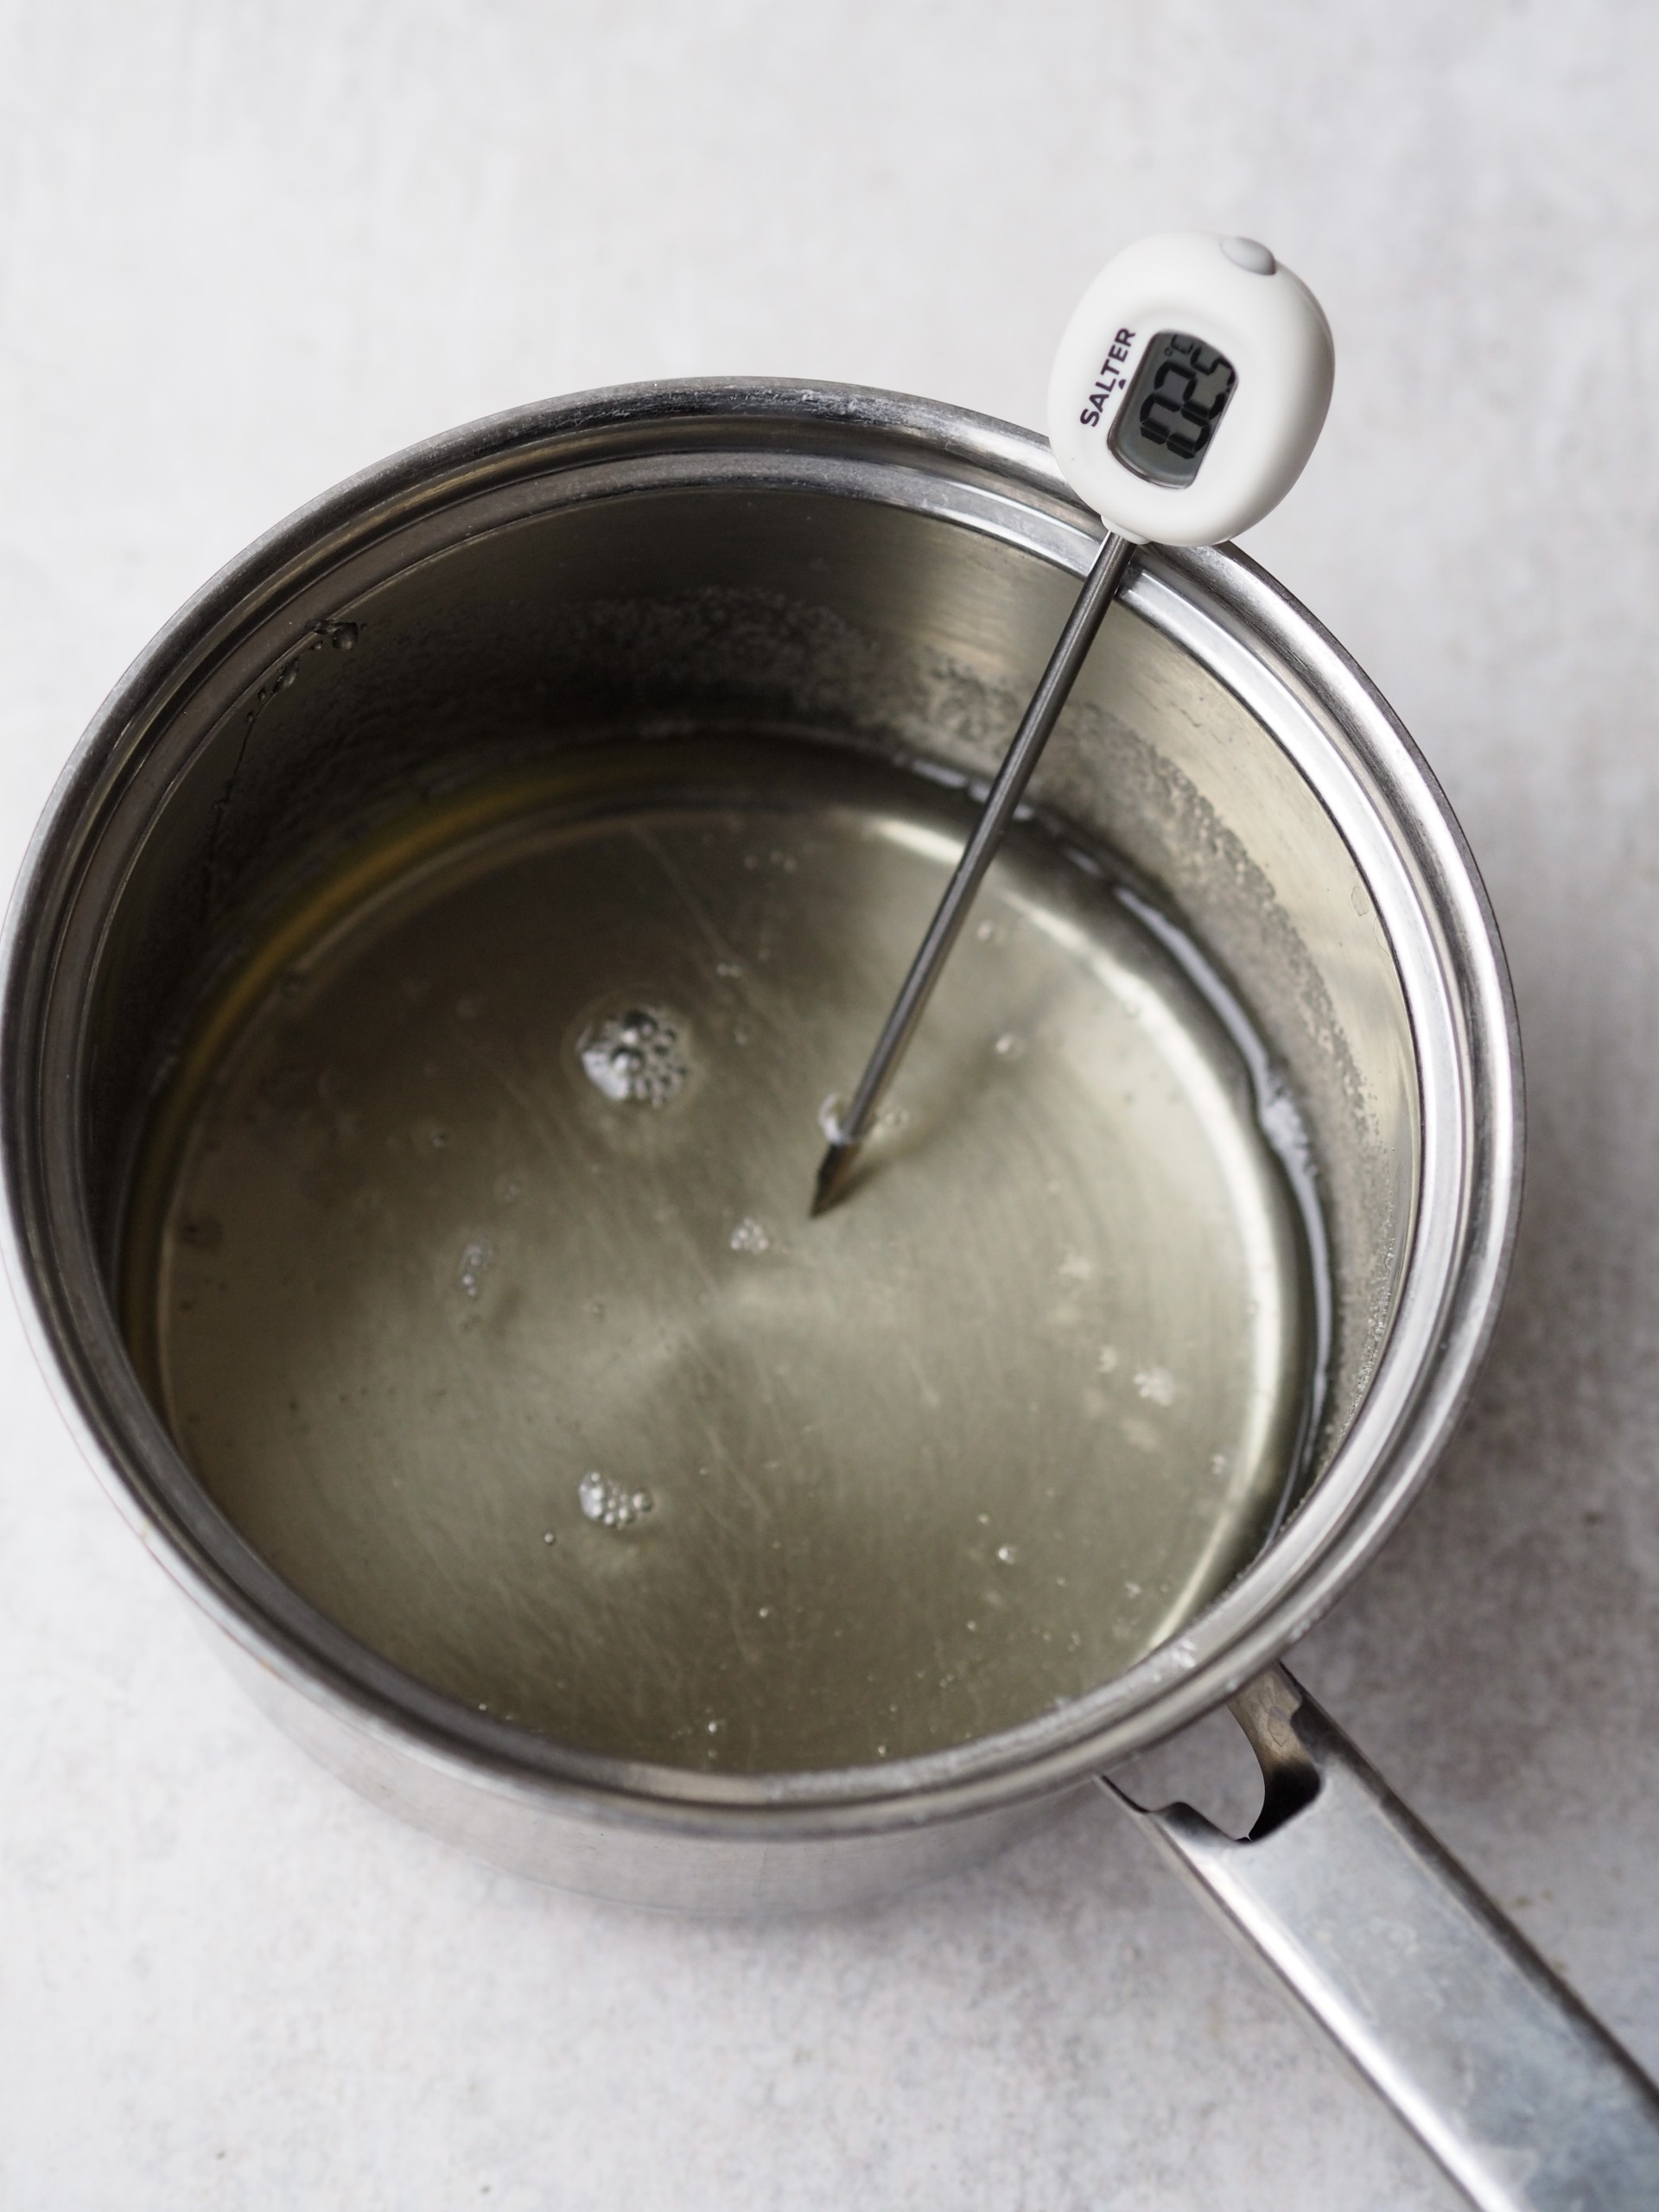
THREE: Continue to heat over a medium-high heat, gently swirling the pan, until the sugar syrup reaches 115C (use a jam thermometer to check). At this stage the liquid should be clear and bubbling. Handle the pan carefully as it will be extremely hot.

FOUR: Remove the pan from the heat and very carefully, drizzle the sugar syrup into the gelatine whilst whisking with an electric whisk. You will find this easiest if you use a stand mixer fitted with the whisk attachment.
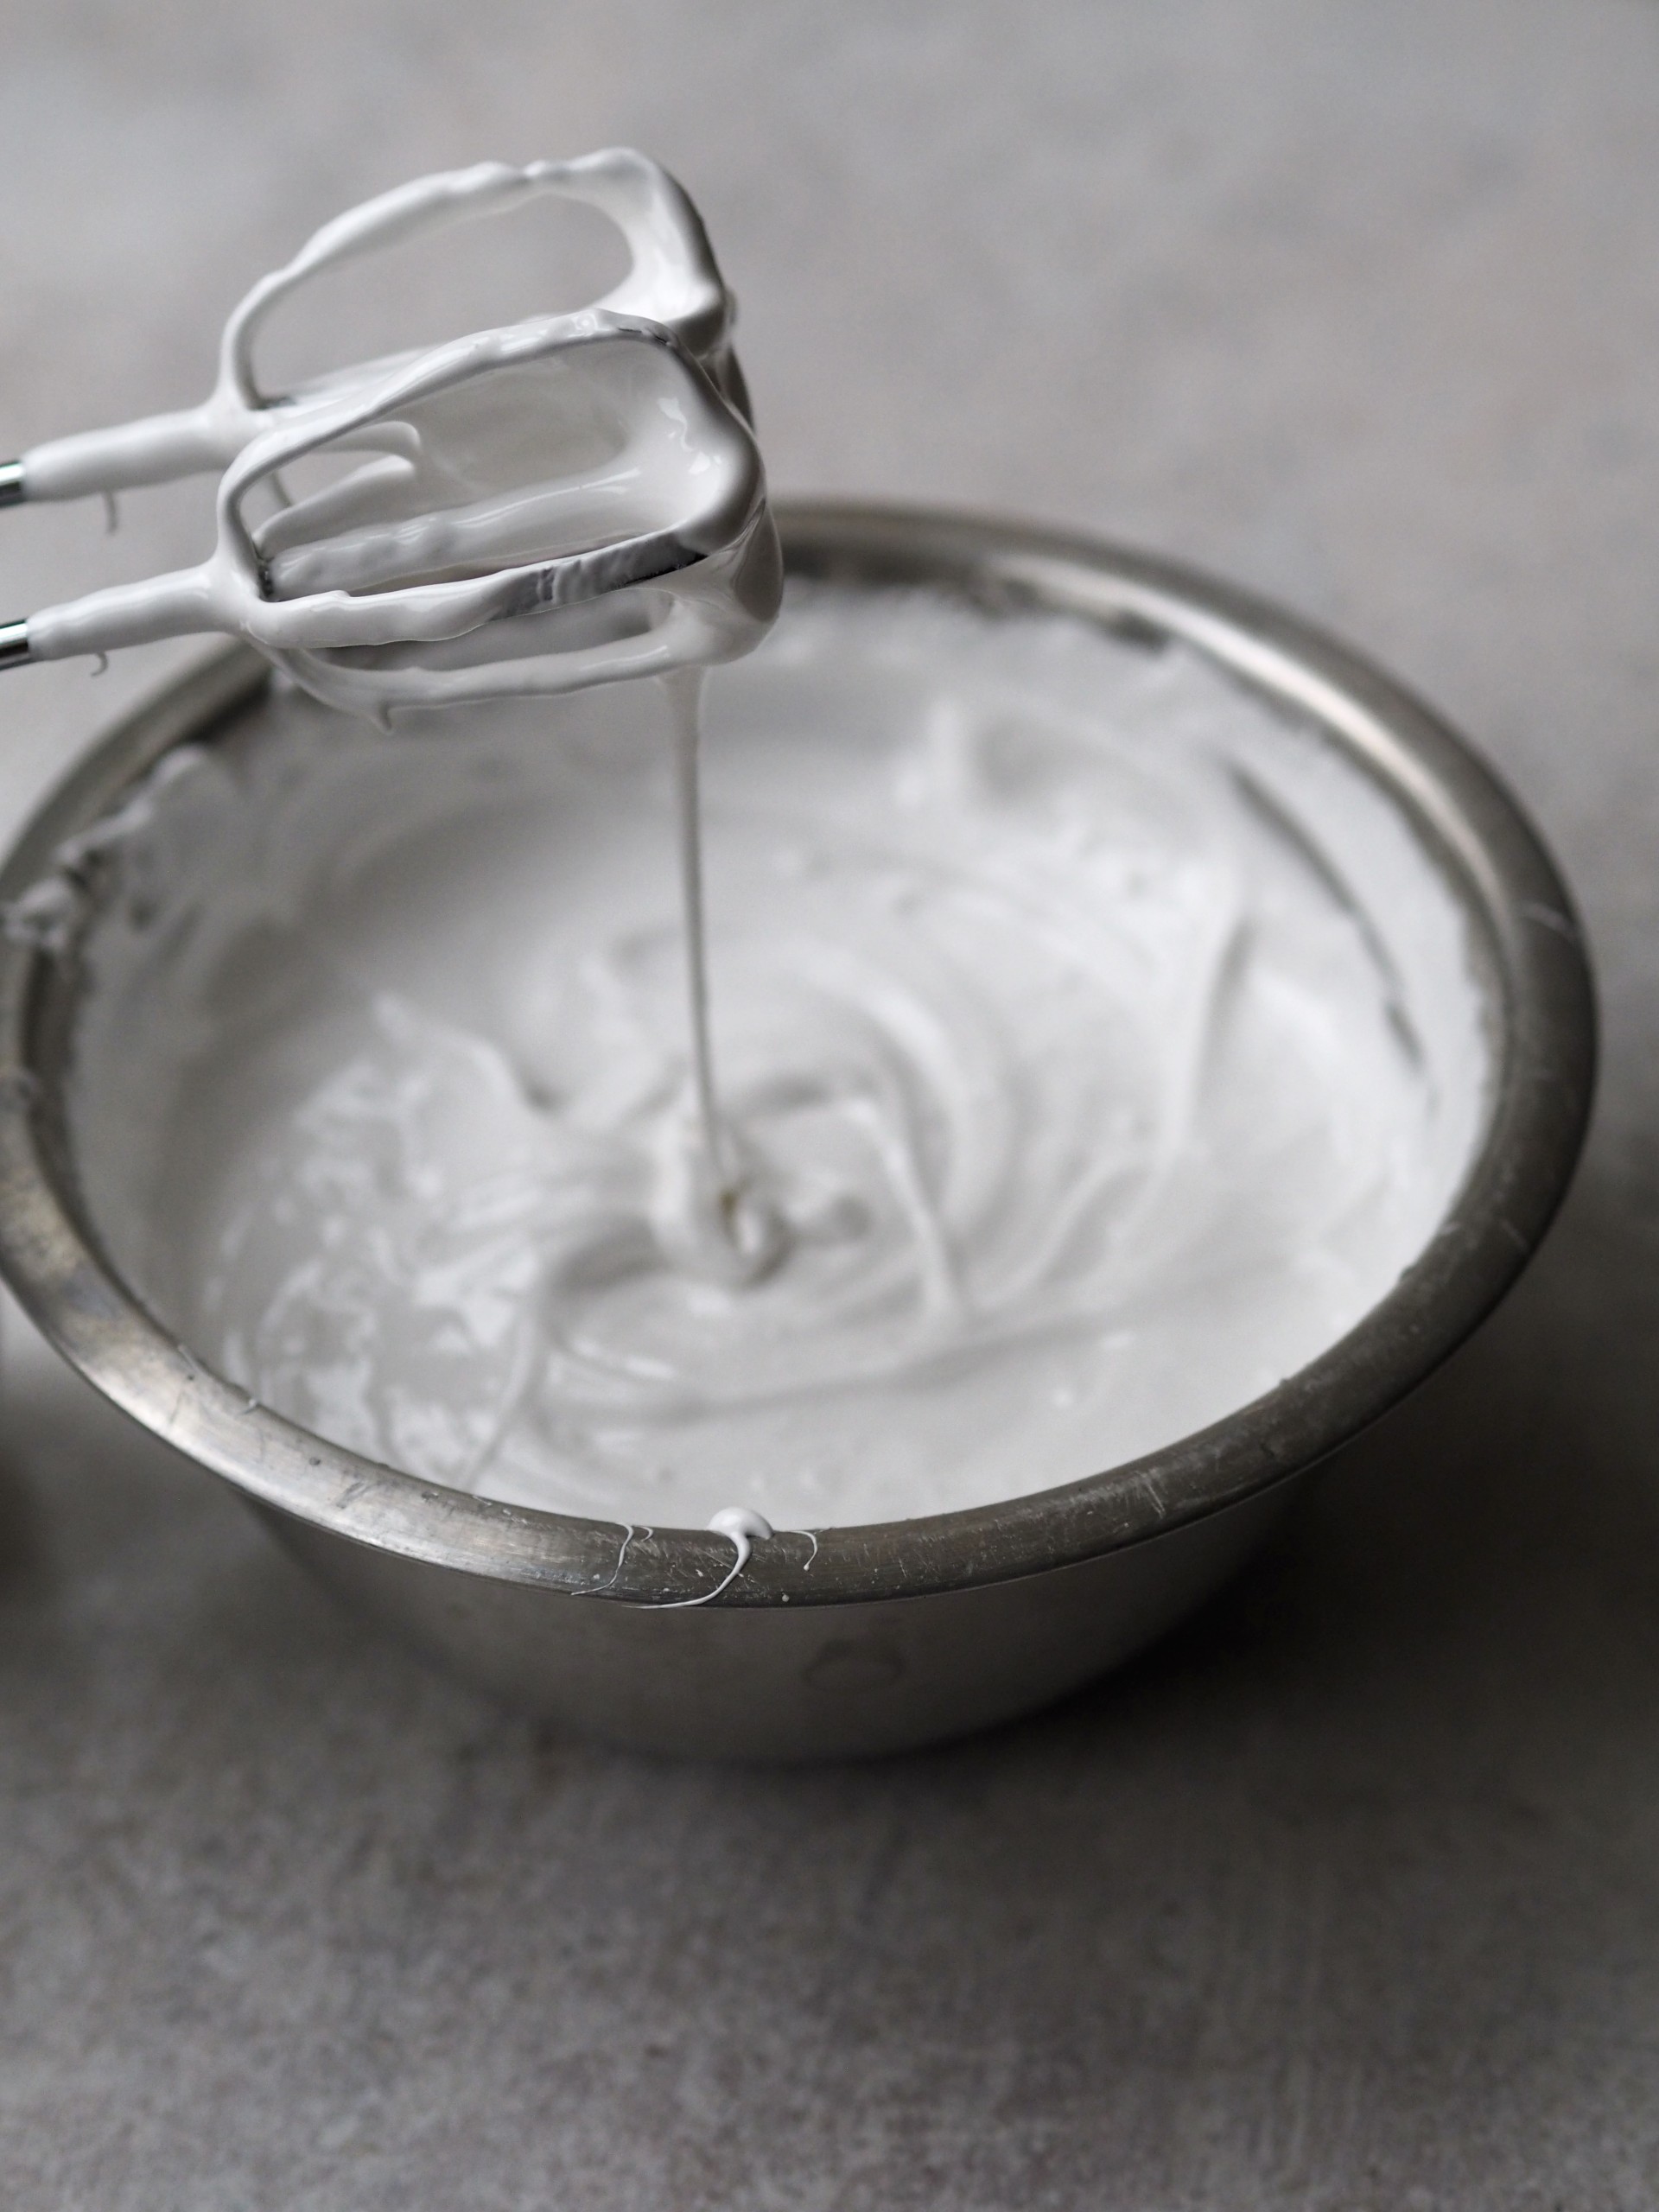
FIVE: Once all has been added, whisk on medium-high speed for a further 12-14 minutes – or until you have a thick, white meringue-like texture.
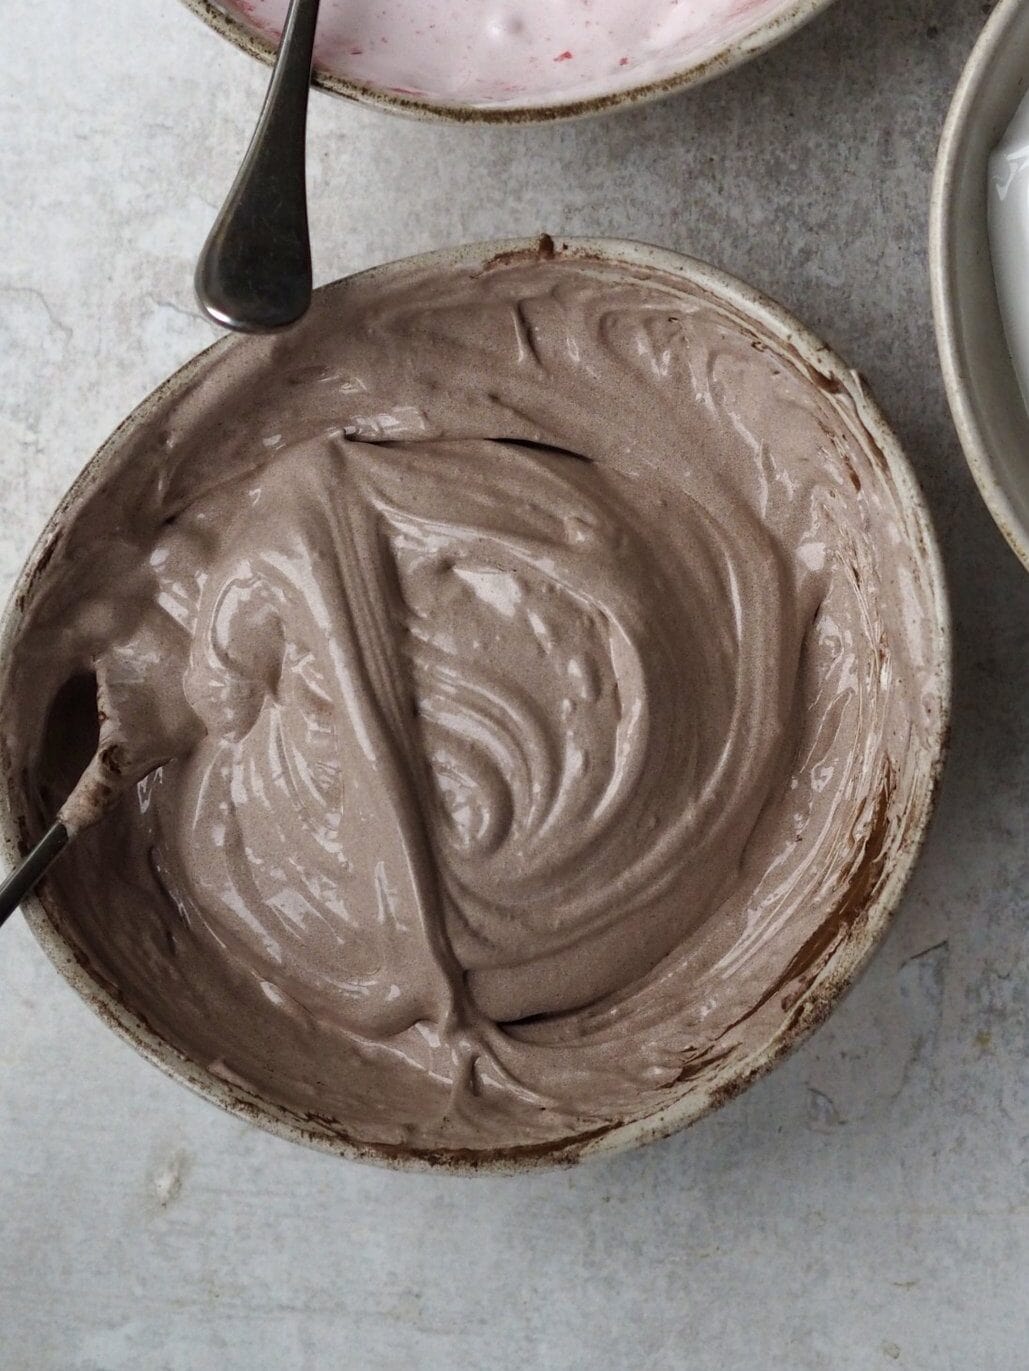
SIX: Sieve the cocoa powder into the mixture and fold together. Spoon the mixture into the greased tin and smooth over the top using a spatula or palette knife. Leave to set for at least 2 hours.
SEVEN: Dust a tray with cocoa powder. Dust a large, sharp knife with cocoa-cornflour then cut the marshmallow into equal-sized cubes. Toss to coat each one in the cocoa powder-cornflour.
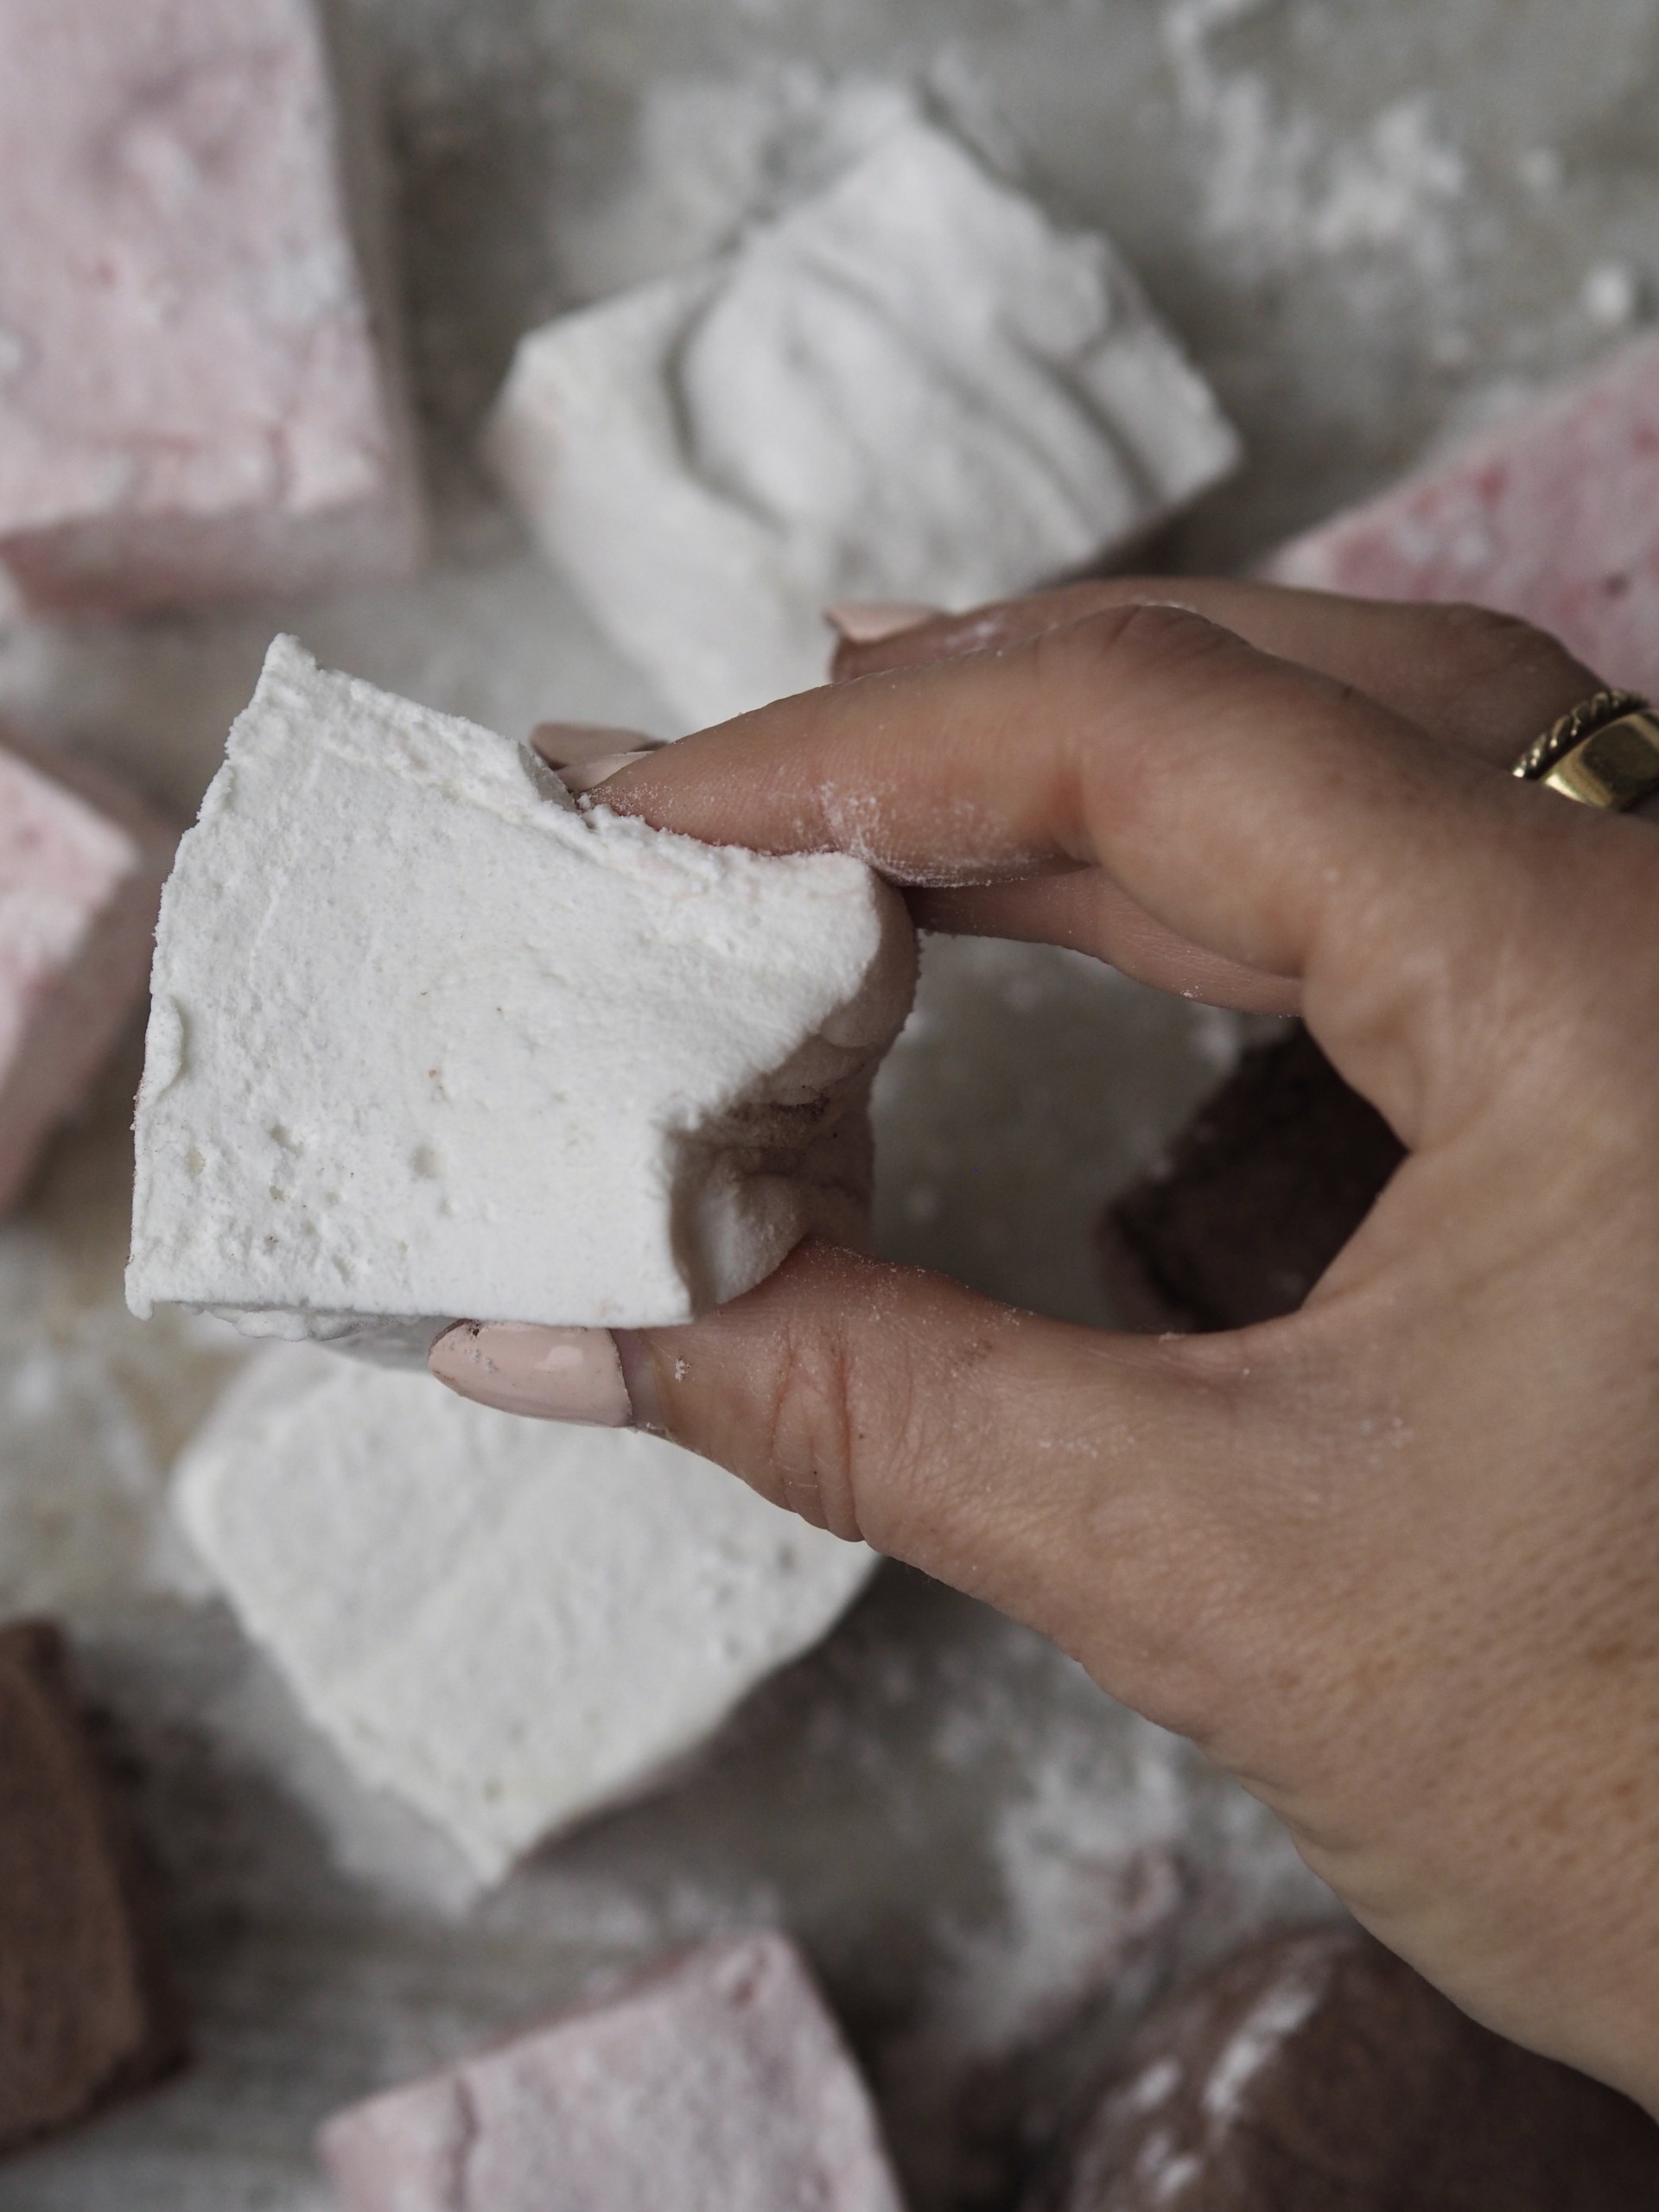
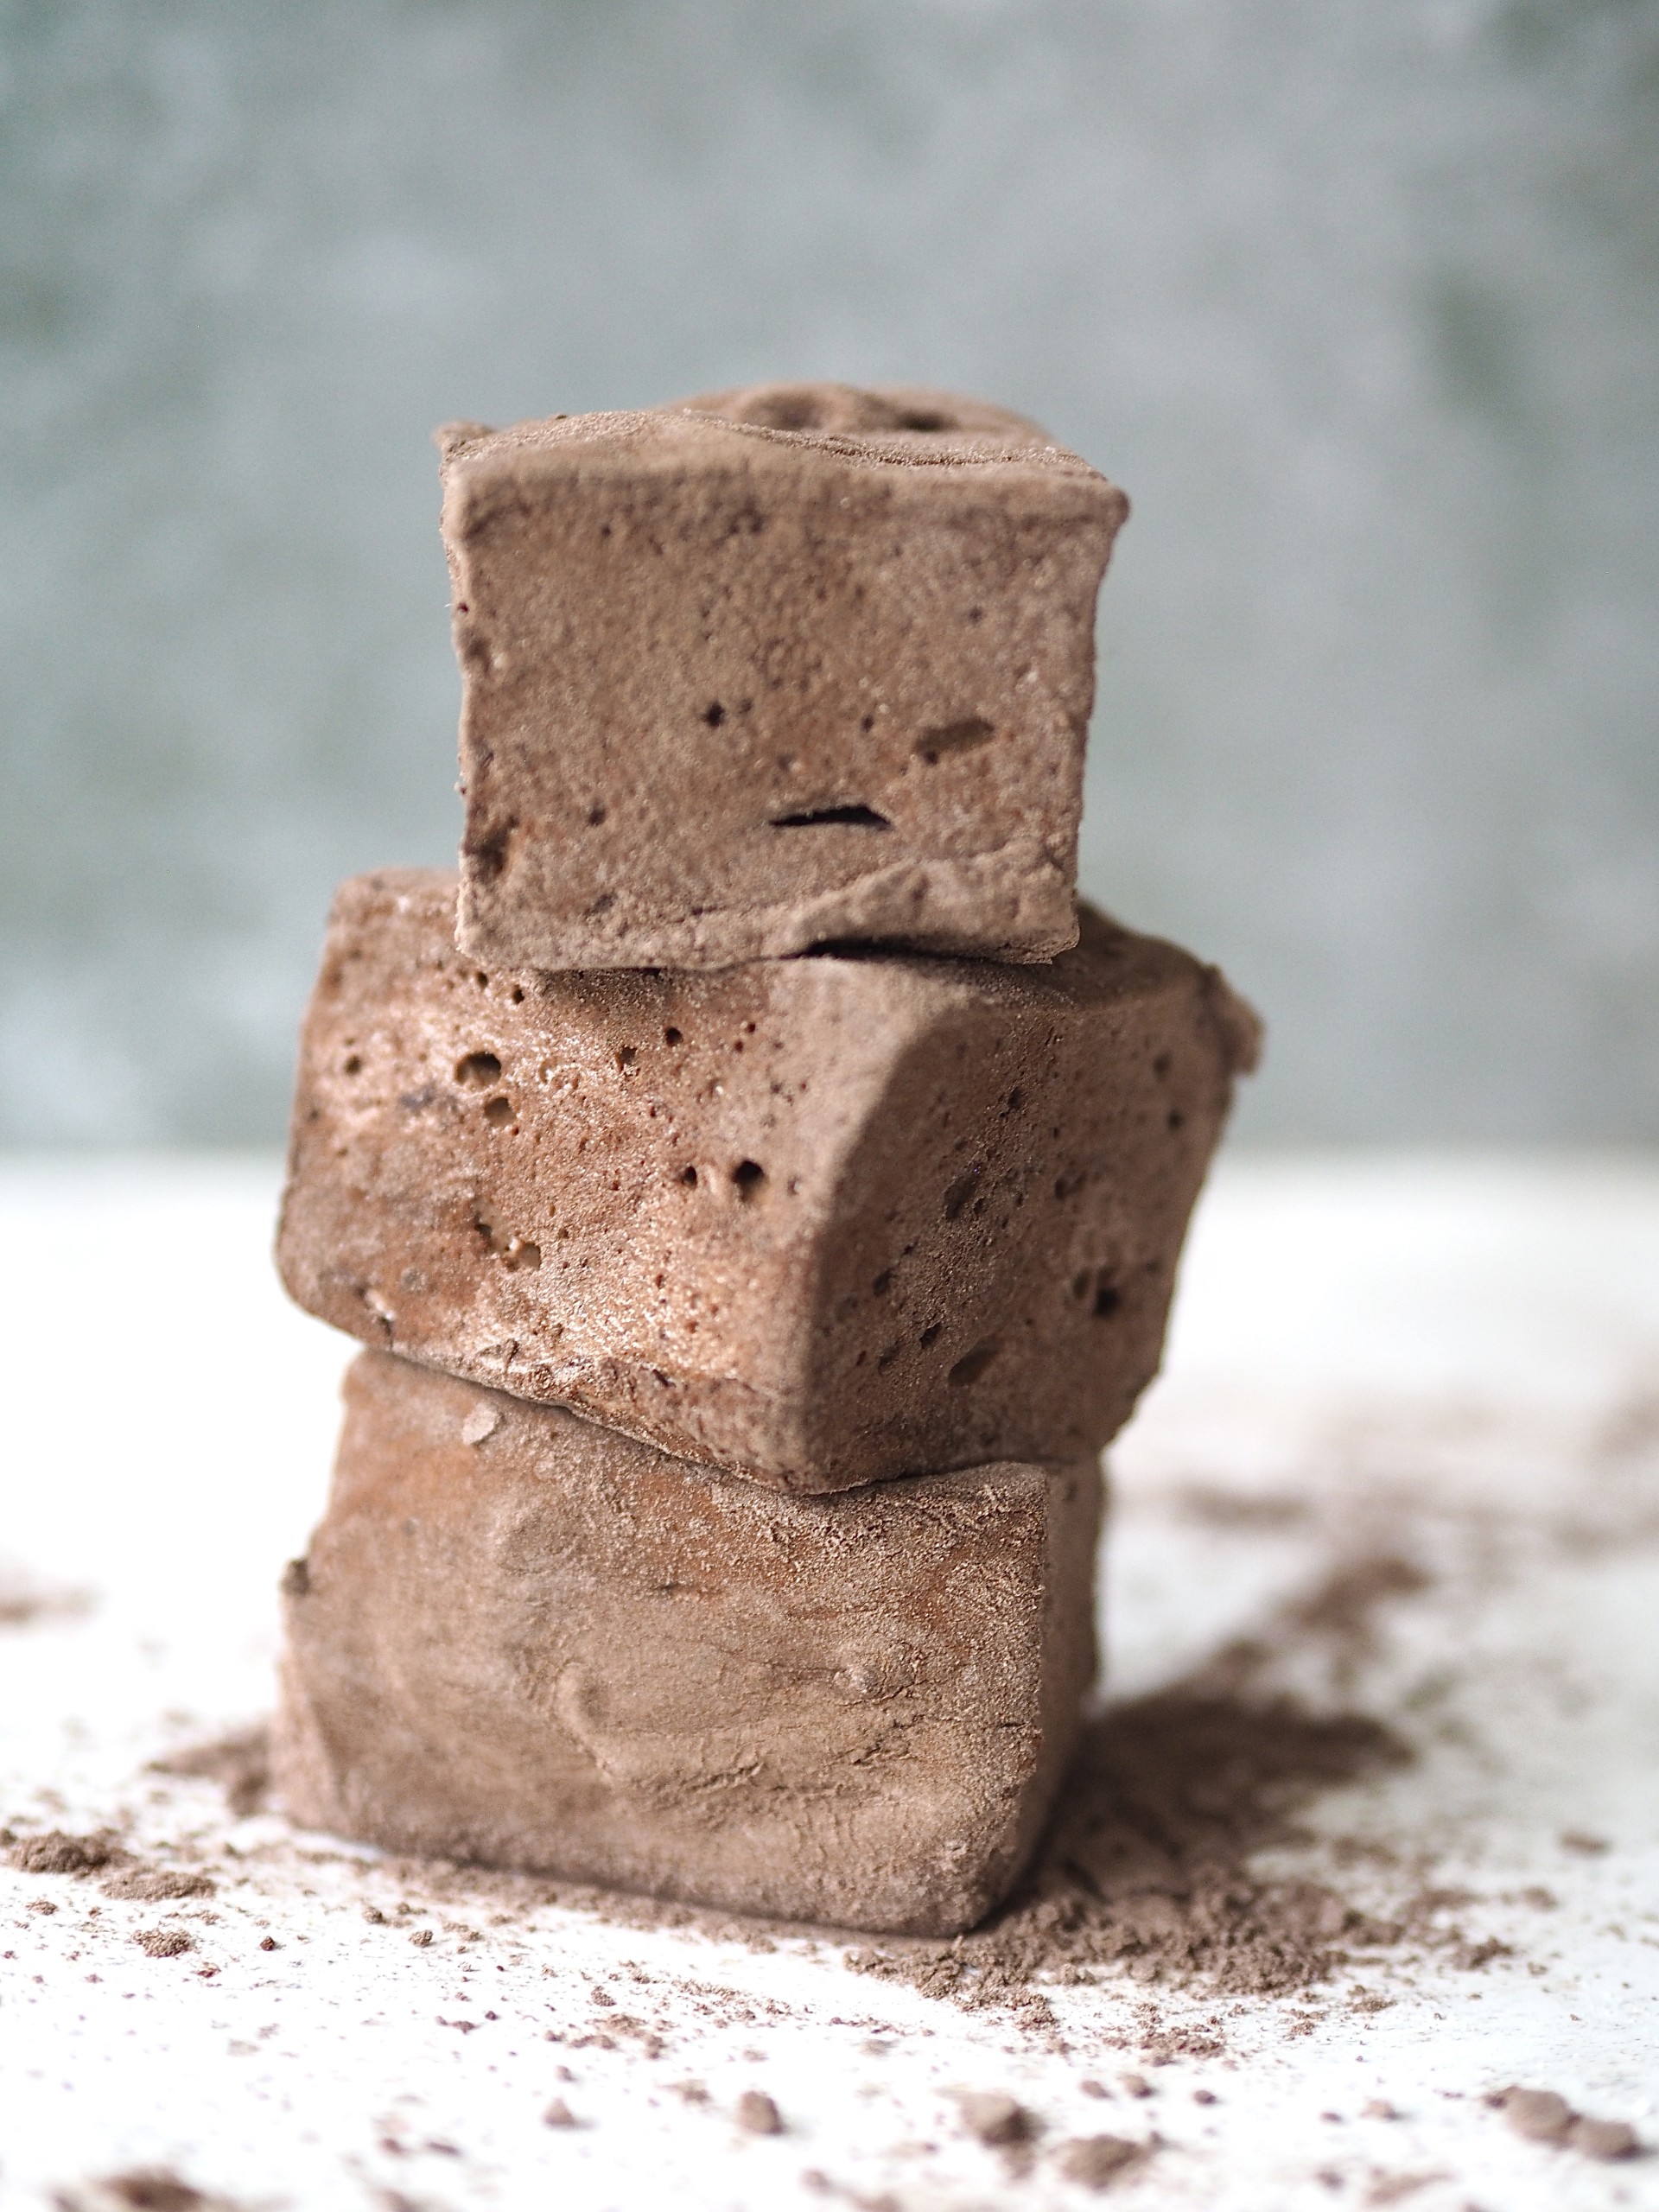
EIGHT: This is the texture you are looking for once done!
Cooking Tips
Preparing the container: homemade marshmallows are very sticky. That means you do need to make sure you grease your container very well. The same applies with adding the cornflour dusting. Equally, before storing, make sure they are liberally coated. Otherwise they will stick together.
Different sized marshmallows: you can make whatever size you like. Use larger tupperware containers for shallower marshmallows. Alternatively, use narrower tupperware containers for deeper marshmallows. Once set, you can choose how big or small to make your marshmallow cubes or rectangles.
Using a sugar thermometer: I would highly recommend a thermometer. If you don’t have one, scroll down for how to do it without.
Dust the knife: before cutting the marshmallows, dust the knife with the cornflour-cocoa mix. This will help you create clean, neat cubes of marshmallow.
Keep cool and dry: homemade marshmallows will keep for up to 3 weeks in a sealed container in a cool, dry place. However, if they get wet they will become sticky so avoid contact with water.
Can I make marshmallows at home without a sugar thermometer?
You can but it is definitely trickier to do so. I would always advise to use a sugar thermometer, they are relatively inexpensive and you can use them across other areas of cooking too. If you are making these without one, you will need to use the cold water method.
- Whilst the sugar syrup is bubbling and reaching temperature, take a small amount of sugar syrup on a spoon and drop it into a bowl of cold water every 5 minutes or so.
- If the sugar dissolves completely, it’s too early.
- If the sugar forms a shape in the water but is still totally squishy between your fingers (almost dissolving between your fingers), it’s still too early.
- When the sugar forms a shape in the water, forming a firm and pliable ball between your fingers, holding its shape when pressed down and not dissolving, it HAS REACHED THE RIGHT TEMP. It’s ready for the next step!
- If you try that and the ball is too firm and very hard to move, it has gone too far. You can always add a splash more hot water to the pan to bring the temp back down and then try again to catch it at the right stage.
Frequently Asked Questions
Essentially yes. All corn syrup is glucose syrup, but not all glucose syrup is corn syrup. You can use them interchangeably in this recipe if you can only find corn syrup rather than glucose syrup (which is the same as liquid glucose!)
Yes, they are the same thing.
Yes. It is possible to make vegan marshmallows. Unfortunately, this recipe isn’t vegan as it uses gelatine. For a vegan marshmallow recipe, you need to use agar agar. This comes as a powder but needs to be boiled in a liquid. Although it helps ‘set’ recipes like gelatine, it isn’t a like-for-like swap.
It’s important that you keep an eye on the temperature of the mixture when it’s bubbling, as if it gets too hot, it firms the sugar too much and will harden them. This is why a sugar thermometer is so useful.
No, the fats in the chocolate will deflate the marshmallows.
Yes, they can be frozen! Frozen marshmallows will last up to 3 months. They do keep for a few weeks so you may not need to freeze them.

Other recipes you might enjoy:
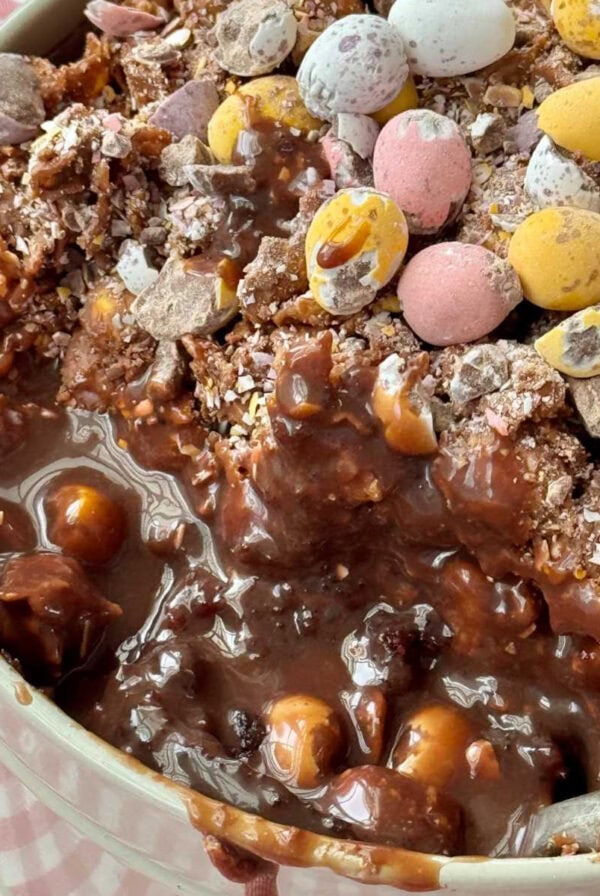
Don’t miss my tiramisu coffee and chocolate mochi, chocolate marshmallow tarts, or my sfingi doughnuts. They are super quick, easy and utterly delicious. My brownie bites are also so good.

Puddings
Lemon Meringue Cheesecake

Easy Dessert Recipes
Chocolate Brownie Trifle

Easy Dessert Recipes
Tiramisu Ice Cream Mochi Bites

If you tried these chocolate marshmallows or any other recipe on the site, please do leave a comment and let us know how it went!

Homemade Chocolate Marshmallows
Ingredients
- About 2 tbsp vegetable oil
- Cornflour, to dust
- Ccocoa powder, to dust
- 8 tsp powdered gelatine, 12g, plus 2 tbsp cold water
- 280 g liquid glucose
- 460 g caster sugar
- 300 ml water
- 100 g cocoa powder
Instructions
- First, grease your tin well. Add vegetable oil and use clean fingers to evenly coat the tin. I would suggest a 30x20cm rectangular tin. Then dust the tin liberally with cornflour and cocoa powder.
- Place the gelatine into a large heatproof bowl (ideally the bowl of a stand mixer if you have one). Add the 2 tbsp cold water and mix well. Set aside.
- Next, add the glucose syrup and caster sugar to a large saucepan. Pour in 150ml water and place over a medium heat. Stir gently until the sugar has dissolved in the water. Once the mix begins to simmer, stop stirring. Continue to heat over a medium-high heat, gently swirling the pan, until the sugar syrup reaches 115C (use a jam thermometer to check). At this stage the liquid should be clear and bubbling. Handle the pan carefully as it will be extremely hot.
- Remove the pan from the heat and very carefully drizzle the sugar syrup into the gelatine whilst whisking with an electric whisk. You will find this easiest if you use a stand mixer fitted with the whisk attachment.
- Once all has been added, whisk on medium-high speed for a further 12-14 minutes – or until you have a thick, white meringue-like texture.
- Sieve the 100g cocoa powder into the mixture and fold together.
- Spoon the mixture into the prepared tin and smooth over the top using a spatula or palette knife. Leave to set for at least 2 hours.
- Dust a baking tray or board with cornflour and cocoa powder. Tip the marshmallows onto the tray. Dust a large sharp knife with cocoa-cornflour then cut the marshmallow into equal-sized cubes. Toss to coat each one in the cocoa-sugar cornflour.
Notes
Nutrition
Nutrition information is automatically calculated, so should only be used as an approximation.


These were much simpler than I thought and turned out so well! They were really different to shop bought ones and this post was helpful along the way.