This post may contain affiliate links. Please see our disclosure policy.
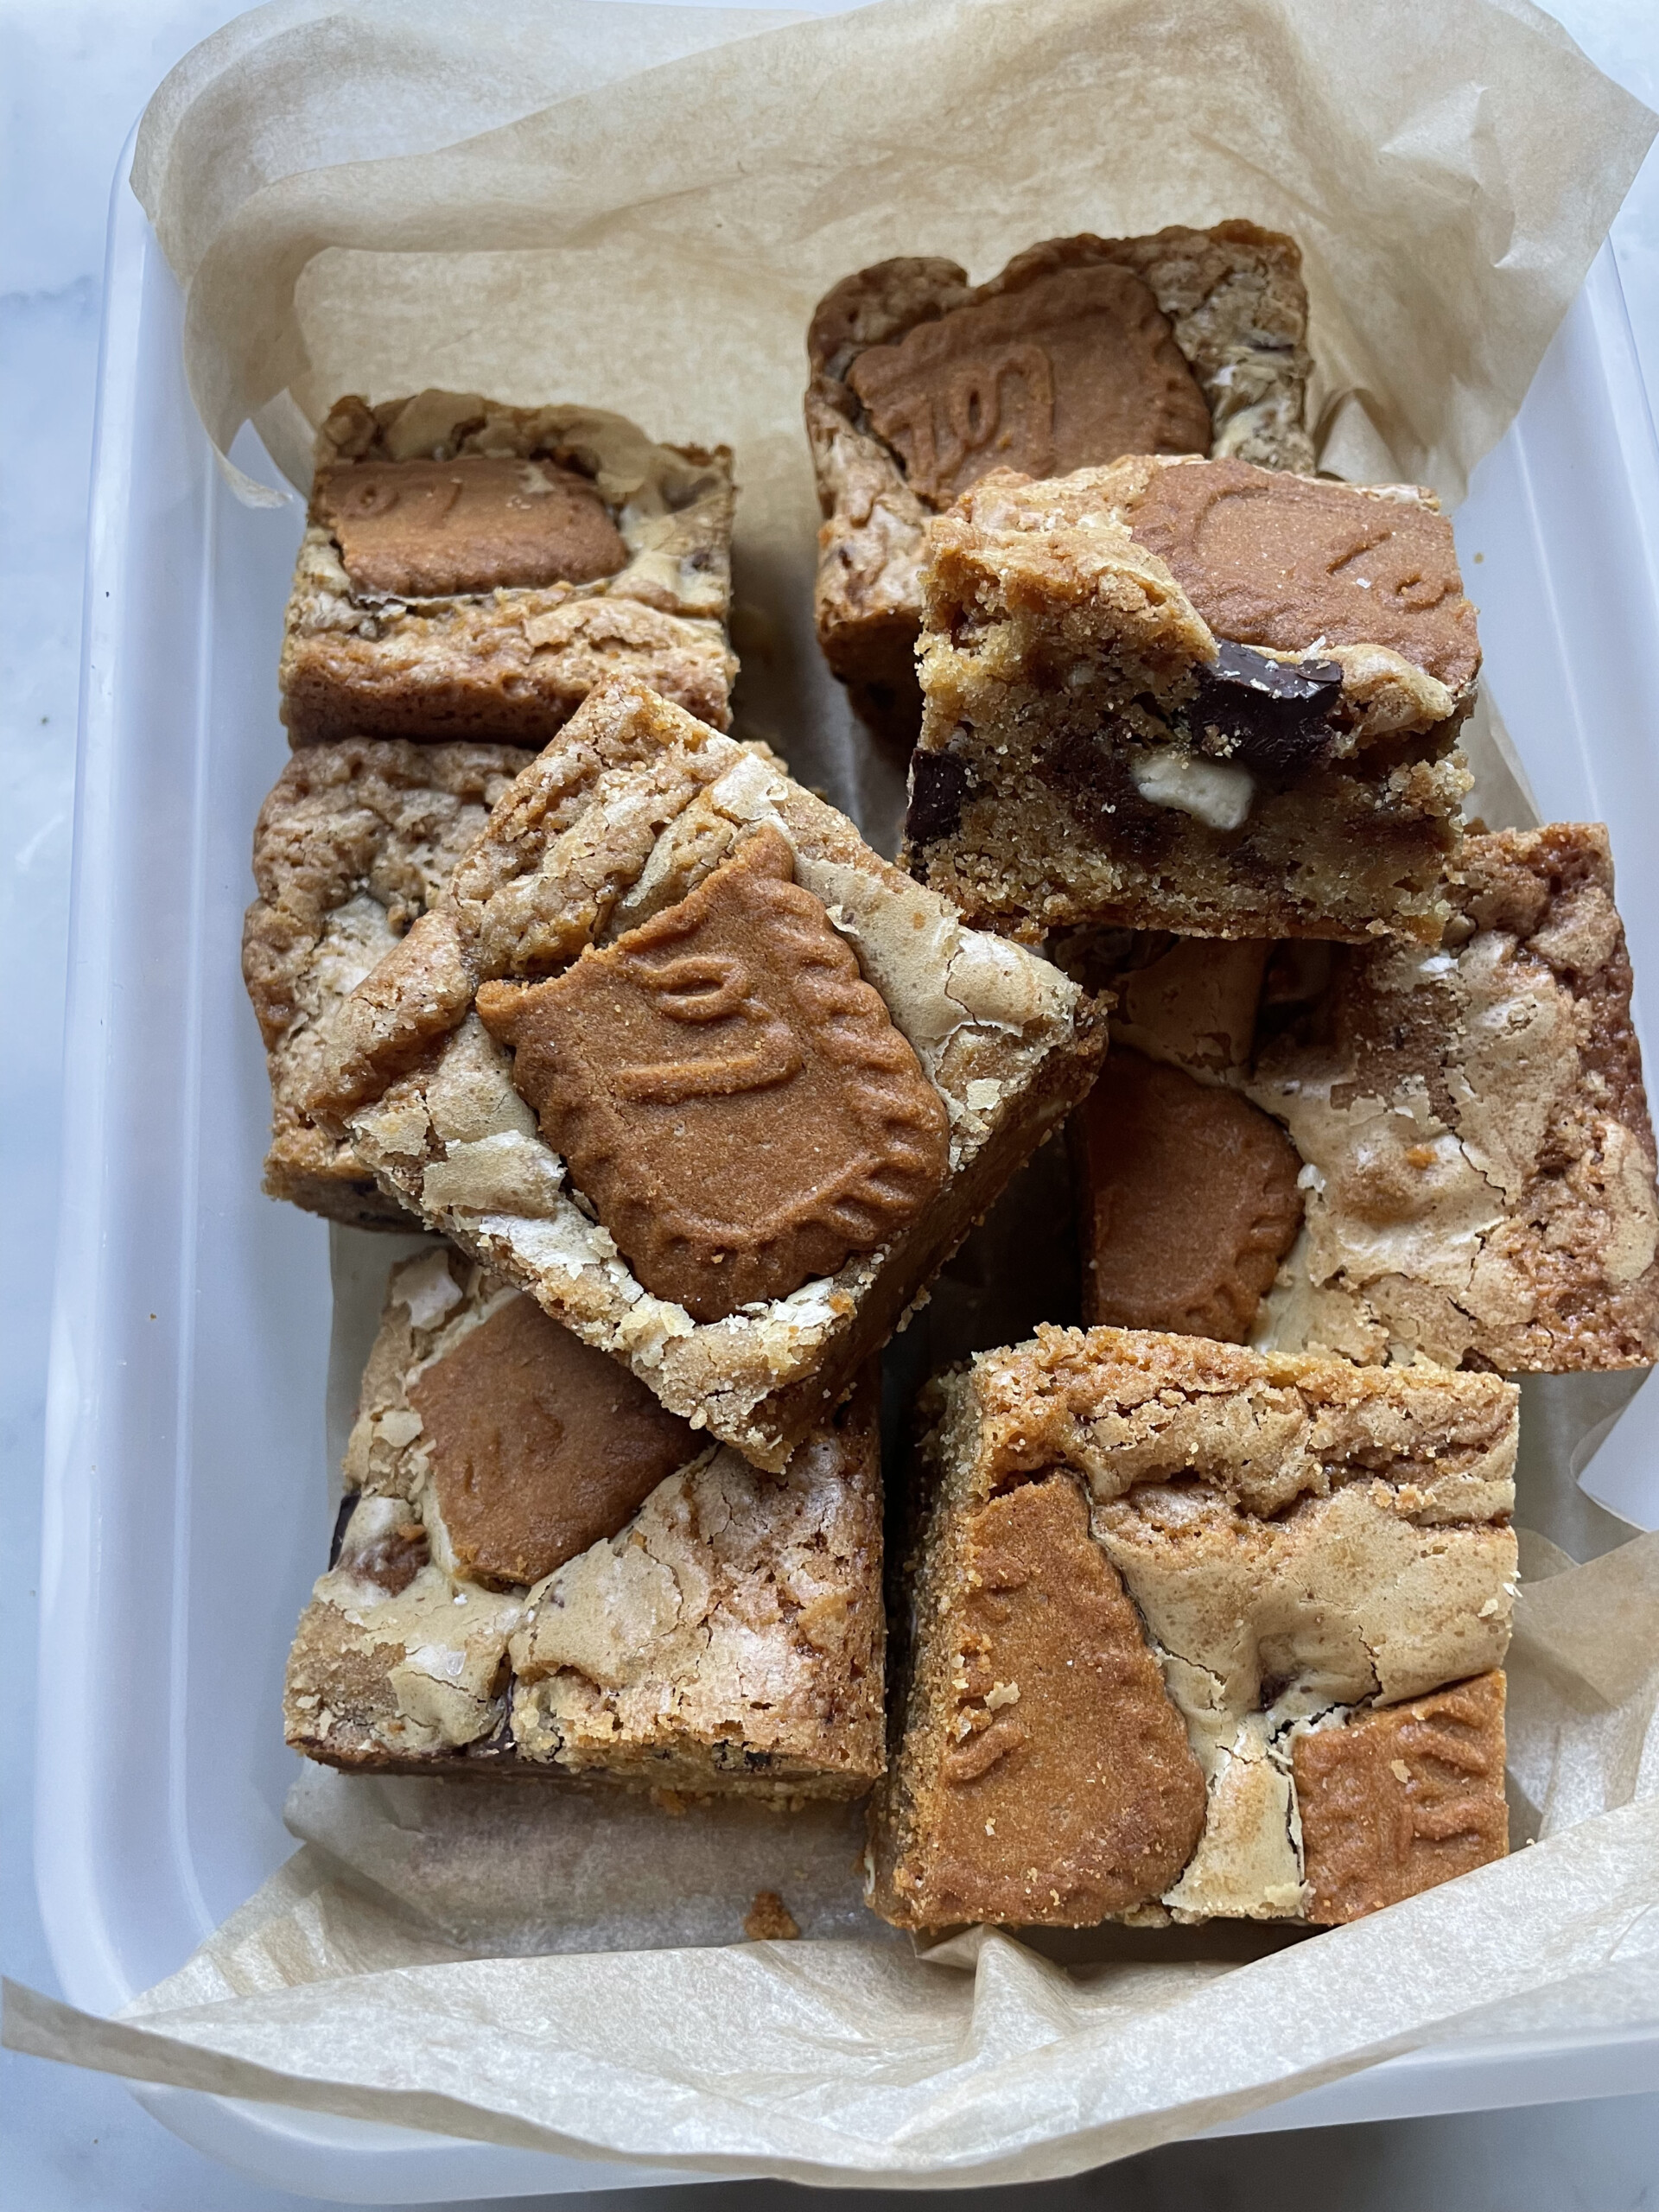
It is no secret that I am a huge fan of Biscoff – there is just something about the sweet caramelised, slightly spiced, flavour which I cannot resist. I love both the biscuits (perfect with a cup of tea) and the spread, but decided to use just the biscuits in these Biscoff Blondies. They are so incredibly good.
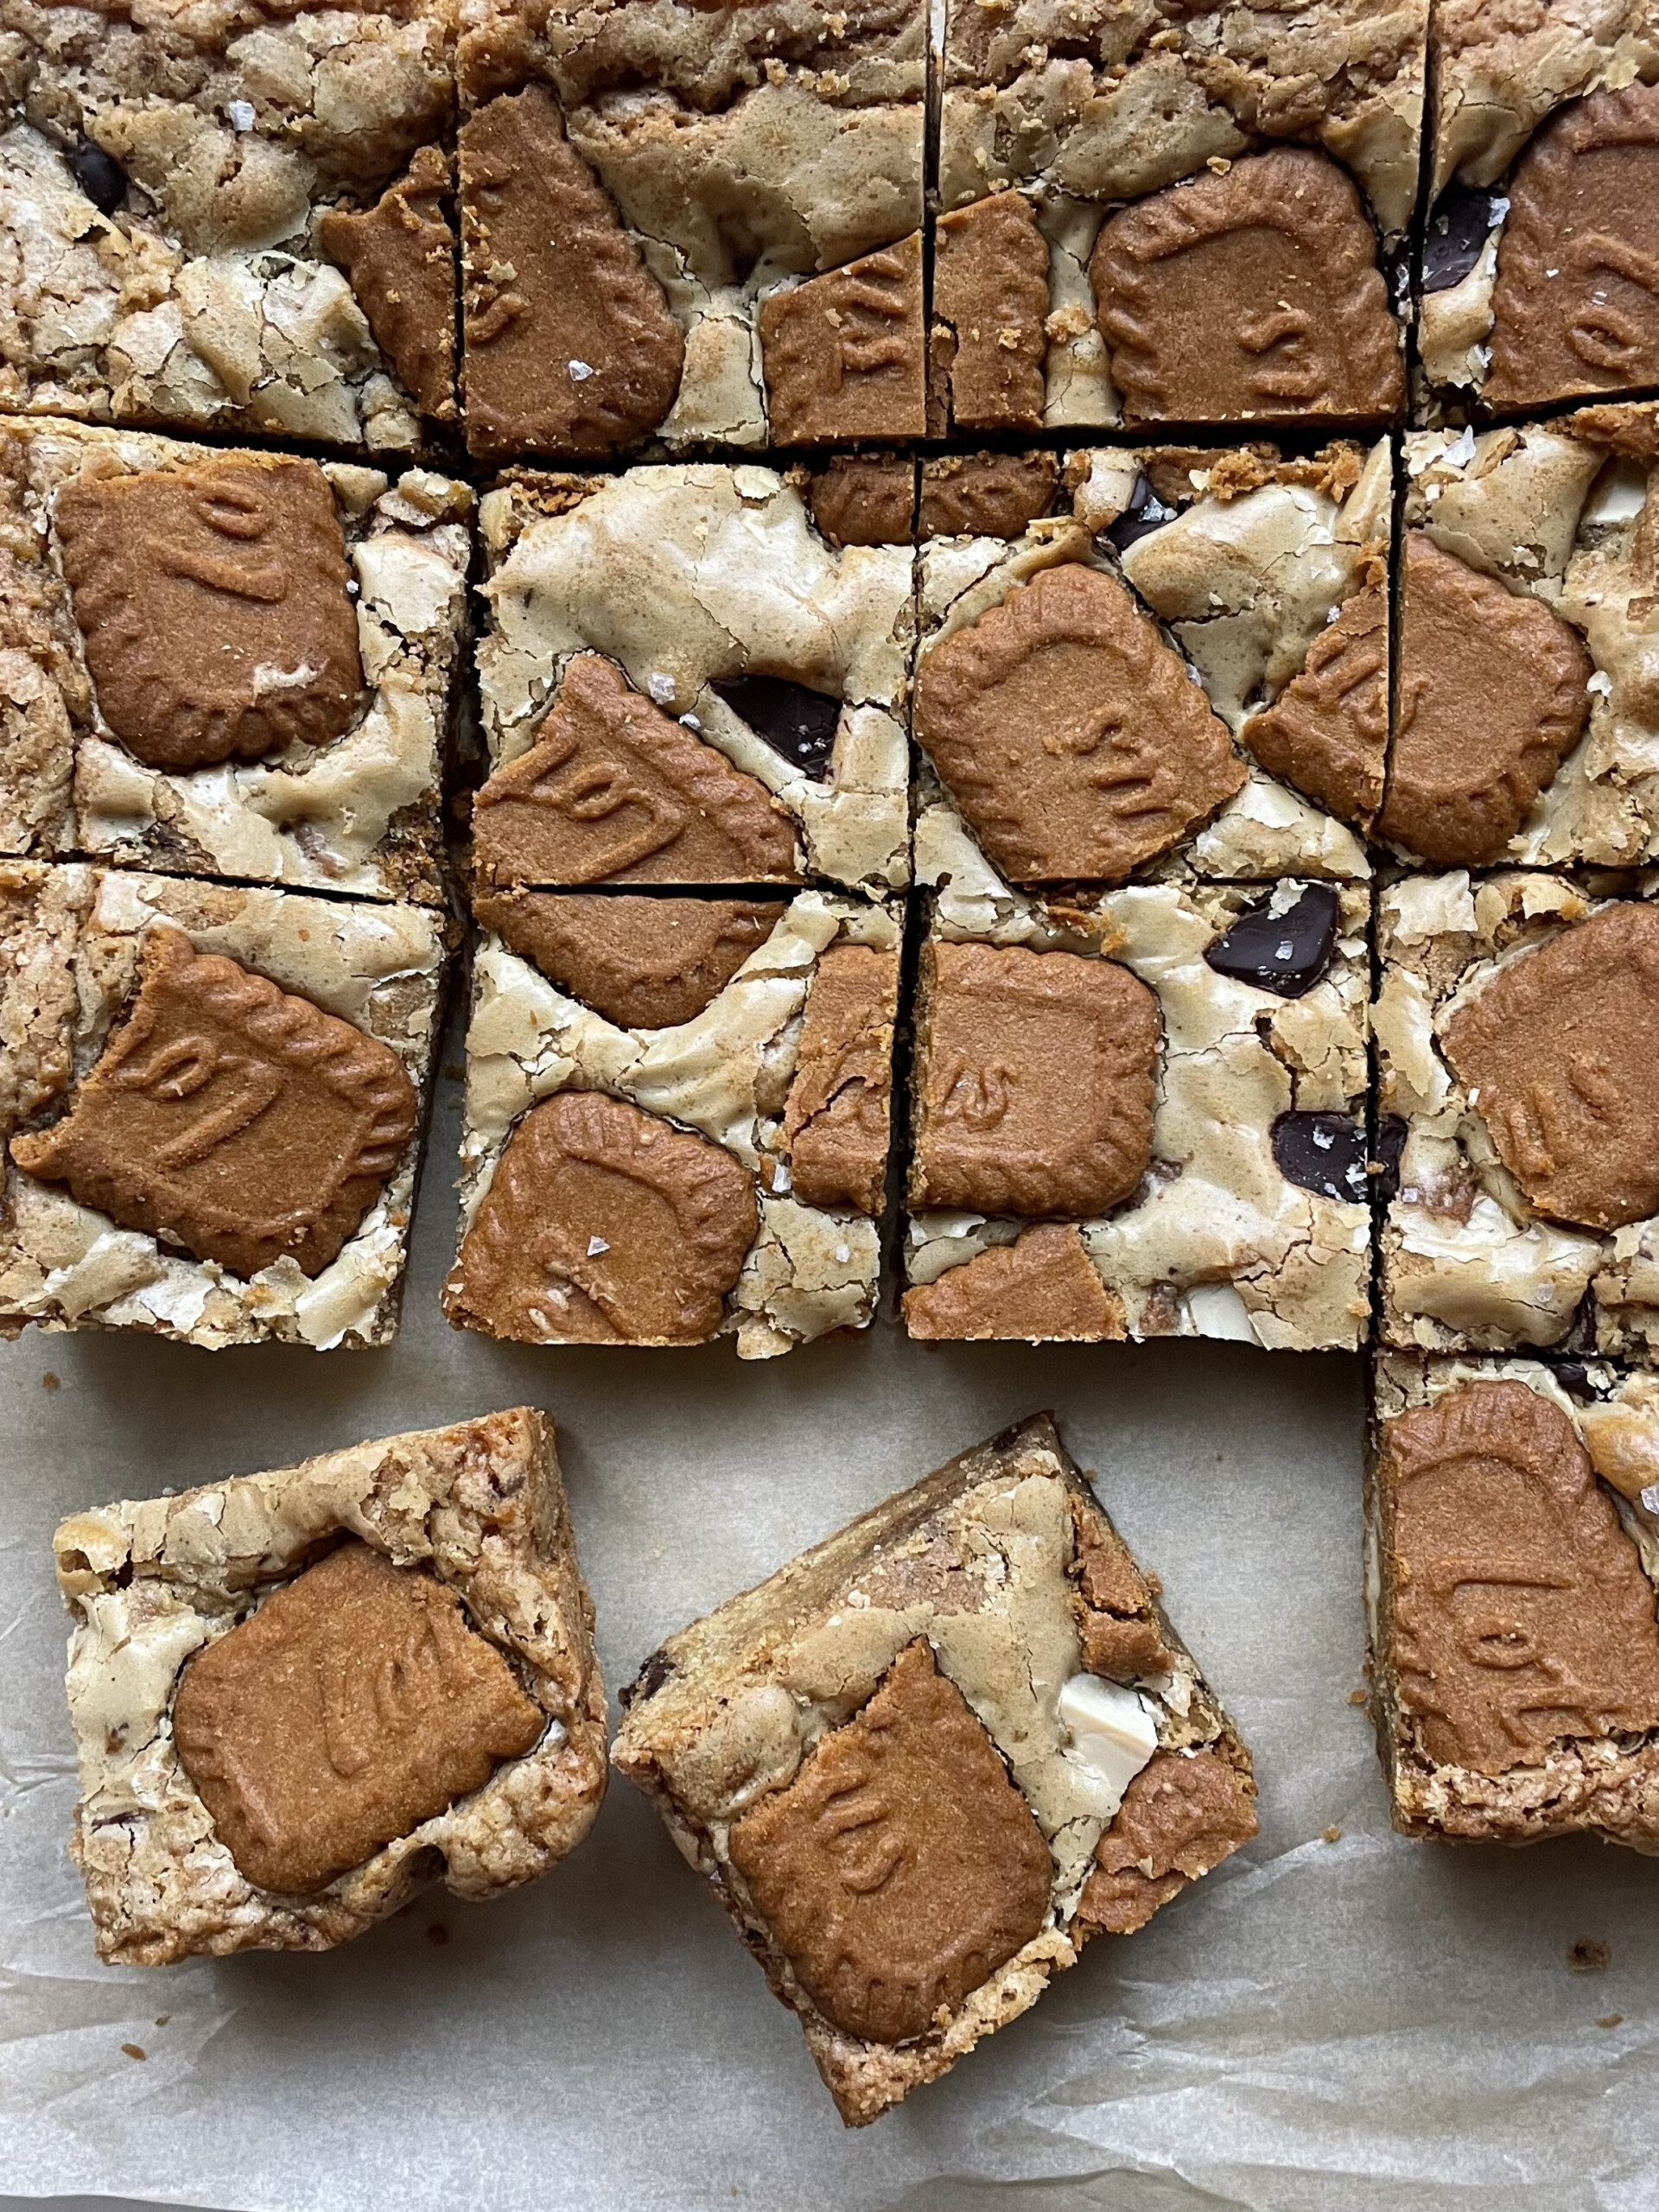
The caramelised Biscoff biscuits give the most delicious flavour and crunchy texture which, when combined with the chewy blondies and rich chocolate, create the most incredible Biscoff Blondies. If you want my best-ever brownies, my favourites are dark chocolate brownies with white chocolate chunks. My chocolate chip cookie bars recipe is one to try too.
Table of Contents
Why you will love this recipe
- Quick and simple – it takes just 15 minutes to put together, then the oven does the hard work.
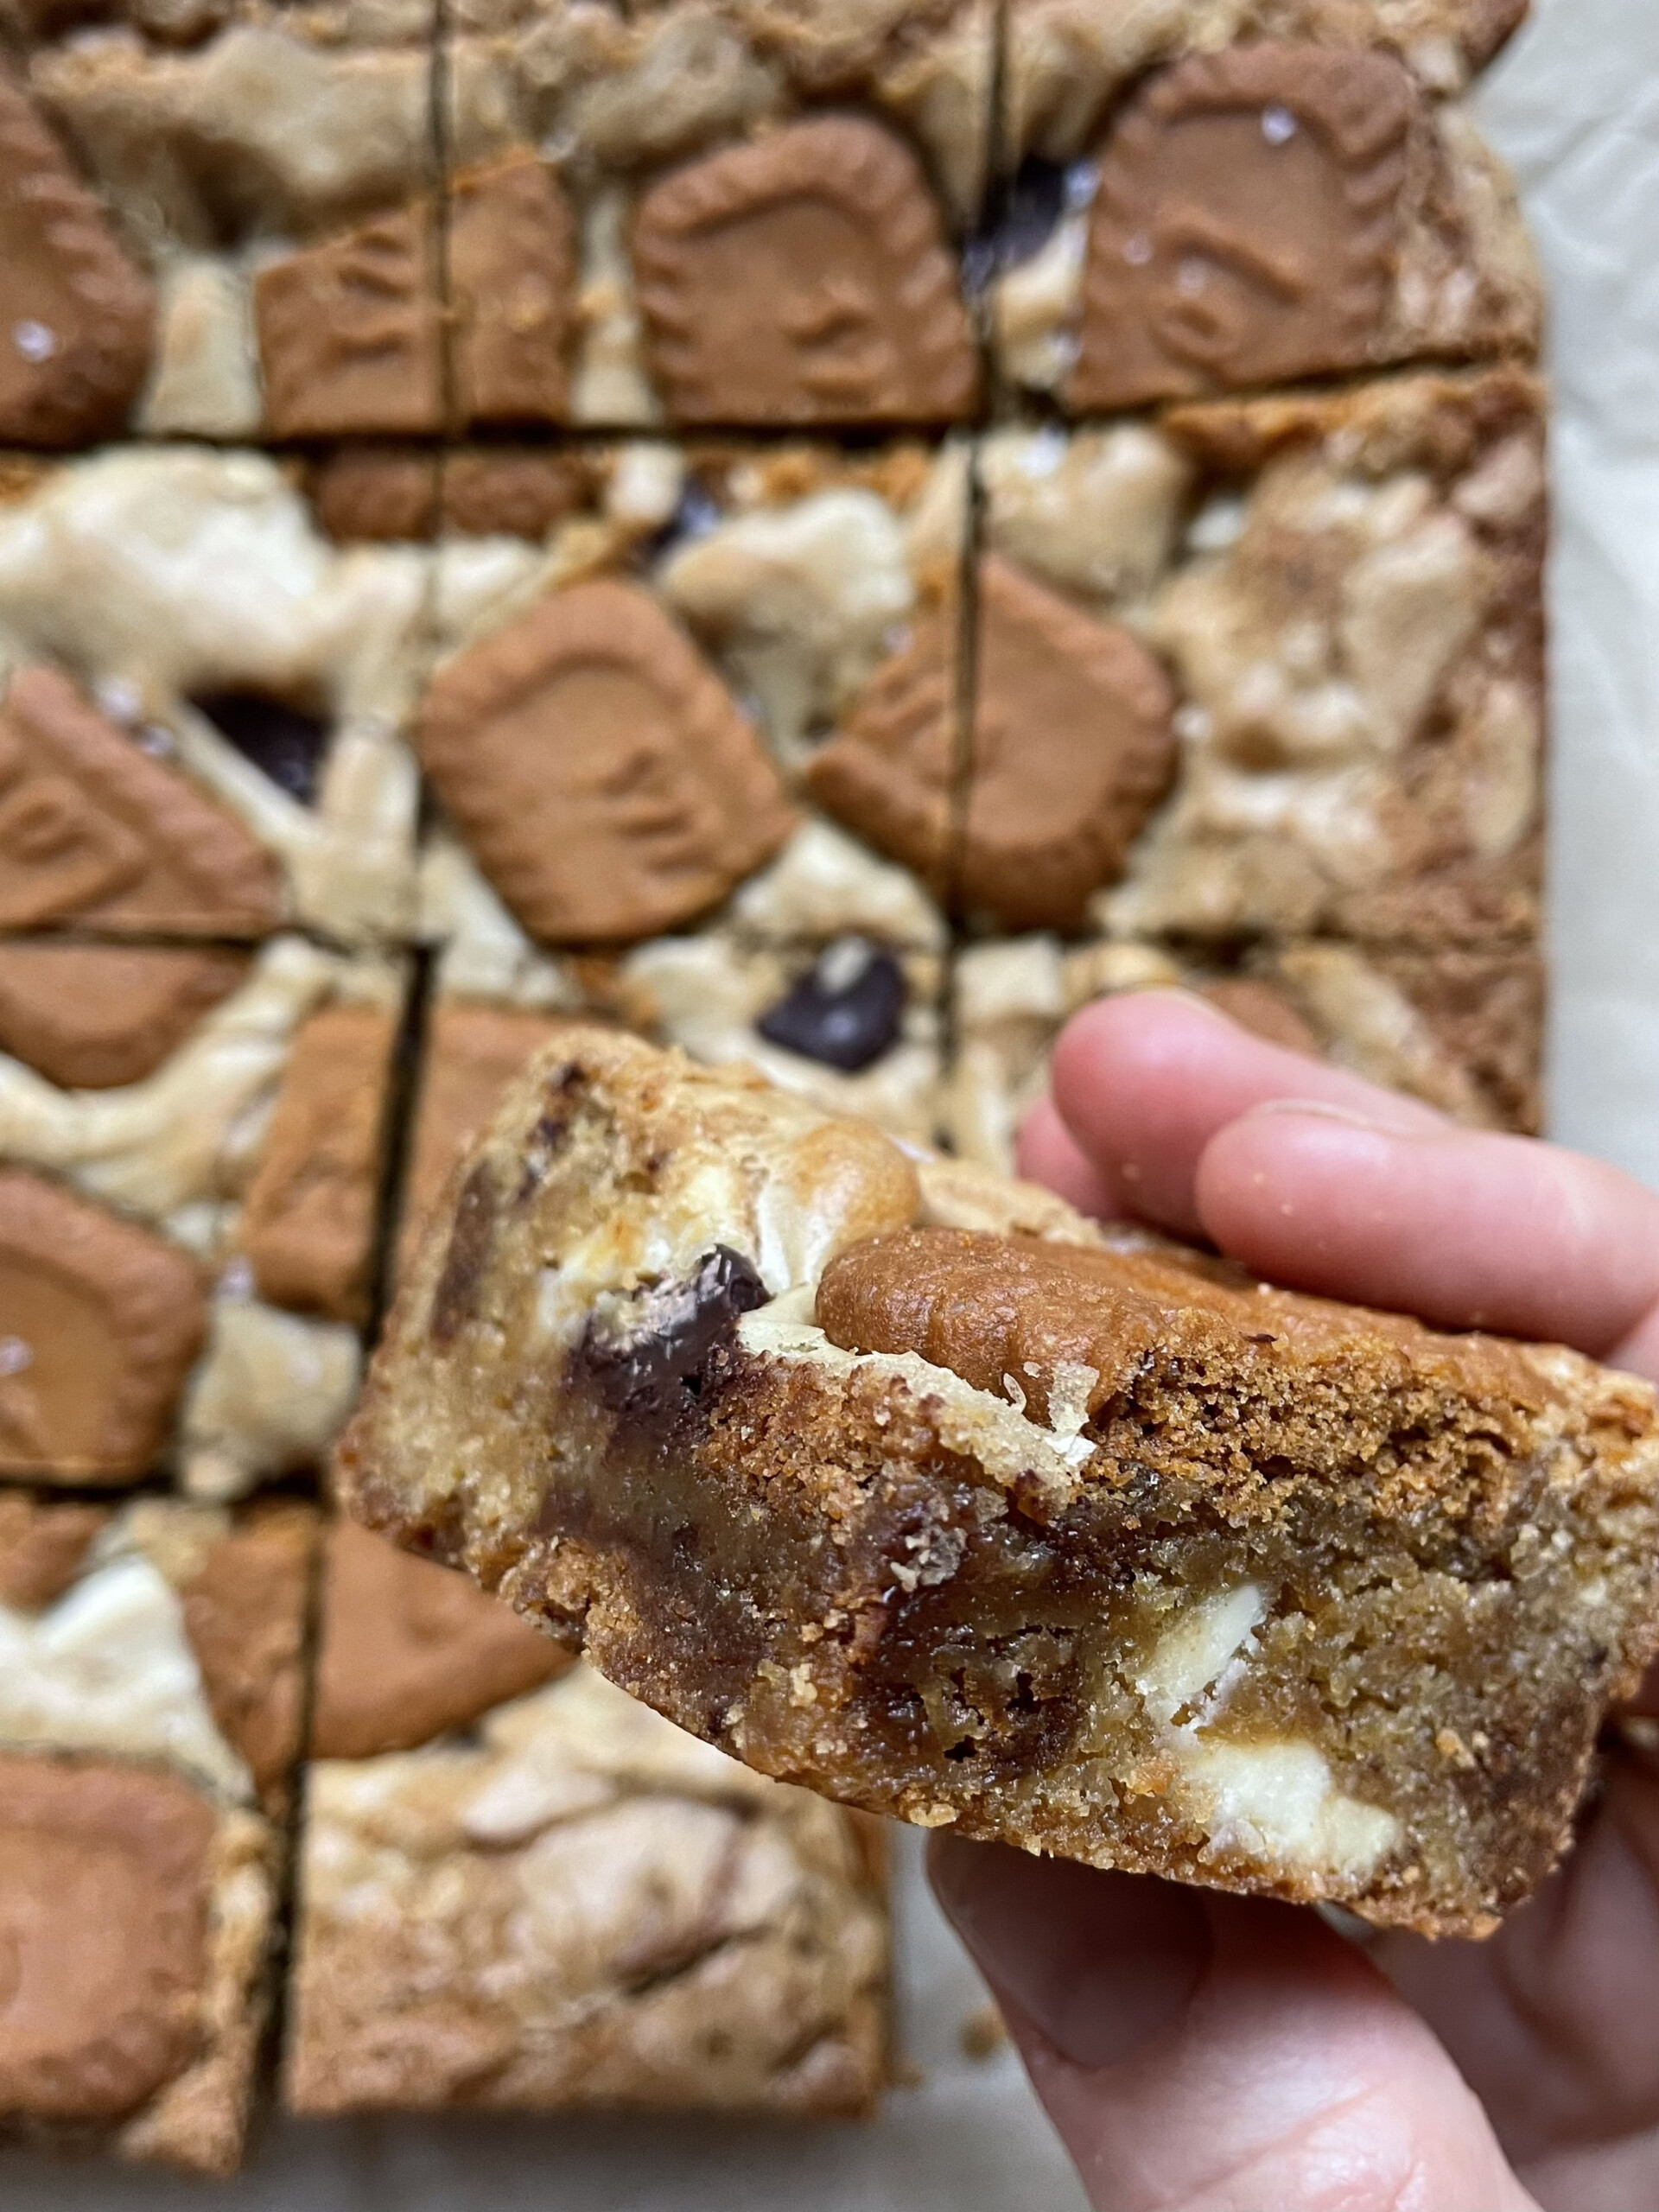
- It has all the textures… gooey chocolate, crunchy biscuits, fudgy blondie.
- The most delicious biscoff-toffee-ish flavour that is simply too good to resist.
- Uses easy-to-find ingredients you are likely to already have at home.
Ingredients
Full recipe can be found in the printable recipe card at the bottom of the post, just scroll down!
Butter – opt for unsalted so you can control the salt level.
Soft light brown sugar – this adds a lovely caramel flavour and moist texture to the blondies. For an even deeper flavour, you could use half soft dark brown sugar.
Eggs – I always use free-range eggs. I also recommend using large eggs stamped with the British Lion mark.
Vanilla bean paste – this adds a delicious sweet flavour. You could use vanilla extract instead but never vanilla essence as this will give you a synthetic flavour.
Plain flour – also known as ‘all-purpose flour’.
Baking powder – not to be confused with bicarbonate of soda – they do very different things! This helps to give the Biscoff Blondies a bit of a lift.
Dark chocolate – opt for a good-quality dark chocolate with at least 70% cocoa. I love the way the intensity balances out the sweetness in the Biscoff Blondies (and the gooey puddles of chocolate are hard to resist if you have these served warm).
White chocolate – white chocolate has to have a minimum of 20% cocoa butter, try to go for one nearer to 30% for best results.
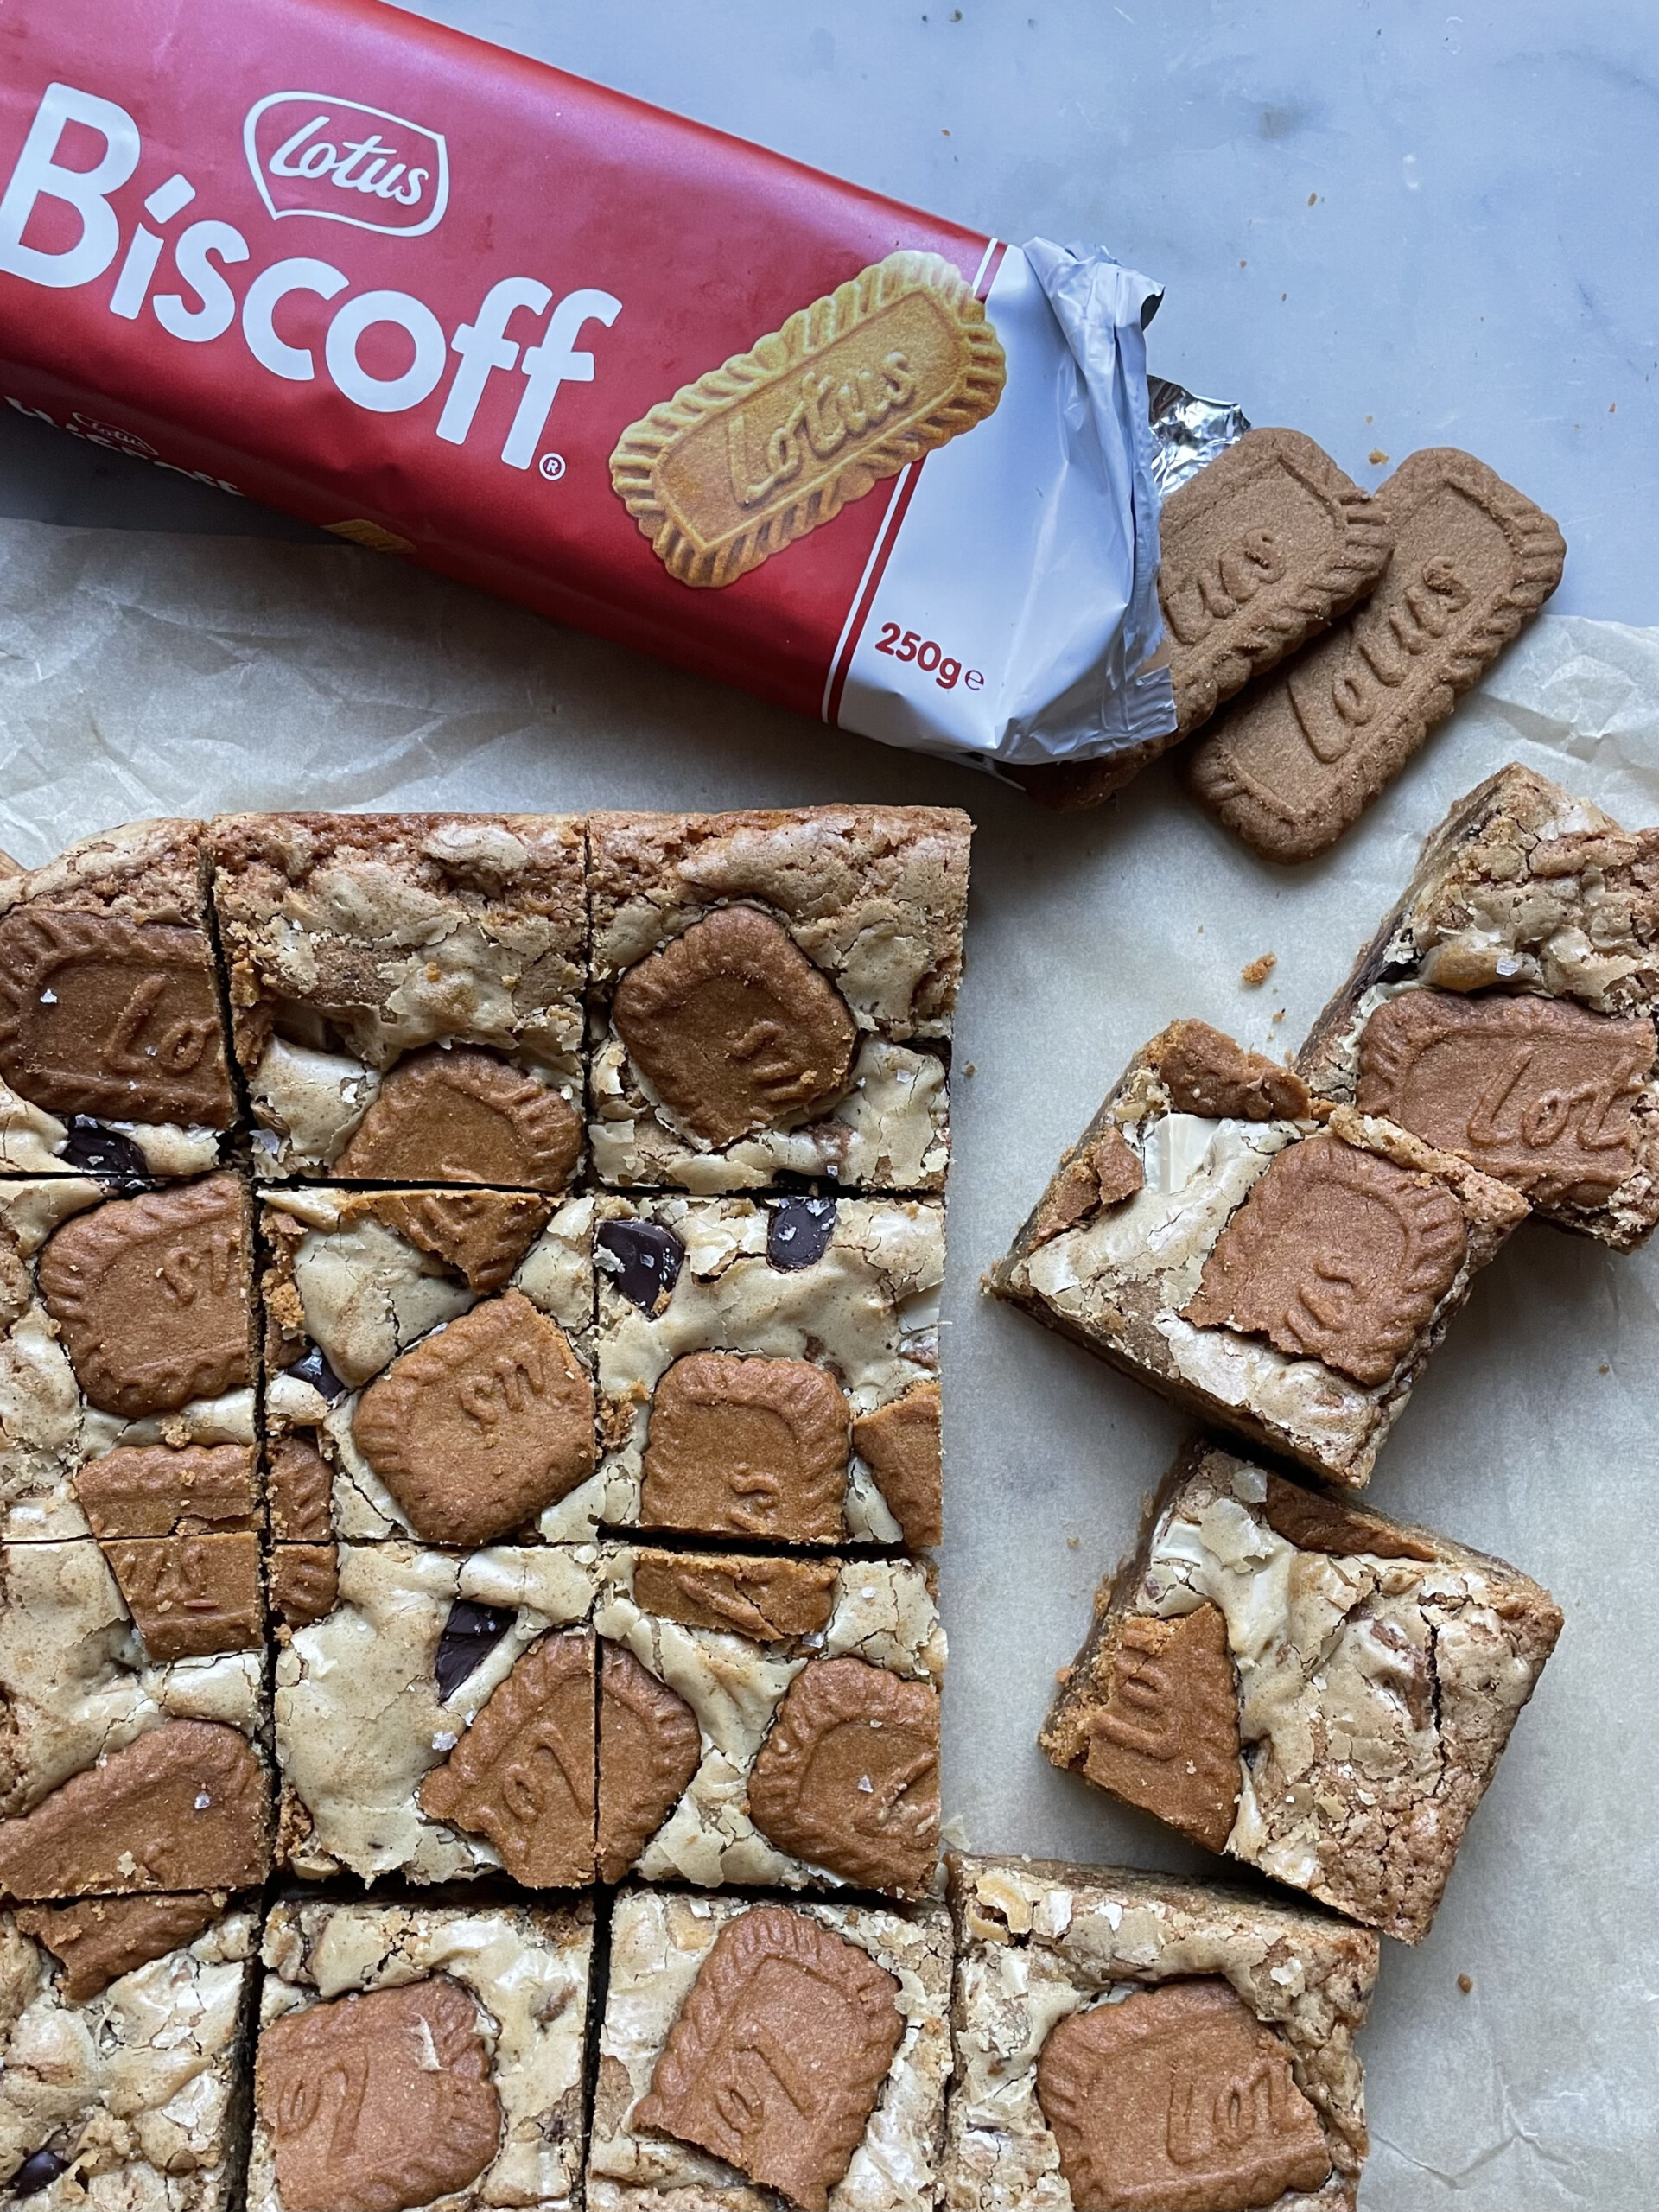
Biscoff biscuits – these wonderful biscuits have a delicious caramelised flavour and crunchy texture. They are SO good in blondies.
Salt – this won’t make the Biscoff Blondies taste salty, it simply balances out the sweetness and heightens the other flavours (think salted caramel vibes). I recommend Maldon Salt Flakes.
Substitutions and Variations:
White chocolate: White chocolate is a popular choice in blondies but I have also added some dark chocolate as I like the way the intensity balances out the sweet caramel flavours of the Biscoff biscuits and brown sugar. You could use milk chocolate instead or a mixture for Triple Chocolate Biscoff Blondies!
Chocolate chunks: I would use chopped up chocolate over chocolate chips. Chocolate chips are specifically designed to withstand high temperatures and hold their shape when baking. This means they don’t melt and look rather pretty in things like cookies and brownies. In contrast, chocolate chunks (made from chopping up your own chocolate bar) will vary in size and melt into gloriously gooey puddles of molten chocolate during baking. They won’t look as pretty or uniform, but will taste absolutely delicious.
Here’s how to make perfect Biscoff Blondies
Here’s a step by step guide for what you need to do, but you can find the full recipe at the bottom of the page for detailed instructions.
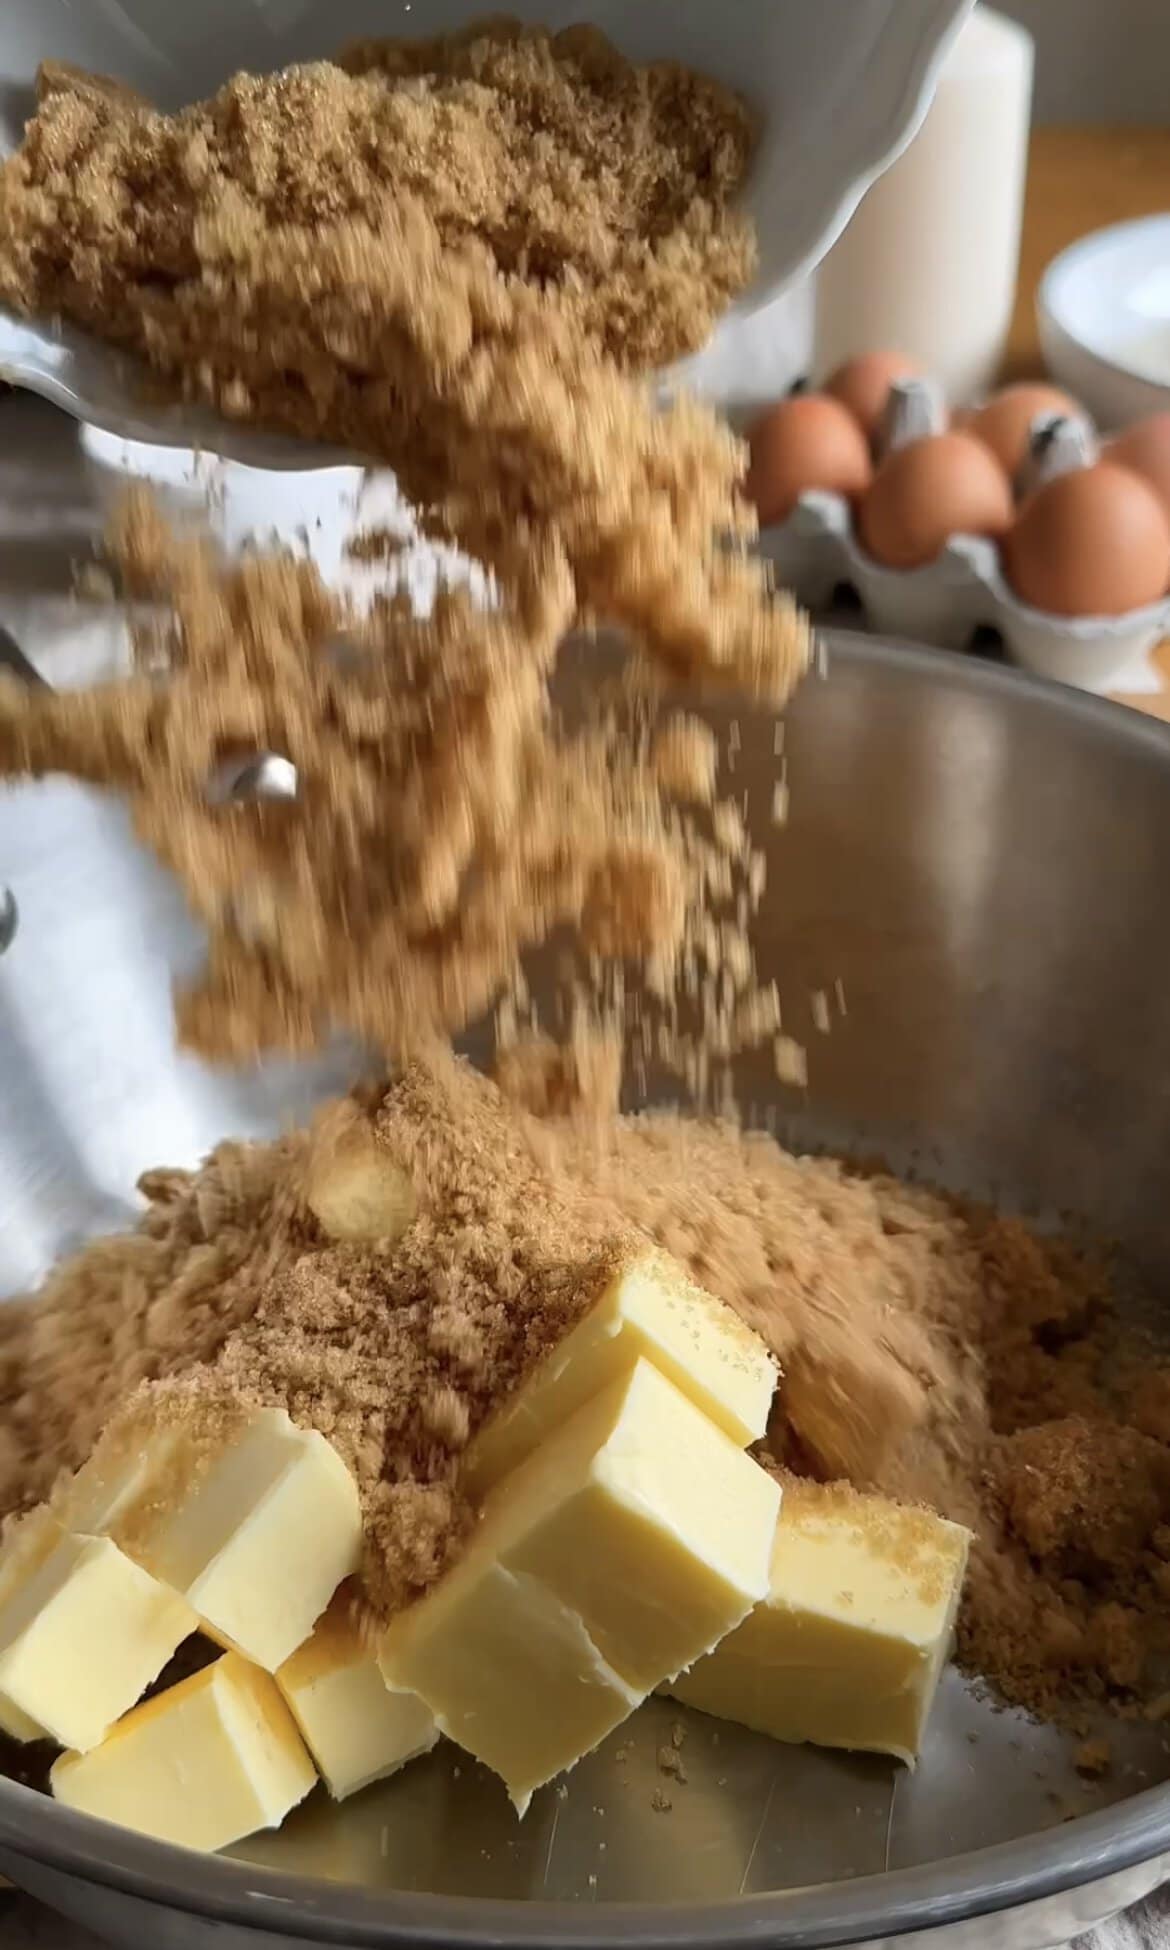
ONE: Preheat the oven to 160C Fan and line a 20 cm square tin with non-stick baking paper. In a medium-sized saucepan set over a low heat, melt the butter and sugar together, stirring occasionally until the sugar has dissolved and the butter has melted.
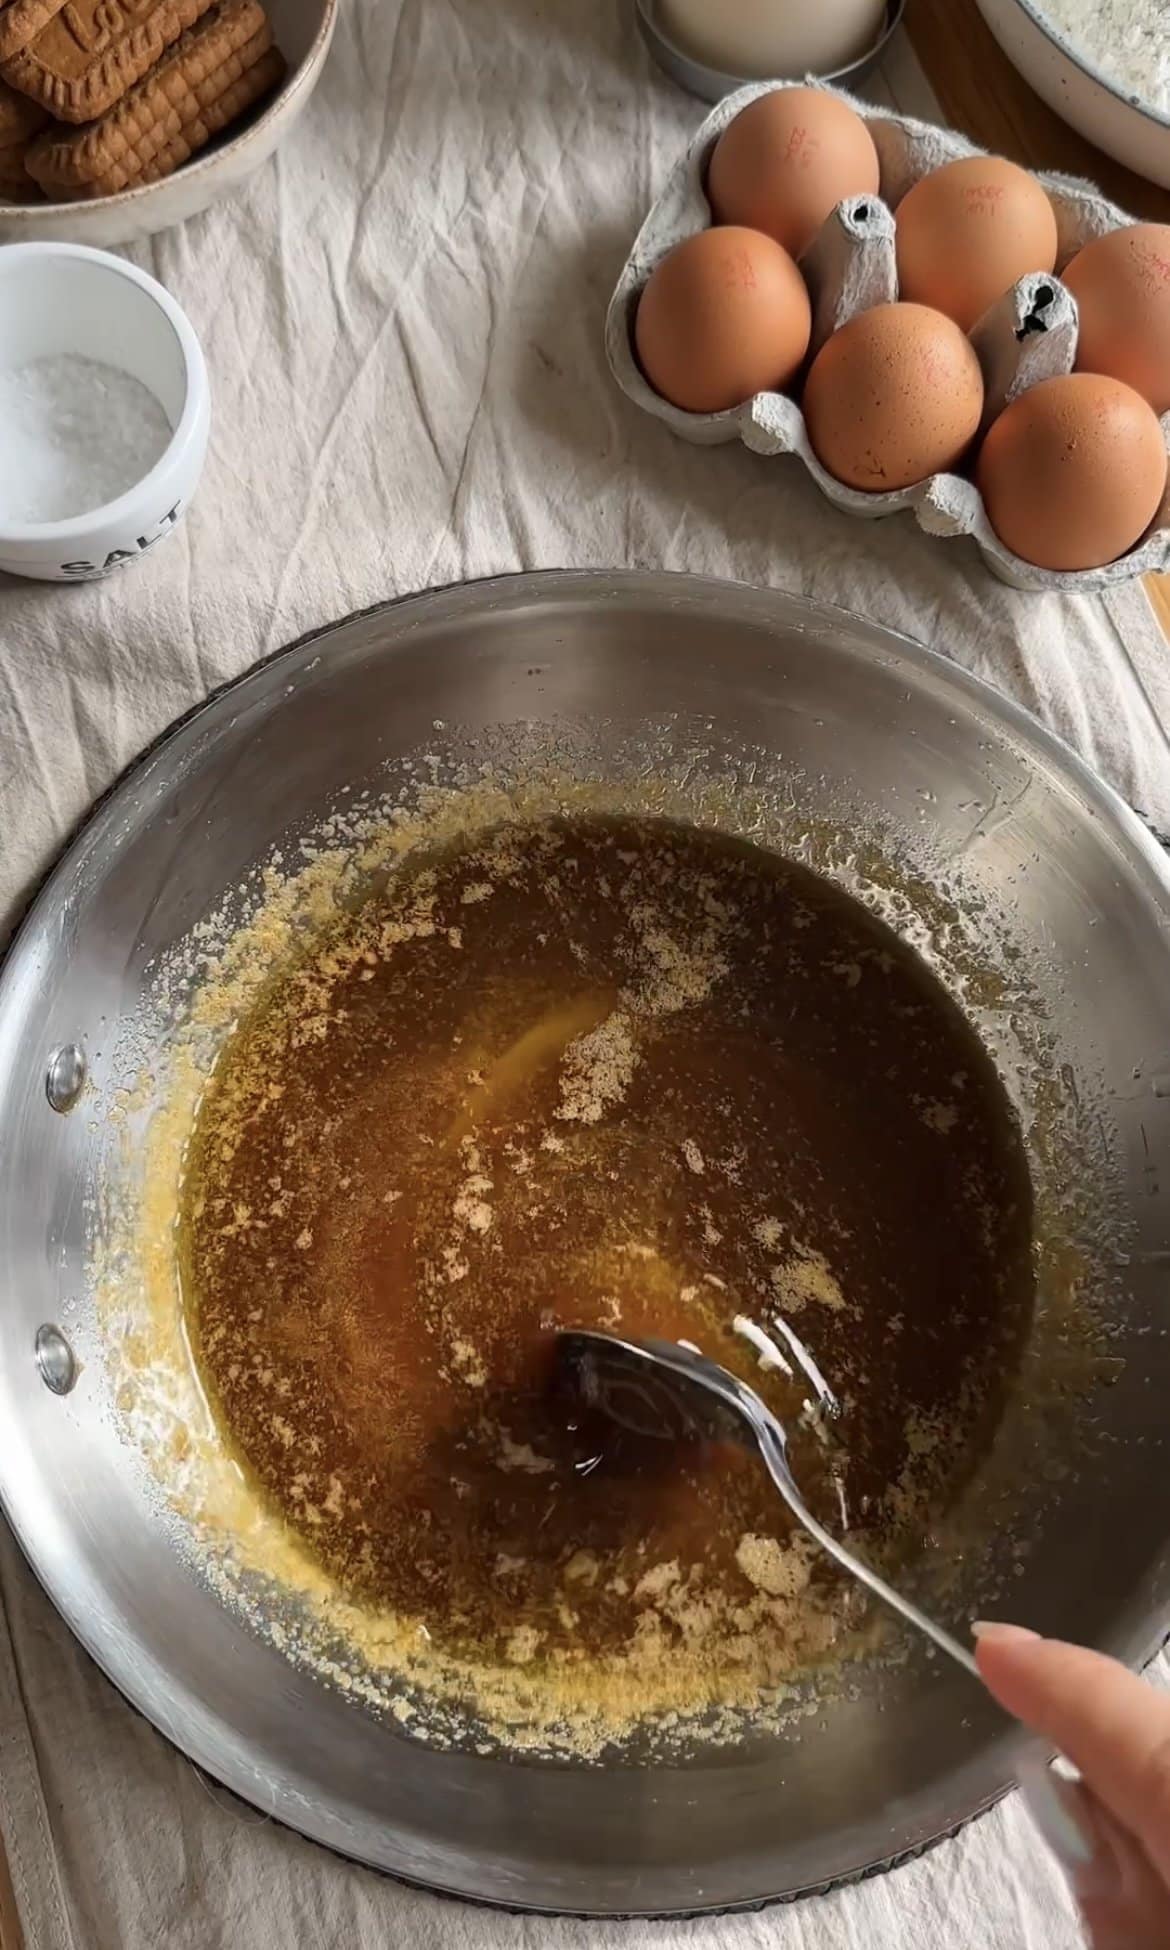
TWO: Remove from the heat, pour into a large mixing bowl and leave to cool slightly for about 10 minutes (don’t worry if the butter and sugar look like they have separated – this is normal). Use a whisk (or an electric whisk) to bring the butter and sugar back together until smooth.
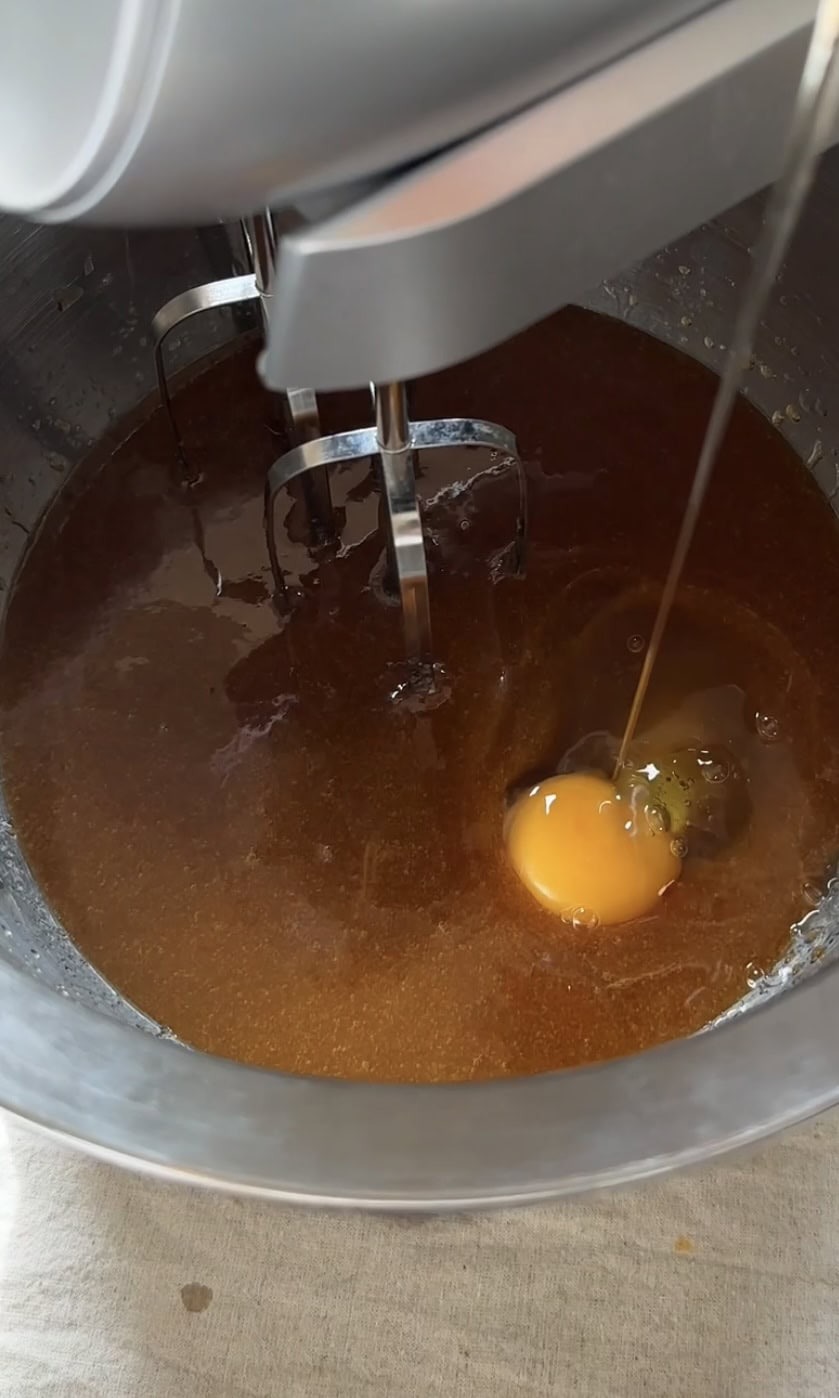
THREE: Gradually add the eggs, one at a time, whisking between each addition. Add the vanilla and whisk again.
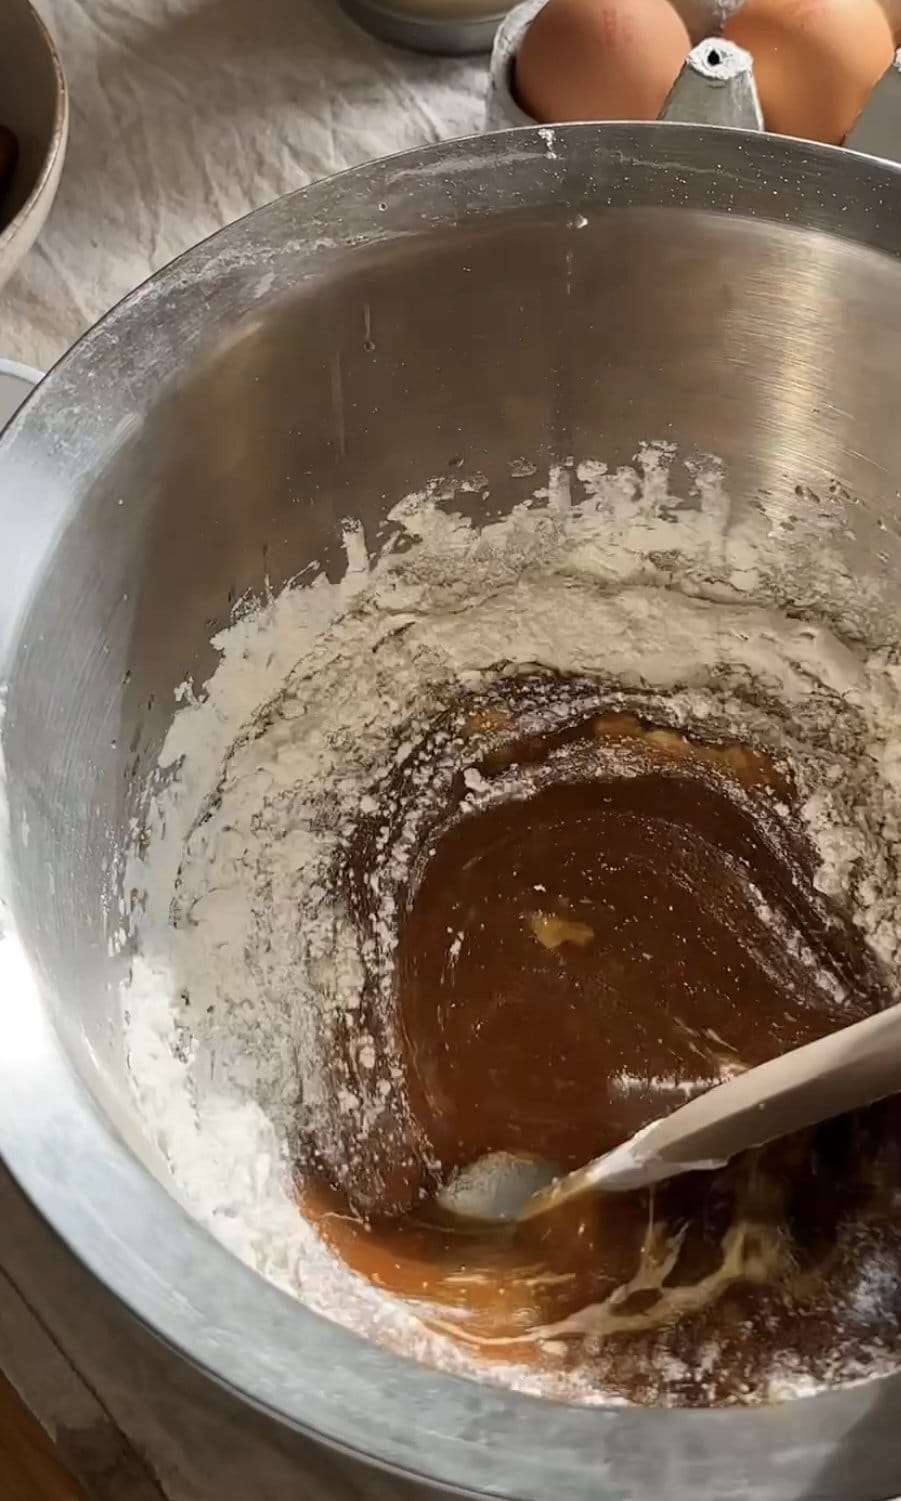
FOUR: In a separate smaller bowl, sieve together the flour and baking powder. Add a third of the dry ingredients into the wet, then gently fold together. Repeat until all the dry ingredients have been added and you have a smooth mixture – take care not to overmix.

FIVE: Roughly chop 75g of the Biscoff biscuits, saving the rest for decoration. Fold through the chopped biscuits along with the chopped dark and white chocolate until evenly distributed throughout the mixture.
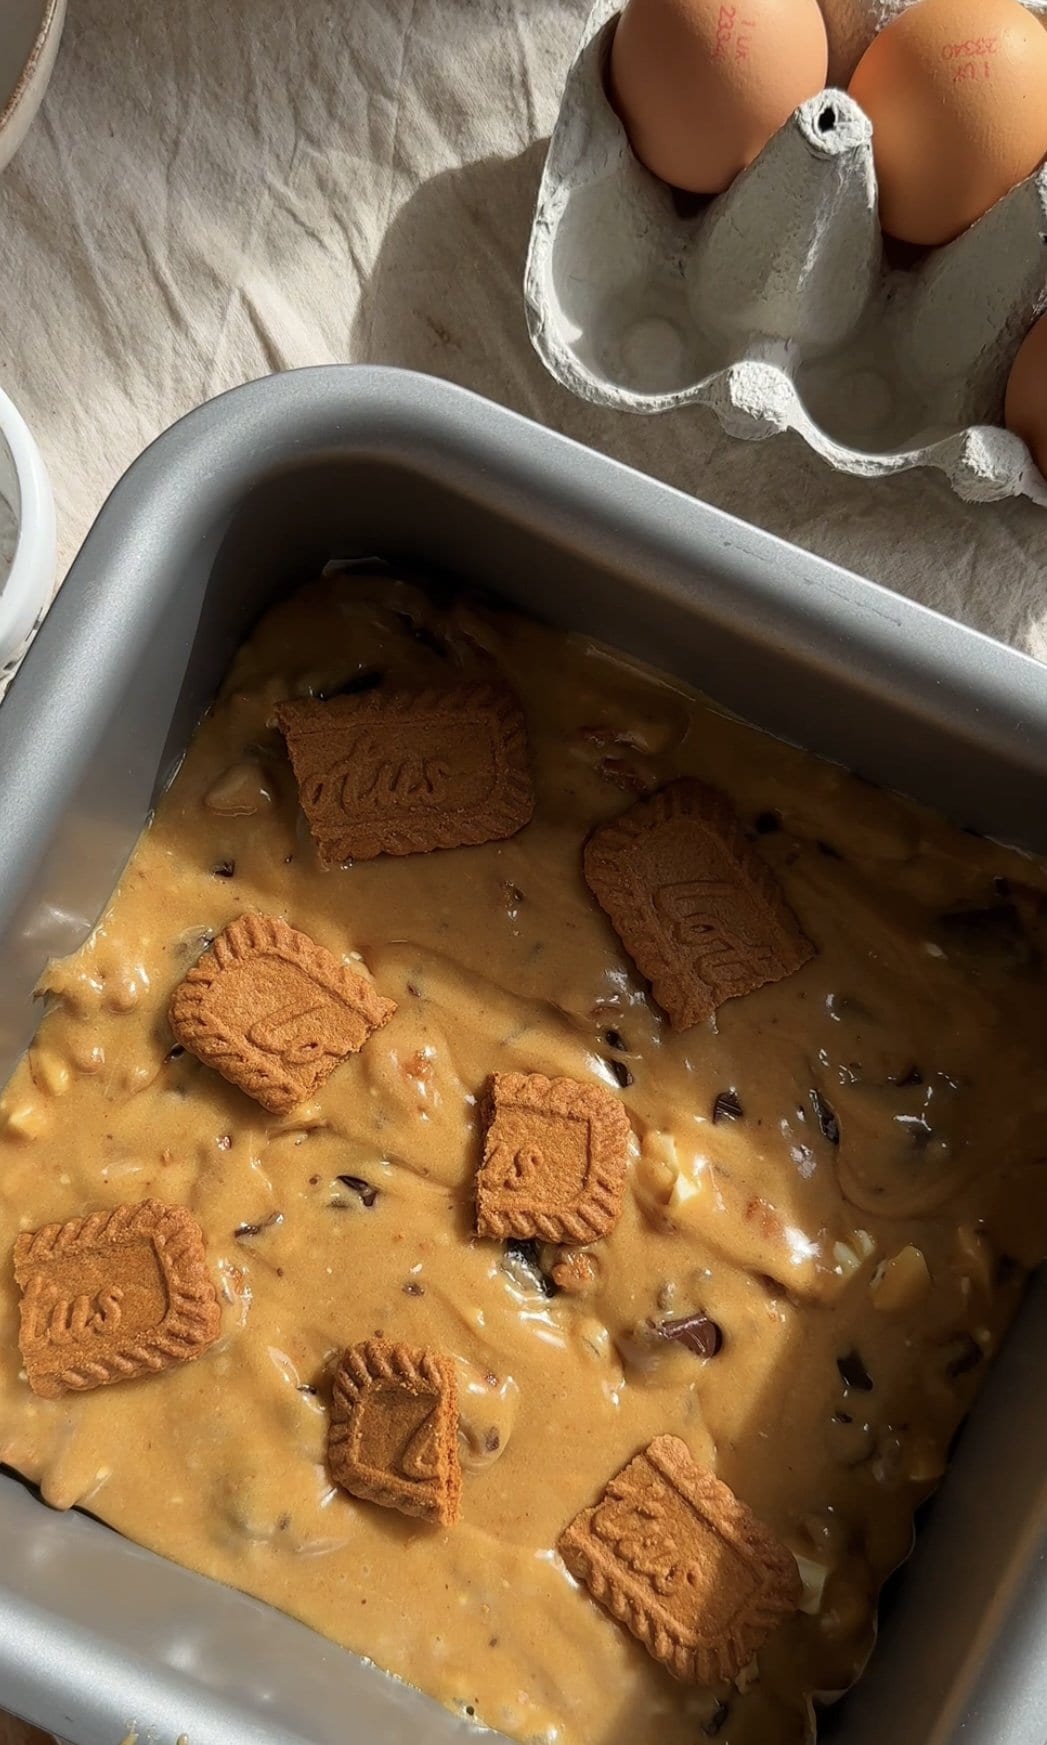
SIX: Pour into the prepared tin, then place the remaining Biscoff biscuits on top and sprinkle with the salt. Bake for about 30-35 minutes.
Cooking Tips:
How to line a square tin: To the width of the tin, cut two sheets of parchment paper the same size. You want to cut them to fit the bottom of the tin and not the top, which tends to be slightly wider than the bottom, given the borders. Then lay down one sheet top to bottom. Lay the other left to right. They should cross over and rest into the tin. Press into the corners.
Best way to slice: For clean slices, once the blondie has completely cooled, cover and chill in the fridge for a few hours to help it fully firm up.
Frequently Asked Questions
It comes in the form of Lotus Biscoff Spread and Lotus Biscoff Biscuits. The spread is a similar concept to nutella, but with a caramelised biscuit flavour (with a subtle hint of cinnamon). I have stuck to using the Lotus Biscoff Biscuits in this recipe as they add a delicious texture as well as the iconic Biscoff flavour to the blondies.
Contrary to popular belief, blondies are not simply white chocolate brownies. They have a very different flavour and texture. Whereas brownies are all about rich, chocolatey-ness, blondies are all about creating a deep caramelised (almost toffee-ish) flavour courtesy of the brown sugar. They do have white chocolate in it, but they aren’t the star of the show (like dark chocolate often is in brownies).
I always use vanilla bean paste or vanilla extract because they are both natural products made with real vanilla (in contrast to vanilla essence which is artificial and will give whatever you bake a synthetic taste). In most cases, you can use vanilla extract and vanilla bean paste interchangeably. However, if you want to add a bit of visual flair with specks of vanilla, opt for vanilla bean paste. Nielsen Massey have a really interesting post about it here.
Make sure to not overbake. You want them nice and fudgy. Even if they feel soft, they will firm up as they cool. Also don’t add too much flour, this can dry them out to. Follow the recipe as below and you should end up with perfect blondies!
I like to enjoy these Biscoff Blondies just as they are as a snack with a cup of tea or coffee. You could serve them warm for pudding with a scoop of vanilla ice cream and perhaps some raspberries or cherries too.
Store in an airtight container for 5 days or very well wrapped in clingfilm.
Yes, you can freeze these. Cool and wrap well in clingfilm and a layer of foil (this can be either before slicing up or after). Freeze for up to 3 months. When ready to eat, thaw overnight at room temperature until defrosted and soft.
Other recipes you might enjoy:
If you like the sound of these Biscoff Blondies, another bake you might want to try is my Chocolate and Pear Cake or my Chocolate Raspberry Cake. Try my Jaffa Cake Cake or my Mini Egg Cheesecake too, as you can mix in other things to Mini Eggs if it’s not Easter! For a classic, try my Triple Chocolate Cookies.

Easy Dessert Recipes
Speculoos Tiramisu

Easy Dessert Recipes
Chocolate Brownie Trifle

Easy Baking Recipes
Easy Biscoff Cake

Easy Dessert Recipes
No Bake Tiramisu Cake
Made this recipe and loved it?
I would love love LOVE if you could leave a review in the comments… I love hearing what you thought, any changes you made, the stories behind what made you try my recipes. Also, if you share a photo on Instagram, please tag me @desertislanddishes, it makes my day to see you making my creations!

Biscoff Blondies
Ingredients
- 190 g unsalted butter, cubed
- 280 g soft light brown sugar
- 2 large eggs
- ½ tsp vanilla bean paste
- 260 g plain flour
- 2 tsp baking powder
- 90 g good-quality dark chocolate, roughly chopped
- 90 g good-quality white chocolate, roughly chopped
- 125 g Biscoff biscuits
- ½ tsp salt flakes
Instructions
- Preheat the oven to 160c Fan/180c conventional.355F and line a 20 cm square tin with non-stick baking paper.
- In a medium-sized saucepan set over a low heat, melt the butter and sugar together, stirring occasionally until the sugar has dissolved and the butter has melted. Remove from the heat, pour into a large mixing bowl and leave to cool slightly for about 10 minutes (don’t worry if the butter and sugar look like they have separated – this is normal).
- Use a whisk (or an electric whisk) to bring the butter and sugar back together until smooth.
- Gradually add the eggs, one at a time, whisking between each addition. Add the vanilla and whisk again.
- In a separate smaller bowl, sieve together the flour and baking powder. Add a third of the dry ingredients into the wet, then gently fold together. Repeat until all the dry ingredients have been added and you have a smooth mixture – take care not to overmix.
- Roughly chop 75g of the Biscoff biscuits, saving the rest for decoration. Fold through the chopped biscuits along with the chopped dark and white chocolate until evenly distributed throughout the mixture.
- Pour into the prepared tin, then place the remaining Biscoff biscuits on top and sprinkle with the salt.
- Bake for about 30-35 minutes, the blondies should have a nice shiny crust on top but still feel soft to touch – take care not to over cook because you want the blondies to have a nice fudgy texture. Leave to cool completely in the tin before slicing into 16 small or 9 large squares.
Notes
Nutrition
Nutrition information is automatically calculated, so should only be used as an approximation.